Lenovo ThinkPad X1 Yoga (6th Gen) Speaker Replacement
ID: 149110
Description: This repair may be necessary if audio is not...
Steps:
- Use a Phillips #1 screwdriver to remove the five 5 mm screws that secure the base panel.
- Wedge a spudger between the base panel and chassis, and pry around the entire perimeter until you hear a pop and the base panel releases.
- Lift the base panel up and off of the chassis.
- Use a Phillips #1 screwdriver to remove the five 4.5 mm screws securing the battery.
- Lift the battery up and out.
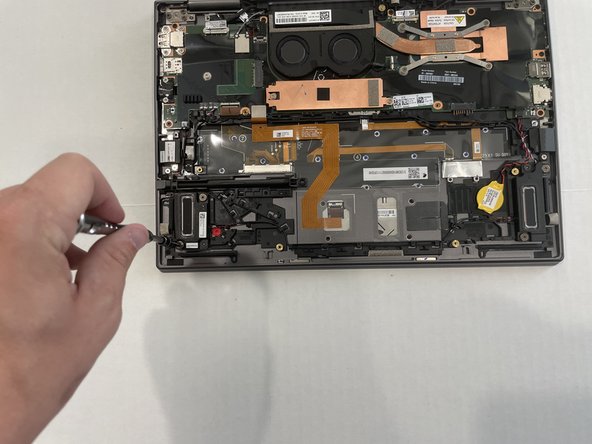
- Use a Phillips #1 screwdriver to remove the four 1.8 mm screws.
- Use the spudger to lift the flap covering the speaker wire.
- Starting at the top of the right speaker, follow the wire connected to the top of the left speaker. Use the tip of a spudger to free the wire from the plastic brackets it lies under.
- Starting from near the bottom-left side of the right speaker, follow the lower wire, unseating the speaker cable as you go.
- Place your fingernails behind each of the plastic tabs on the speaker's plug and pull directly backwards until the plug releases from its port.
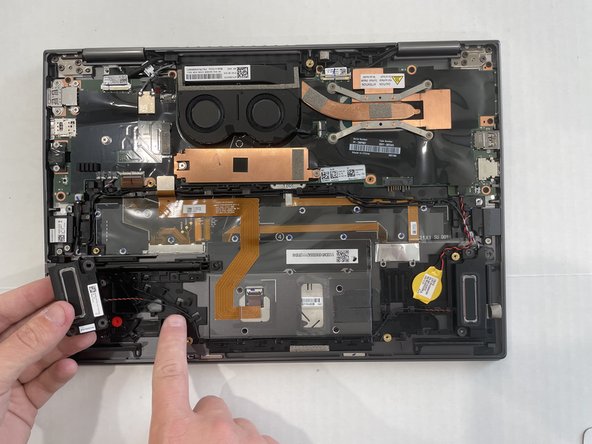
- Lift the speakers up and out.