Lenovo ThinkPad T495s Motherboard Replacement
ID: 149166
Description: Need to bring your Lenovo ThinkPad T495s back t...
Steps:
- Do not begin until the laptop is unplugged and completely powered off.
- Flip the laptop over to reveal the back panel of the laptop.
- Loosen the five 4.0 mm captive screws with a Phillips #1 screwdriver.
- The screws will stay attached to the back cover as you lift it off.
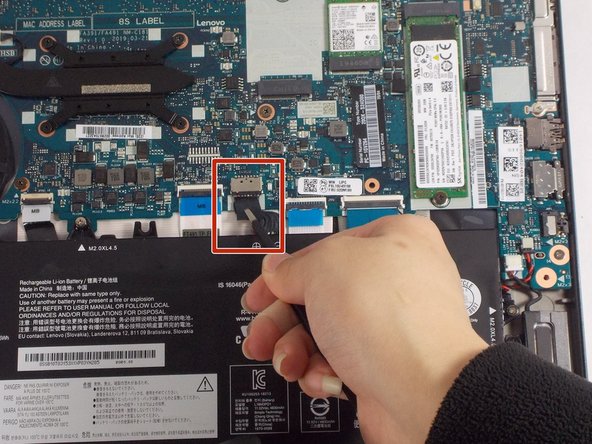
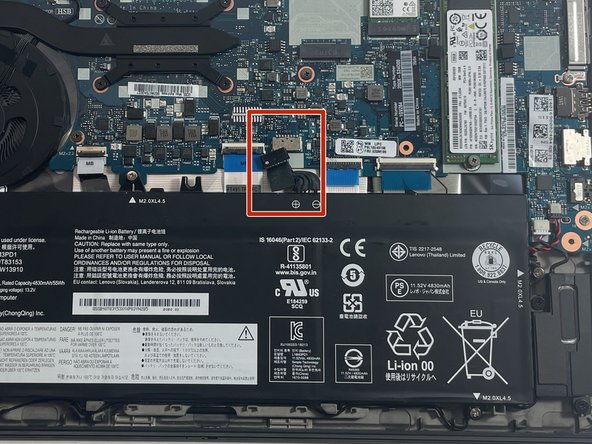
- Use tweezers to unplug the battery connection from the motherboard.
- Remove the five 4.5 mm screws with a Phillips #1 screwdriver.
- There are plastic tabs at the bottom of the battery, so pull it slightly forward with your hands, toward the motherboard, before lifting straight up.
- Use a Phillips #1 screwdriver to loosen the four 2.2 mm captive screws from the fan assembly.
- The screws should stay attached to the fan during removal.
- Use tweezers to unplug the fan assembly from the motherboard.
- Lift the fan from the laptop using your hands.
- Use tweezers to grip the SIM card holder and remove it from the laptop.
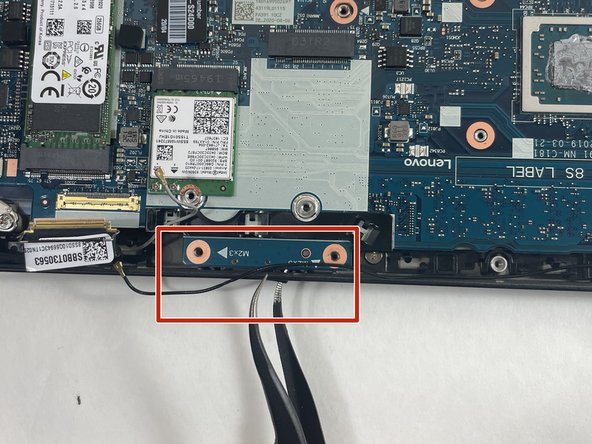
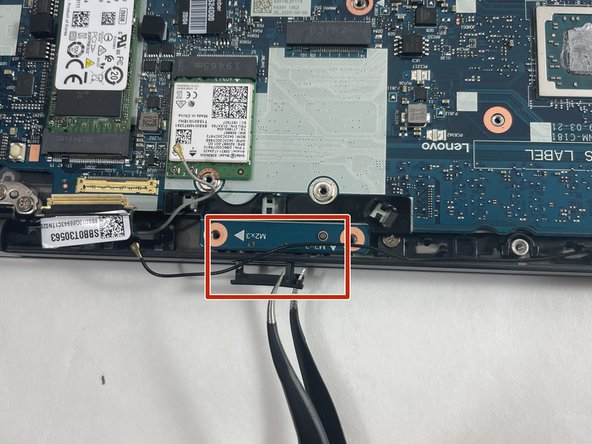
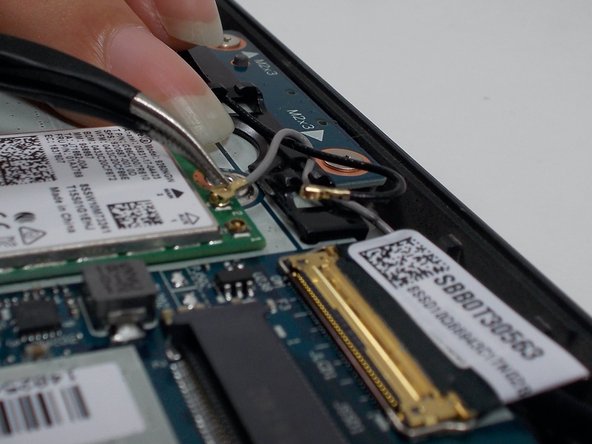
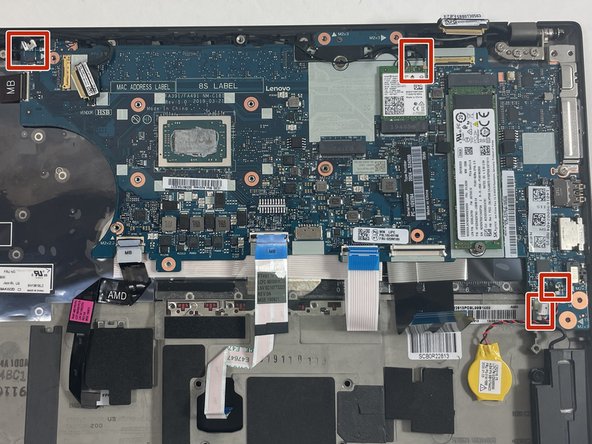
- Use tweezers to grip and disconnect the four motherboard connections.
- Use the iFixit Opening Tool to flip up the small locking flaps on the five ZIF ribbon cable connections attached to the motherboard. The ribbon cables easily release from their sockets with almost no force.
- ZIF stands for Zero Insertion Force; if you're experiencing any resistance whatsoever during disconnection, double-check that the locking flaps are flipped up.
- To disconnect the two display cable connectors, gently push the tip of a spudger under the clip. Then, swing the clip over to the other side of the socket, so that it lays flat against the cable.
- Holding the clip and cable together, gently pull in the direction of the cable to remove the connector from its socket.
- Use a Phillips #1 screwdriver to remove the four 2.2 mm screws.
- Use a Phillips #1 screwdriver to remove the four 3.0 mm screws.
- Use a Phillips #1 screwdriver to remove one 4.5 mm screw.
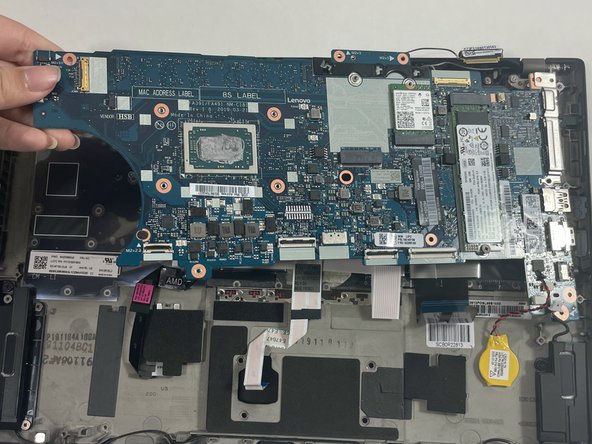
- Lift the left side of the motherboard up and to the left to remove it from the chassis.