Google Pixel Buds A-Series Sound Chamber Mesh Removal
ID: 149190
Description: The Google Pixel Buds A-Series are essentially...
Steps:
- Open the Google Pixel Buds Charging / Carrier case to locate the Buds.
- Remove the rubber tips.
- If necessary, clean the ear buds, especially the openings, contacts and sensors with damp cotton swabs.
- Components of the ear buds:
- Microphone
- Vent
- Charging contacts
- IR sensor for detecting when the bud is in the ear
- Touch sensor
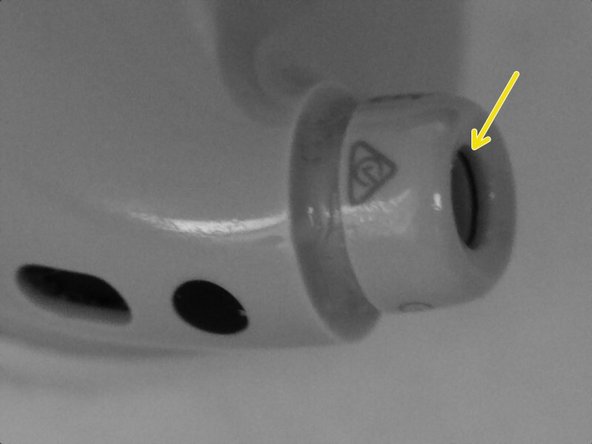
- Sound chamber opening with mesh, our point of interest
- Take a small container, fill it with isopropyl alcohol and insert the buds so that the sound chamber opening - but not any other parts - touch the liquid.
- Soaking time might vary depending on how degraded the glue already is. This can potentially take hours.
- If longer soaking is necessary, I really recommend adding some glycerol to the alcohol solution to soften the glue and prevent rapid evaporation of the solvent.
- The mesh we're going to remove. The mesh sits in a small groove in the plastic case and is held in by gooey black glue.
- Groove (after mesh removal)
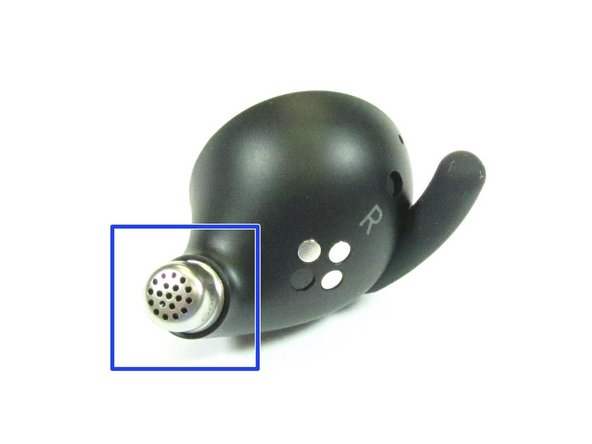
- This is the metal grid of the more expensive Pixel Buds 2 model (for comparison).
- Take a soft brush (like a toothbrush or a small artists brush) and carefully try to push in the mesh.
- Don't use excessive force and don't use sharp/pointy tools like tweezers.
- You neither want to create a hole in the mesh nor want to cause damage to the speaker membrane further inside.
- If the mesh doesn't easily move, keep soaking it in solvent. Be very careful and don't apply force.
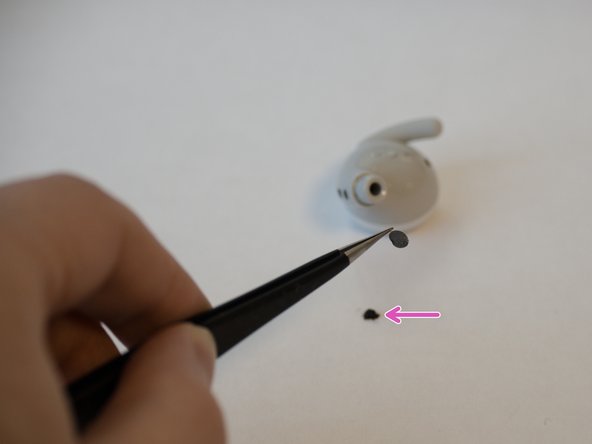
- Carefully use fine tweezers to grab the loose mesh and pull it outside.
- The mesh is likely still stuck to one side of the ridge (assuming you pushed carefully), so it should be easy to retrieve. If not, locate it in the sound chamber and carefully remove it.
- Make sure to not touch or damage the speaker membrane further in the back. Only use a small, soft brush if the mesh is stuck on the back side of the sound chamber.
- Most of the glue should have come out together with the mesh. If necessary, carefully remove any remaining residue with the tweezers or a soft brush.
- Here's some of the sticky black glue.