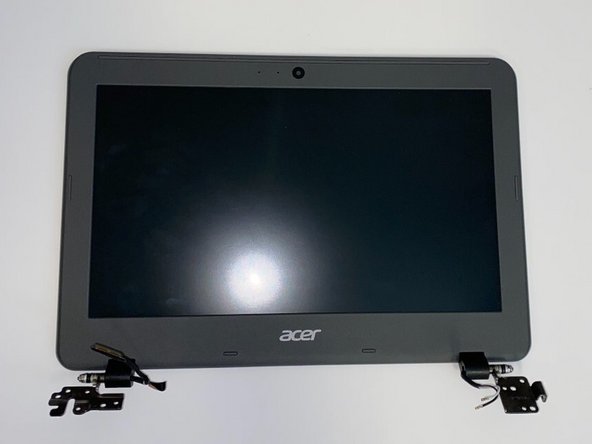
Acer Chromebook C731-C8VE Display Assembly Replacement
ID: 149235
Description: This is the display assembly replacement guide...
Steps:
- Place the Chromebook face down.
- Make sure to completely turn off the device before beginning this step.
- Use a JIS #00 screwdriver to remove the 11 screws on the underside of the laptop.
- The 2 mm screws marked orange have washers attached and must be placed in these specific areas.
- These 2 mm screws do not have washers and will be located on the left and right of the device.
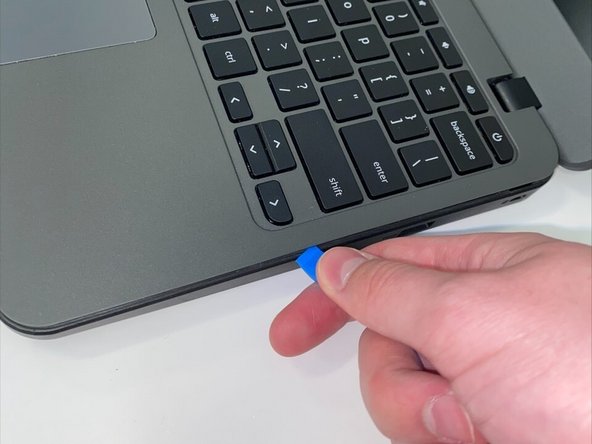
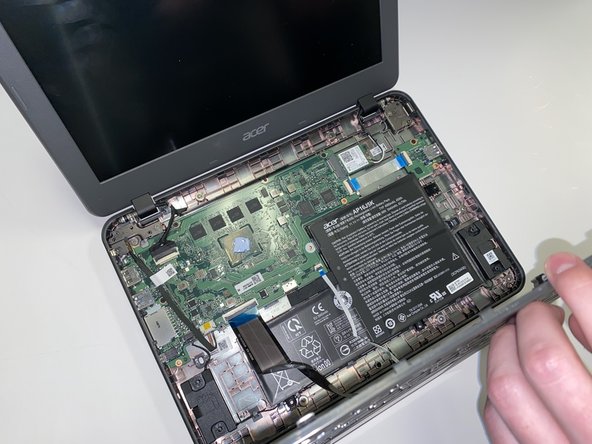
- Use the iFixit opening tool to remove the keyboard from the device by prying it loose from the base.
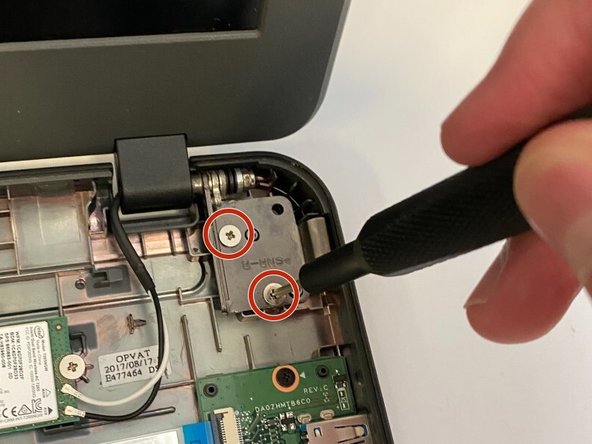
- Use the JIS #00 screwdriver to remove the four 1.5mm screws that connect the base of the laptop to the screen. There are two screws on each latch.
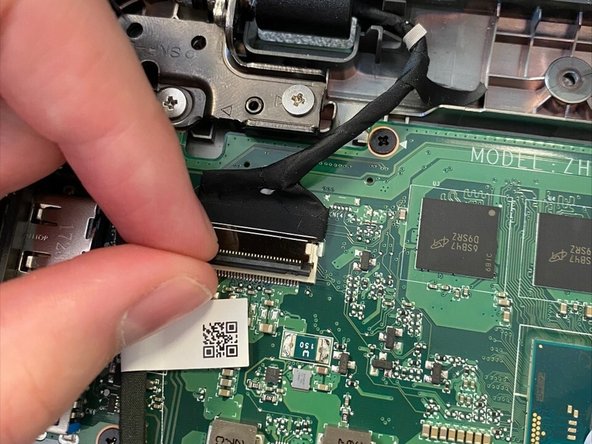
- Carefully detach the cables that connect the screen to the motherboard. This includes a black display cable that connects to the mother board and two wires that connect to the Wi-Fi card.
- Do this step slowly to ensure that you do not damage the screen or the motherboard.
- Remove the screen from the base of the device.