HP EliteBook x360 830 G7 Fan Replacement
ID: 149459
Description: This guide will help you remove the fan from an...
Steps:
- Turn the computer over so that the back is facing up.
- Use a Torx T5 screwdriver to remove the three 9 mm screws from the hinge of the device.
- Use a Torx T5 screwdriver to remove the two 7 mm screws from the left and right mid-section of the case.
- Lift the backplate from the computer.
- Use a nylon spudger to gently disconnect the battery's bundled cable connector from the motherboard.
- This bundled cable connector has a tab on each side. Insert the spudger between these tabs and the motherboard's battery connector port and gently push the battery connector out and away from the connector.
- Peel back both sides of the copper foil tape connected to the battery.
- Use a JIS #1 screwdriver to remove the four 4 mm screws that secure the battery.
- Remove the battery from the laptop.
- Disconnect the display panel cable from it's connector on the motherboard.
- Remove the display panel and the wireless antenna cables from the routing channels. Then, remove the retention tape from the system fan.
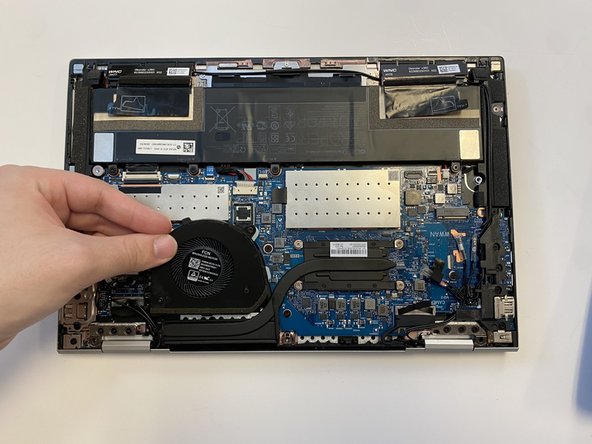
- Loosen the JIS #1 screws that secure the system fan to the motherboard.
- These screws are captive.
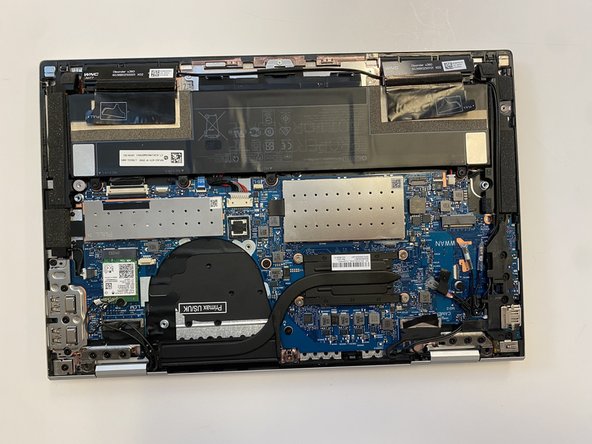
- Once all of the connectors and screws that secure the fan in place have been removed sucessfully, you can safely remove the system fan from the motherboard.