Epson PowerLite 822 Plus Projector Lens Replacement
ID: 149557
Description: This is a replacement guide for the projector...
Steps:
- Flip the projector over.
- Remove all 8 screws on the bottom of the projector.
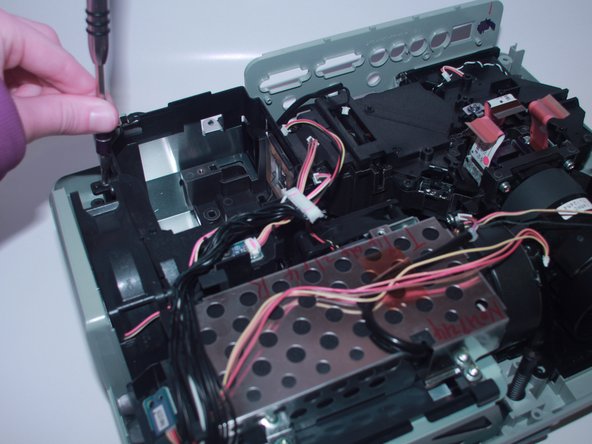
- Now, flip the projector back over and pry the top of it open revealing the inside of the projector.
- Use the spudger to disconnect it from the motherboard.
- Using your finger gently move back and forth the JST cable that connects the top to the motherboard.
- Now completely take off the top of the projector.
- Remove the 3 screws that secure the motherboard in place.
- Gently move back and forth the 11 JST connectors until they come out.
- With the spudger lift the red plastic tabs from their connectors.
- Lift the motherboard and disconnect the JST connector underneath.
- Now, the motherboard is completely removed from the projector and you are ready to replace it.
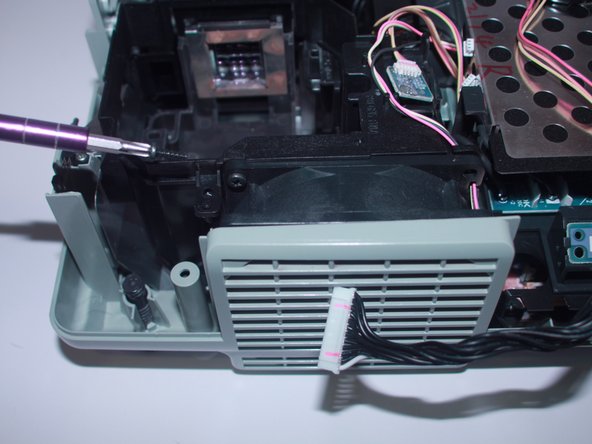
- Use a Phillips #2 screwdriver to remove the four 6 mm screws that hold together the fan bracket.
- Use a Phillips #2 screwdriver to remove the four 6 mm screws that secure the projector.
- Pull out the loose projector and it is ready to be replaced.