Dell OptiPlex 3070 Micro-PC Hard Drive Replacement
ID: 151683
Description: This guide will help you to replace your intern...
Steps:
- Prior to beginning this repair, power off the PC and remove all the cables, (including the power cable), to avoid damaging your device.
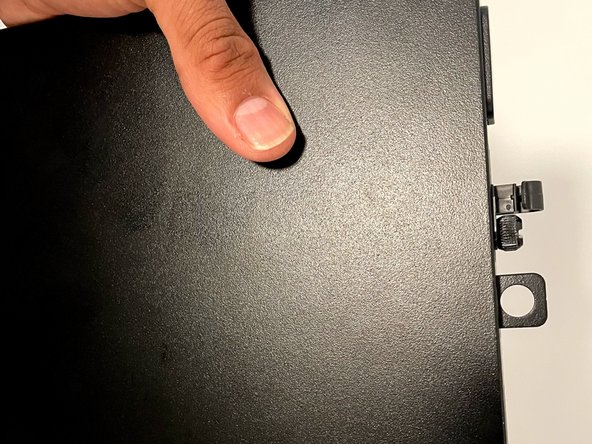
- Use the Phillips #00 screwdriver to remove the single screw securing the case.
- Slide the case horizontally away from the screw.
- Remove the back case.
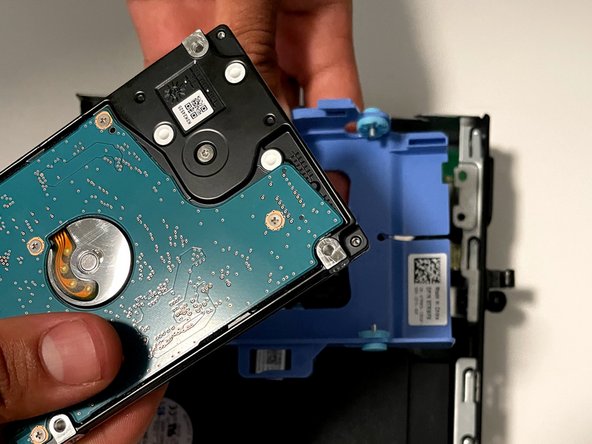
- Unlock and remove the hard drive from the connector.
- Push the two tabs on the hard drive caddy and slide it away from the connector.
- Once unlocked, remove the hard drive from the main board.
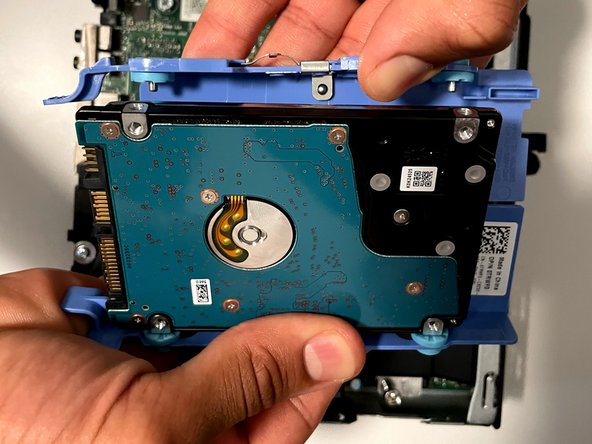
- Pull the case away from the four screws at each corner of the old hard drive to remove it from the case.
- The hard drive should come out easily and you don't need screwdriver to remove it.
- Put your new hard drive in the case but match the SATA connection to the lines in the hard drive case so you know it is placed correctly.
- Lock the four screws from case into the new hard drive.
- No need to use a screwdriver as these screws are just a press and lock type.
- Flip the hard drive upside down.
- Insert the hard drive into the connector.
- Push the hard drive to lock it in.
- You will hear a "click" sound when it locks.
- Put the cover back on and slide it with the steel tab towards the screw.
- Make sure it is securely locked in. Check all the sides for any gaps.
- Use the Phillips #00 screwdriver to replace the single screw and securely lock the cover.