Anko Milk Frother SB-0802C1 Teardown
ID: 151918
Description: I accidentally dropped my milk frother in the...
Steps:
- The three screws to open this product are hidden beneath the rubber feet.
- Use a spudger or small screw driver to pry out the three rubber feet.
- Remove the three screws.
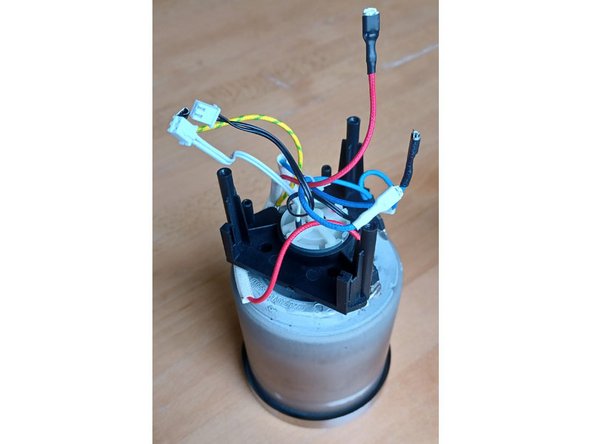
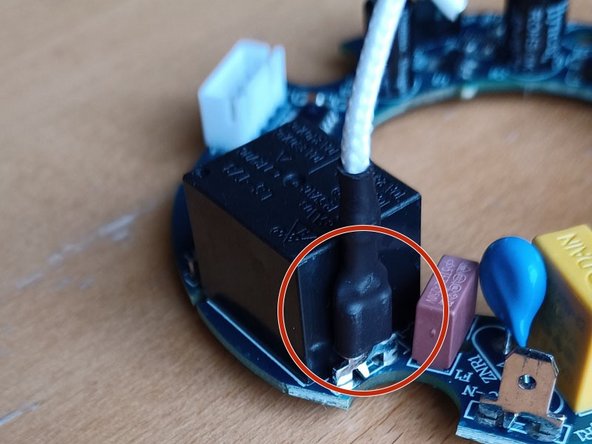
- There are 5 spade connectors providing power from the bottom assembly to the PCB, and from the PCB to the heating element.
- These connectors have a release latch hidden under their heat shrink. You may see a little bulge. You need to depress this latch before you can pull the spade connector off.
- NOTE - When these last connections are removed, there is nothing stopping the heavier milk container assembly to slide out of the outer shell.
- So before you move on to the next step, make sure to hold on to the milk container assembly.
- Use a spudger or small screw driver to pry the three connectors off their sockets.
- Disconnect the white wire, either from the bottom assembly or the PCB.
- Remove the three small screws.
- Remove the screw that's holding the PCB in place.
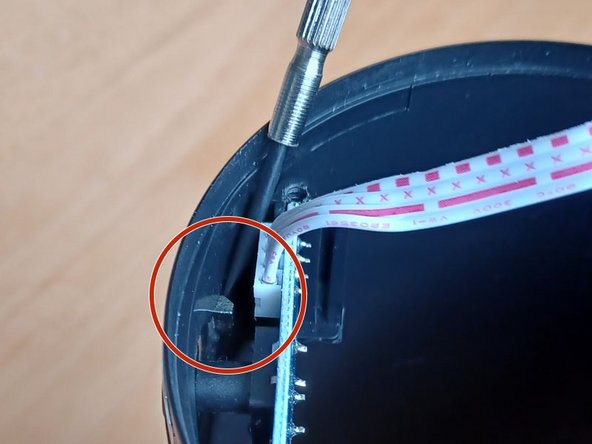
- Use a small screwdriver to push the click finger in. Then remove the plastic button ring and silicon rubber seal.
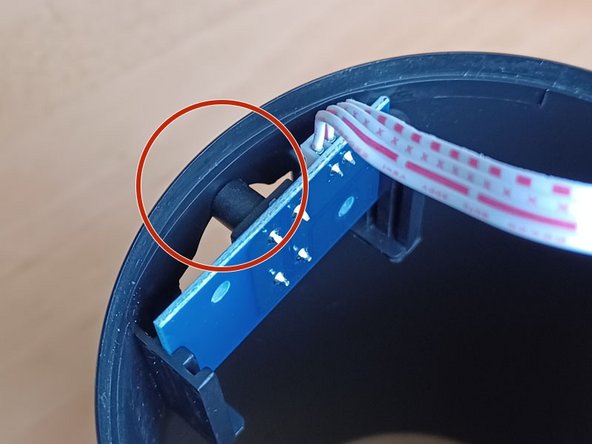
- Depress the button and slide the PCB out of its guides.
- Assembly is in the reverse order.
- NOTE - The plastic is very soft, so the thread is easily stripped. Turn each screw counter clockwise first, until you feel it engage with the existing thread. Then tighten the screw with moderate force.
- When sliding the outer shell back onto the milk container assembly, make sure the Button PCB guides fit between the guides on the milk container assembly.