Apple Watch Series 7 Battery Replacement
ID: 152655
Description: Use this guide to replace a worn-out or dead...
Steps:
- Before starting repairs, take your watch off the charger and power it down.
- If your touchscreen is broken and you can't power off the watch, use this alternate method to power it down.
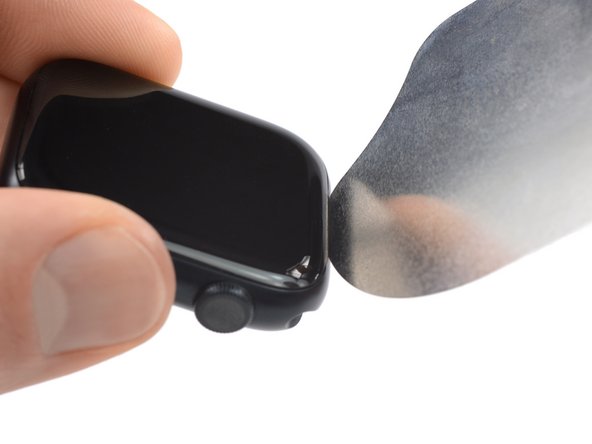
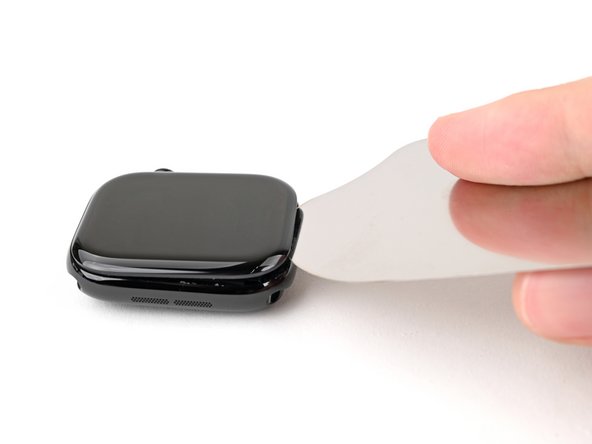
- Because the gap between the screen and watch body is so thin, an iFlex is needed to separate the two.
- Protect your fingers by keeping them completely clear of the iFlex edge. If in doubt, protect your free hand with a heavy glove, such as a leather shop glove or gardening glove.
- Be careful not to apply too much pressure, as this might cause the iFlex to slip and cut you, or damage the watch.
- Wear eye protection. If the opening procedure is performed incorrectly or with too much pressure, the glass could crack, sending small glass shards flying.
- Attach or remove the watch band as needed to provide more control as you make repairs.
- Prepare an iOpener and apply it to the screen for at least two minutes to loosen the adhesive underneath.
- A hair dryer, heat gun, or hot plate may also be used, but be careful not to overheat the watch—the display and internal battery are both susceptible to heat damage.
- You may need to reheat the iOpener and repeat this procedure several times until the display adhesive softens.
- Don't grip the iFlex or similar metal tools by the edges—they're very sharp. Consider wearing gloves to protect your hands.
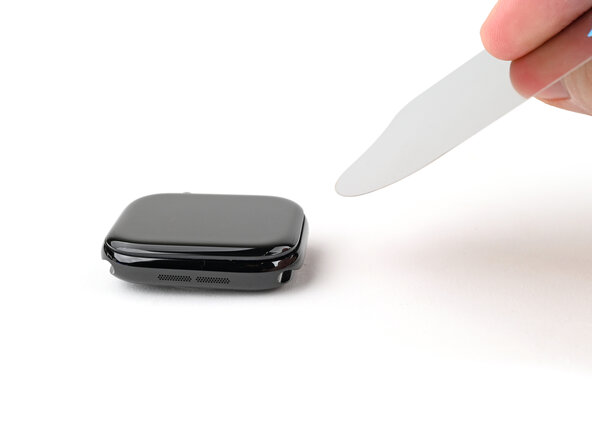
- Insert the iFlex at a downward angle between the bottom edge of the screen and frame.
- The Apple Watch Series 7 display is equipped with a plastic bezel on its rear side. If you want to reuse your display, avoid using too much pressure with the iFlex or you may separate the bezel from the screen.
- Prying up the screen may take multiple attempts. If you're having trouble, apply more heat and try again.
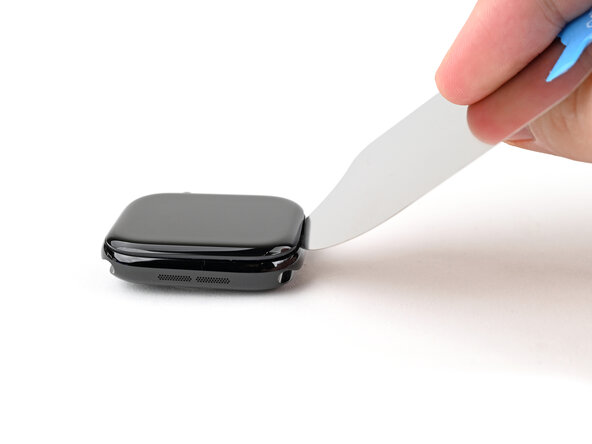
- With one hand, push down firmly on the watch's frame to secure it in place.
- With your free hand, hold the iFlex and push the edges up to make it more rigid.
- The iFlex should be slightly "U" shaped.
- Pry up the screen enough for the iFlex to lay flat on its own.
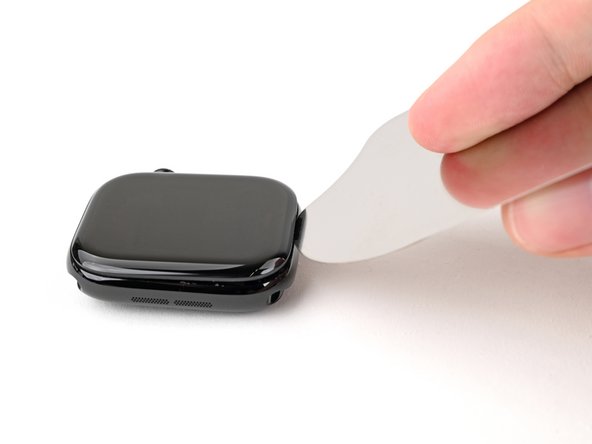
- The iFlex doesn't need to be inserted far, as it can easily damage the screen cables near the bottom right corner of the watch.
- Leave the iFlex inserted under the screen.
- Do not insert your opening pick more than 3 mm under the screen when separating the adhesive, as you risk damaging your watches internals.
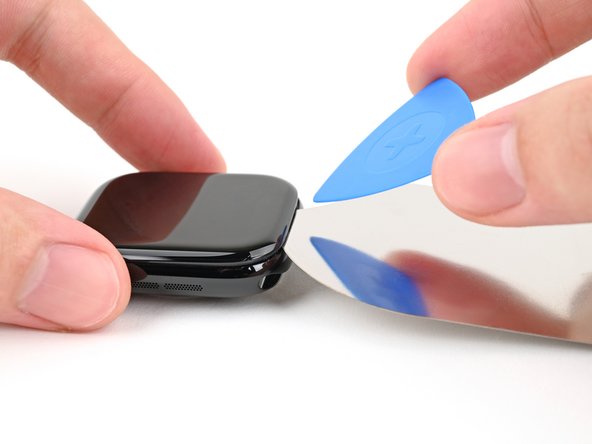
- Keep the iFlex flat to maintain a gap between the screen and frame while inserting an opening pick.
- Insert an opening pick between the screen and iFlex.
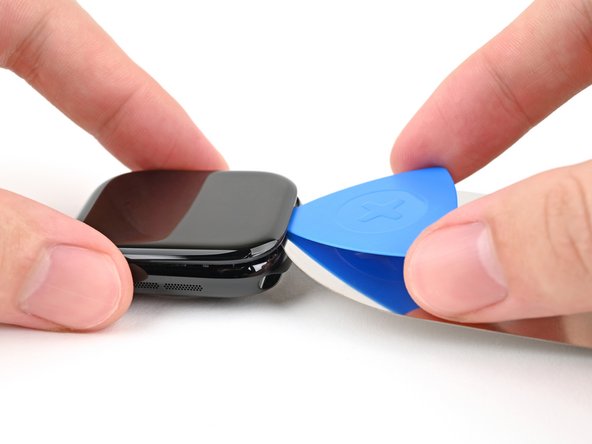
- Remove the iFlex.
- Slide the opening pick around the bottom left corner and up the left edge.
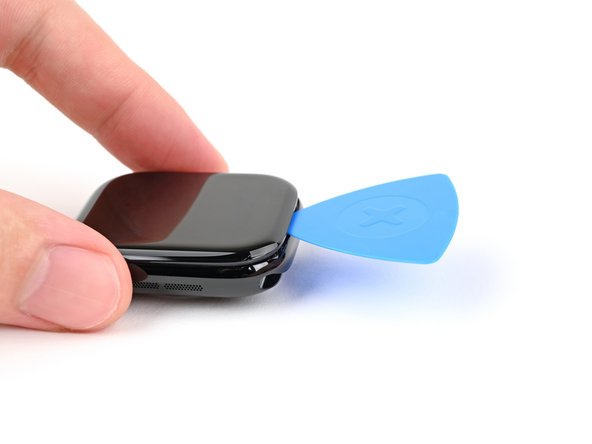
- Slide the opening pick around the corner and along the long edge on the opposite side of the watch crown to slice the display adhesive.
- Slide the opening pick around the corner to slice the remaining adhesive on the short edge of the watch next to the watch crown.
- Don't try to remove the display. It is still connected to the watch assembly.
- Be careful not to strain the display cables when you fold the display to the side.
- Lift the display and carefully pull it towards the watch crown.
- Swing the display open to an upward position.
- Prepare an iOpener and apply it to the rear side of your Apple Watch for at least two minutes to loosen the adhesive underneath the battery.
- A hair dryer, heat gun, or hot plate may also be used, but be careful not to overheat the watch—the display and internal battery are both susceptible to heat damage.
- From this point, the battery removal procedure for the 41 mm watch differs slightly from the 45 mm version.
- If you're replacing the battery for a 41 mm watch, continue with this step.
- If you're replacing the battery for a 45 mm watch, continue with this step.
- The following six steps show how to remove the battery from a 41 mm Apple Watch Series 7.
- Insert an opening pick between watch body and the long edge of the battery.
- Use constant, steady pressure to slowly pry up the battery.
- Take care not to puncture or bend the battery with your tool—a punctured or bent battery may leak dangerous chemicals or cause a fire.
- Don't try to remove the battery all the way yet. It is still connected to the motherboard.
- The battery flex cable is long enough to allow you to place the battery outside the watch housing, but avoid straining or folding the the cable sharply when you lift the battery out of its recess.
- Carefully lift and swing the battery out of its recess and place it next to the watch body.
- Use a pair of tweezers to peel the black protective tape off the ZIF connector.
- Make sure to only peel the tape off the connector but avoid to remove it completely. Otherwise you have to replace the tape during reassembly.
- Use one arm of your tweezers or the pointed end of a spudger to pry up the lock bar on the ZIF connector securing the battery cable.
- Use a pair of tweezers to pull the battery cable out of the battery ZIF connector.
- During reassembly make sure to push the cable all the way back into the ZIF connector before locking the it. Reapply the black tape on top of the connector to secure the battery cable or replace it with new one. Otherwise the battery cable may slip out of the connector and your watch won't turn on.
- Remove the battery.
- Do not reuse the battery if it has been deformed or damaged, as doing so is a potential safety hazard. Replace it with a new battery.
- If you're reusing your old battery during reassembly, you can reuse the existing adhesive to secure the battery during reassembly.
- Secure a new battery with pre-cut adhesive or double-sided adhesive tape. In order to position it correctly, apply the new adhesive into the device at the places where the old adhesive was located, not directly onto the battery. Press the new battery firmly into place.
- The following six steps show how to remove the battery from a 45 mm Apple Watch Series 7.
- Insert an opening pick between watch body and the long edge of the battery.
- Use constant, steady pressure to slowly pry up the battery.
- Take care not to puncture or bend the battery with your tool—a punctured or bent battery may leak dangerous chemicals or cause a fire.
- Don't try to remove the battery all the way yet. It is still connected to the motherboard.
- The battery flex cable is long enough to allow you to place the battery outside the watch housing, but avoid straining or folding the the cable sharply when you lift the battery out of its recess.
- Carefully lift and swing the battery out of its recess and place it next to the watch body.
- Use a Tri-Point Y000 screwdriver to remove the 1.1 mm-long screw securing the battery connector bracket.
- Use a pair of tweezers to remove the battery connector bracket.
- Use a spudger to disconnect the battery cable by prying the connector straight up from its socket.
- Remove the battery.
- Do not reuse the battery if it has been deformed or damaged, as doing so is a potential safety hazard. Replace it with a new battery.
- If you're reusing your old battery, you can reuse the existing adhesive to secure the battery during reassembly.
- Secure a new battery with pre-cut adhesive or double-sided adhesive tape. In order to position it correctly, apply the new adhesive into the device at the places where the old adhesive was located, not directly onto the battery. Press the new battery firmly into place.
- During reassembly apply new adhesive where necessary after cleaning the relevant areas with isopropyl alcohol (>90%).