Fender Champion 600 Volume Pot Replacement
ID: 154872
Description: Once upon a time I bought this amp used in a...
Steps:
- If you're an experienced iFixer - it'll take you about 10 minutes to get it done.
- Check the list of gear needed for this project. I offered the tools that I used but it’s absolutely doable with less or some other similar tools.
- Important: disconnect an amp from the power outlet!
- Please be careful - tube amps can hold a serious amount of electrical charge that can cause injuries or even death. Avoid touching any wires or contacts with your bare hands or instruments that have no reliable insulation.
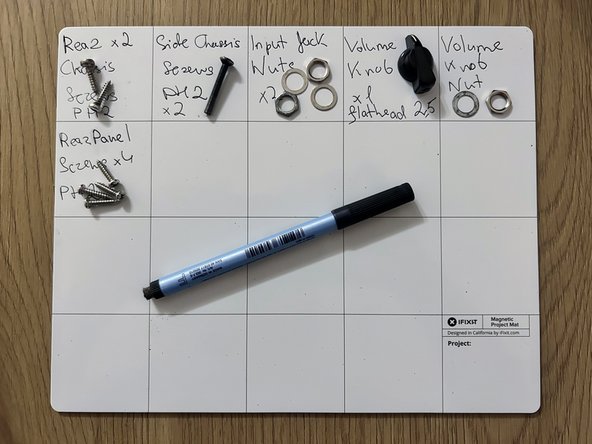
- Let's start by removing the rear chassis screws. All of the screws we are going to deal with work nicely with a PH2 bit.
- Then remove two side screws that also hold the amp chassis in place. Those are 4x30 mm btw.
- Below the chassis you'll find 4 more phillips screws holding a rear cover in place - remove them as well.
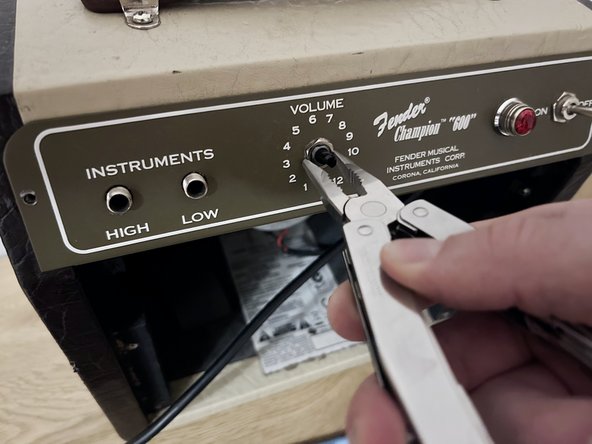
- Now it's time to remove the nuts on the input jacks and our broken volume pot - I used pliers to do that, but it is advisable to use a small adjustable wrench in order to avoid any unwanted scratches.
- Next let's remove the volume knob - you'll need a flat 2.5 bit for that. Carefully insert the bit into the hole on the rear side of the knob to undo a tiny screw inside of it.
- That's it - chassis is free 👍.
- Hint: use a plastic tray or a magnetic mat to safely store all of those screws and nuts. You can even write where all those parts come from.
- Slightly lift it up and pull towards you with just a hand to access the internals.
- That's it - the amp's chassis is right in front of you.
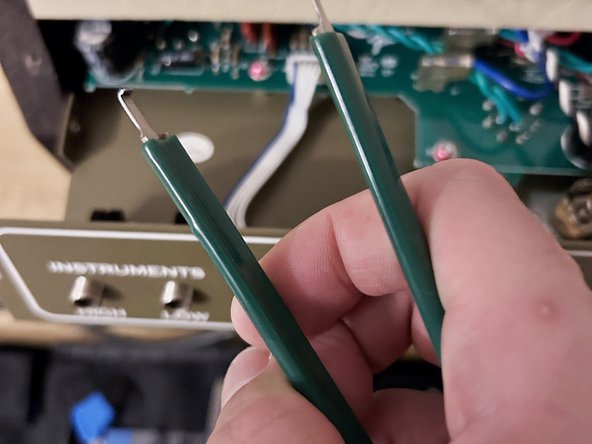
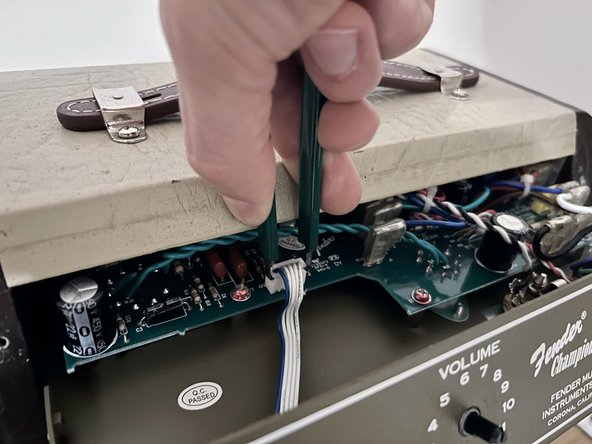
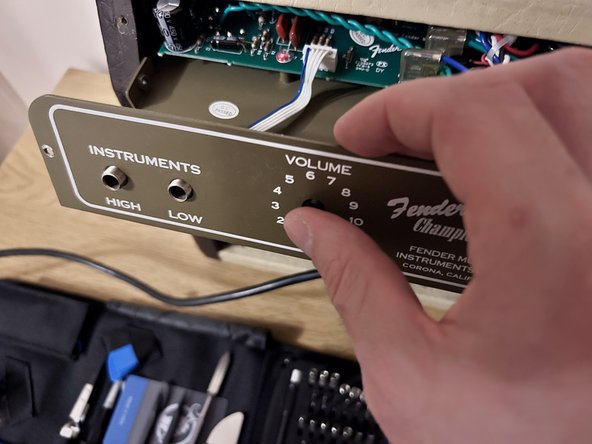
- Disconnect the panel that holds the input jacks and our volume pot. For this you may either use your fingers or an IC Extractor/Connector Puller.
- Then lightly push one of the input jacks inside of the chassis to remove the panel.
- Here's our panel safely removed from the chassis - front and rear view.
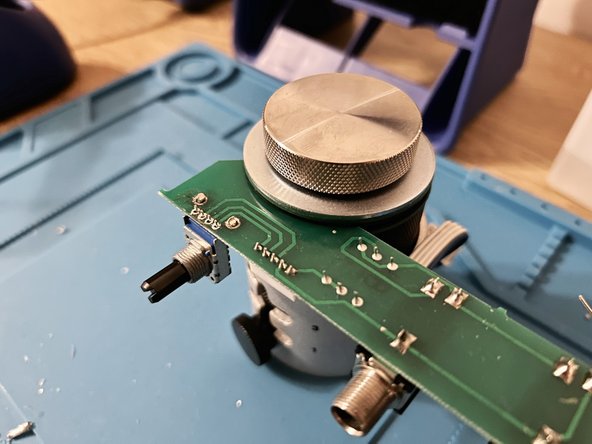
- Now let's replace a broken volume pot. For this we are obviously going to need a soldering iron, a flush cutter and a desoldering pump.
- Hint - I used flush cutters to cut a broken pot off from the PCB and then used a desoldering pump to clean the mounting holes in order to get them ready for a new pot.
- Also a good PCB holder may come in handy as you may see in my example.
- After removing a broken pot and preparing a PCB for the replacement put a new pot into place.
- Add more flux - don't be shy there - and solder a new pot in place.
- Clean any flux residue with isopropyl alcohol and a cotton swab.
- Connect a fixed PCB to the amp's main board and assemble everything back together.
- Check if everything works as it should - plug in your guitar and adjust a volume - if it works and it's smooth and quiet...