Samsung Galaxy Book Pro 15" Touchpad Replacement
ID: 154946
Description: Use this guide to replace the touchpad in your...
Steps:
- Before you begin, power down your laptop and unplug it.
- There are two kinds of rubber feet along the top and bottom of the rear case. Keep track of their position as you remove them.
- Insert an opening pick between the rubber foot and the rear case.
- Pry up with the opening pick to release the clips securing the foot.
- Remove the foot.
- Repeat this procedure for the three remaining feet.
- During reassembly, press the feet into their correct slot to reinsert them. Mismatched feet won't fit correctly.
- Use a Phillips screwdriver to remove the four 4.5 mm-long screws securing the rear case.
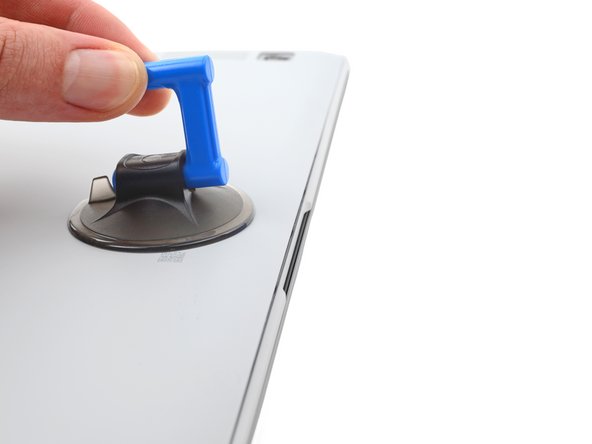
- Apply a suction cup to the rear case, as close to the center of the bottom edge as possible.
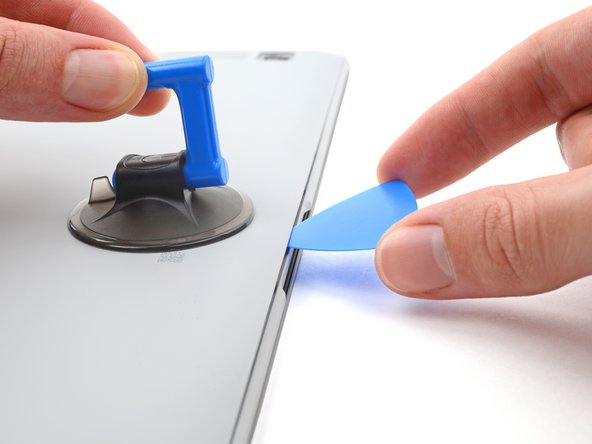
- Pull up on the suction cup with strong, steady force to create a gap between the rear case and the frame.
- Insert an opening pick into the gap.
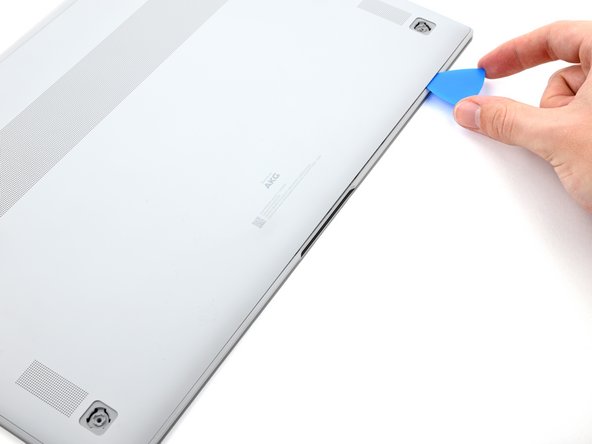
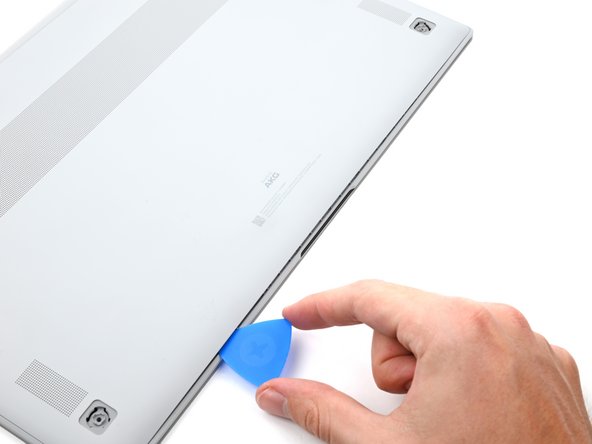
- Slide the pick along the bottom edge of the rear case to release its plastic clips.
- Repeat this process for the left and right edges, but stop before reaching the top edge.
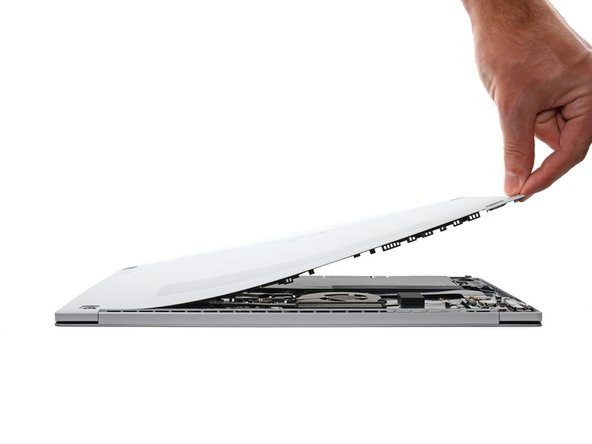
- The top edge of the rear case is lightly adhered to the frame.
- Pull the top of the rear case away from the frame to separate the adhesive and release the remaining clips.
- If you're having trouble separating the adhesive, use an iOpener, hair dryer, or heat gun to soften it.
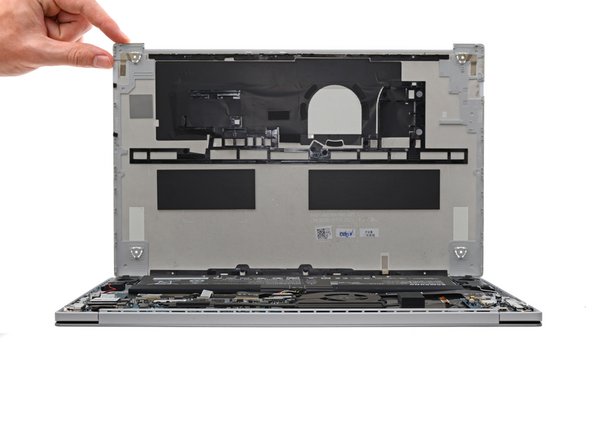
- Remove the rear case.
- During reassembly, perform the following:
- If you're using a using a genuine Samsung replacement rear case, be sure to peel off any adhesive liners from the rear case before securing the top edge's clips.
- If you're reusing your rear case, you can use some pre-cut adhesive to re-adhere the top edge if your existing adhesive is no longer sticky.
- This is a good point to power on your laptop and test all functions before sealing it up. Be sure to power your laptop back down completely before you continue working.
- Insert a spudger between the frame and the bottom of the battery cable connector.
- Pry up and disconnect the battery cable connector.
- Use a Phillips screwdriver to remove the four 4.5 mm-long screws securing the battery.
- Take care not to puncture the battery with your screwdriver—a punctured battery may leak dangerous chemicals or cause a fire.
- Lift the battery straight out of the frame and remove it.
- Use tweezers, or your fingers, to peel back and remove the yellow tape covering the touchpad's cable connector.
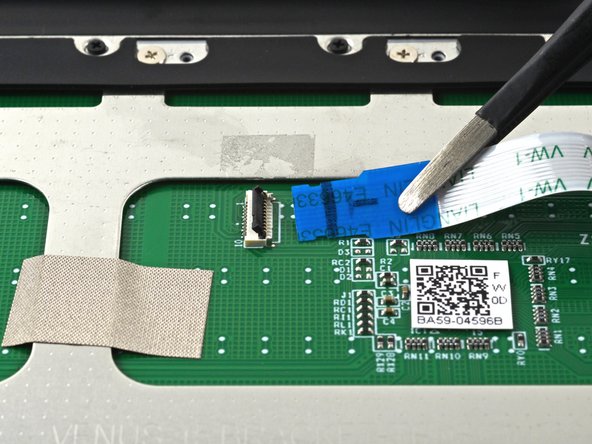
- Use a spudger to gently pry up the locking flap on the ZIF connector for the touchpad cable.
- Disconnect the touchpad cable by sliding it out from its socket on the touchpad.
- The touchpad cable is lightly adhered to the touchpad.
- Use your fingers, or tweezers, to peel the touchpad cable away from the touchpad and separate its adhesive.
- Use a Phillips #00 screwdriver to remove the five 1.7 mm screws securing the touchpad.
- Swing the display open slightly, but keep the laptop upside-down.
- Tilt the touchpad upwards and away from the frame.
- Pull the touchpad towards the top of the laptop to separate it from its recess in the frame.
- Remove the touchpad.
- Use tweezers to peel off and remove the conductive tape on the touchpad.
- Set the tape aside. You'll reuse it during reassembly.