Nest x Yale Lock Deadbolt Button Replacement
ID: 155124
Description: If your Nest x Yale Lock is related to any...
Steps:
- Before proceeding, make sure the batteries are removed to avoid being electrocuted and damage to the lock
- If you do not know how to remove the batteries then I would recommend looking at our battery replacement guide for help.
- Remove 3 screws as shown to remove the first cover.
- The 3 screws are 0.25 inches length
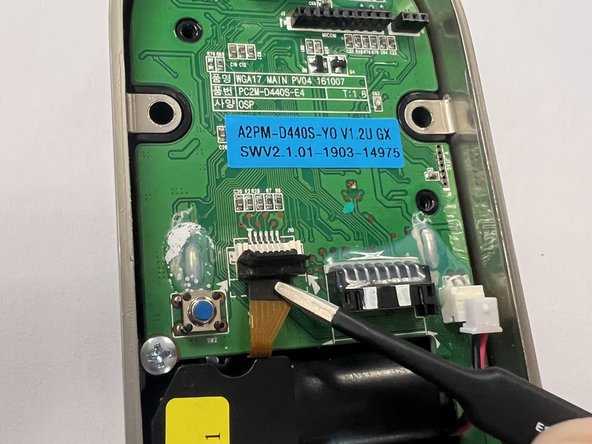
- Using a pin to push down the knot holding the wire and the tweezer to safely remove the wire from the motherboard
- Use a spudger or plastic tool to lift the ZIF lock upward (as shown in the first picture).
- Use tweezers to remove the ribbon cable from the motherboard.
- Continue to remove 2 screws holding the motherboard to the lock shell.
- The screws are 0.20 inches in length.
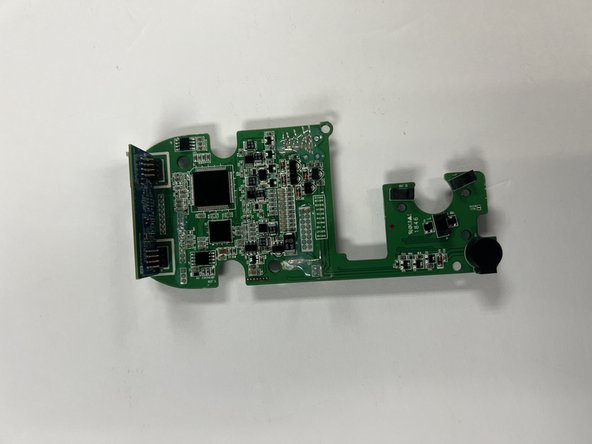
- Use an opening tool to push the motherboard out as shown in the picture.
- After, fully removing the motherboard.
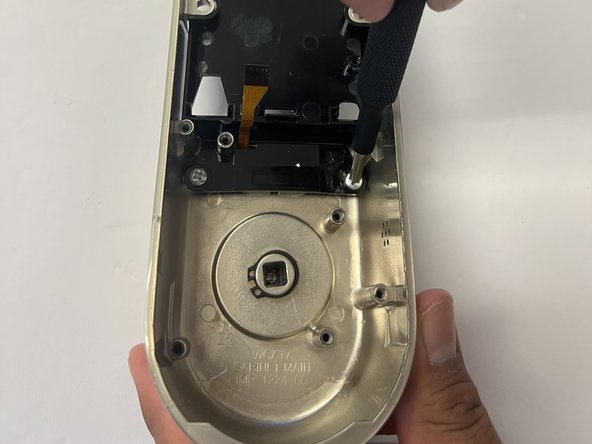
- Remove the .25 in screws circled in red to remove the lock compartment.
- Lastly, take out the lock as shown in the second picture.
- Move onto removing the .25 inches screws in red to take out the battery holder.
- Remove the .15 inches screws in orange as well.
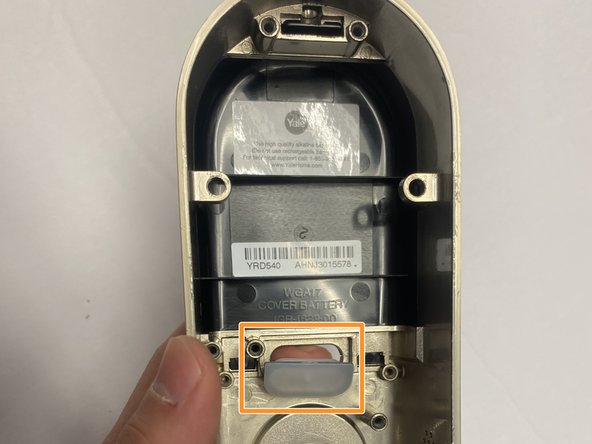
- After unscrewing the battery holder you can now see the lights circled in red
- The part squared in orange is a rubber that reflects the light of the LED.