Sony Vaio SVE171C11L Motherboard Replacement
ID: 155207
Description: If you want to upgrade the GPU, the graphics...
Steps:
- Turn the laptop facedown.
- Locate the battery compartment at the top of the laptop base. You will see two tabs on it.
- Push the two tabs up to release the battery. Set it aside.
- Rotate the laptop so the empty battery compartment is now at the bottom.
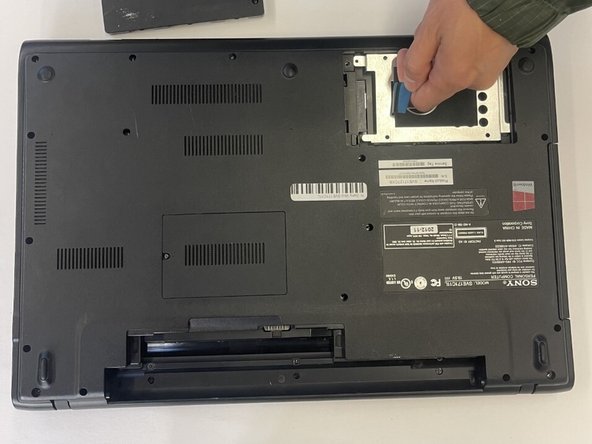
- Remove the two screws that secure the hard drive cover using a T5 Torx screwdriver. Set it aside.
- Remove the three screws securing the hard drive disk in place.
- Use the blue ribbon attached to the hard drive disk to carefully remove it from laptop. Set it aside.
- Remove all screws holding the back panel from the laptop.
- Carefully pull up the back panel to remove it.
- Remove the cables from the fan and unscrew the heatsink.
- The heatsink has many metal pieces jutting out from its base and is located under the fan.
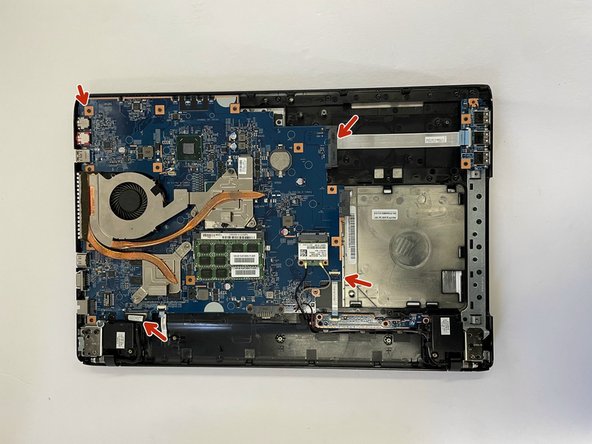
- Carefully disconnect the tabs on the edges of the motherboard.
- Unscrew the screws holding the motherboard in place. Set them aside.
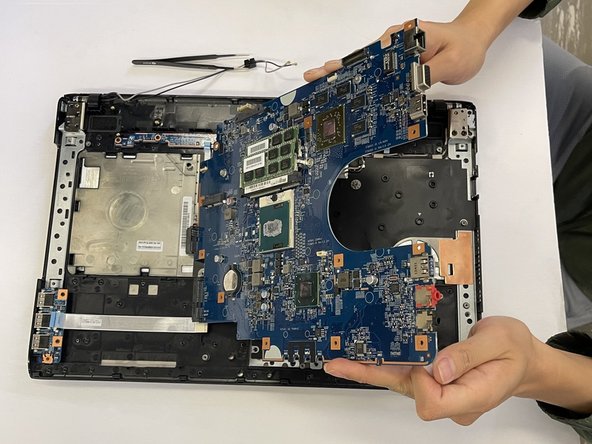
- On the underside of the motherboard, disconnect the keyboard from the motherboard.
- Once ALL cables are disconnected, carefully remove the motherboard.