Lenovo ThinkPad X1 Yoga Display assembly Replacement
ID: 155370
Description: With the motherboard and battery removed there...
Steps:
- Start by flipping over the notebook and loosen all of the nine screws. They should remain in the backcover though.
- Remove your stylus if not already done.
- Remove the cover from the upper corner by using a spudger.
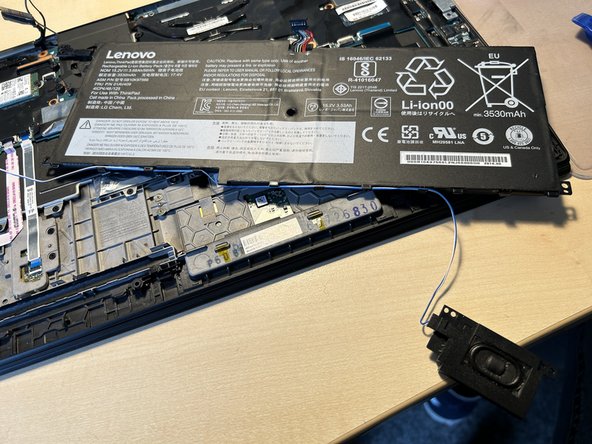
- In the following steps we will work on the notebook as shown in the first picture.
- But before we do anything else the battery must be unplugged first.
- Use a pair of tweezers or a spudger to lift off the battery connector from the mainboard.
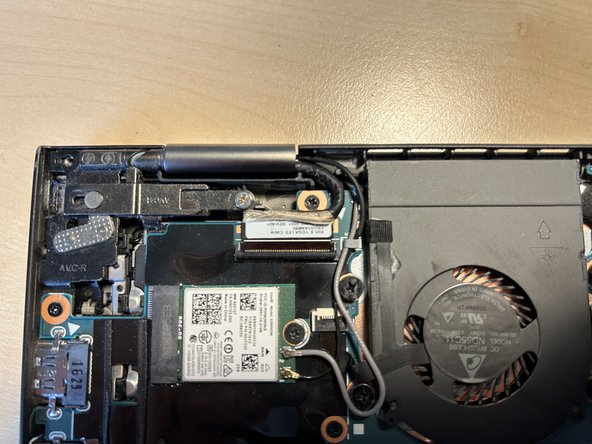
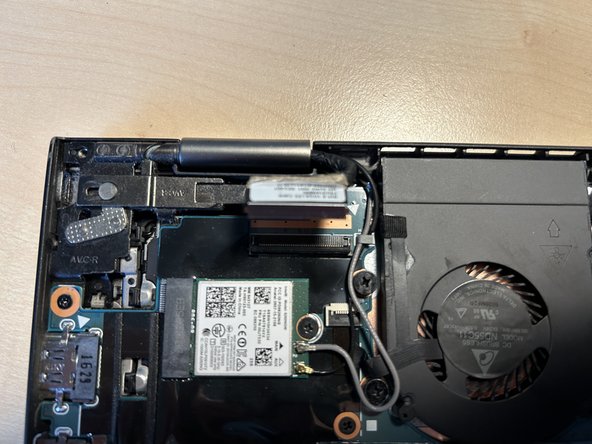
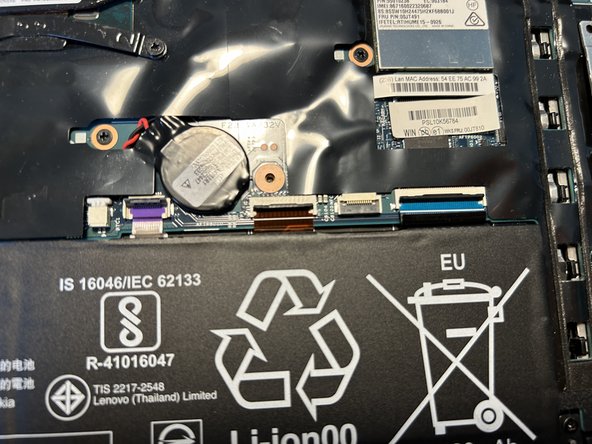
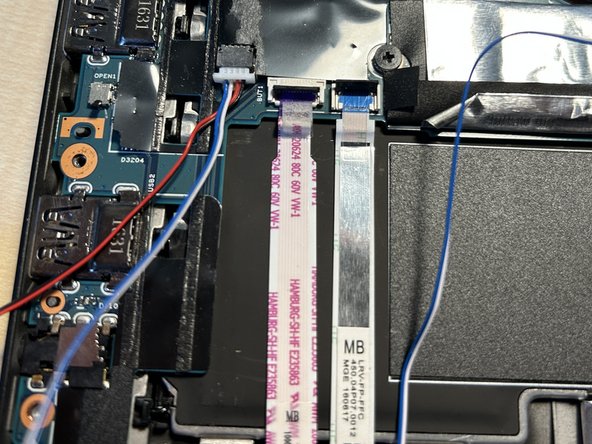
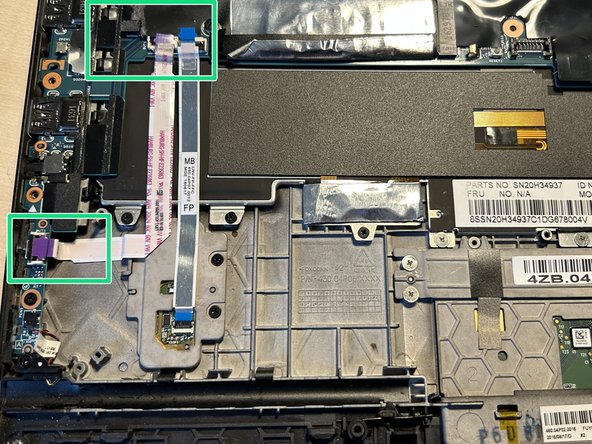
- On the upper left corner you will find a ribbon connector which must be removed.
- Flip up the lever completely and pull out the cable.
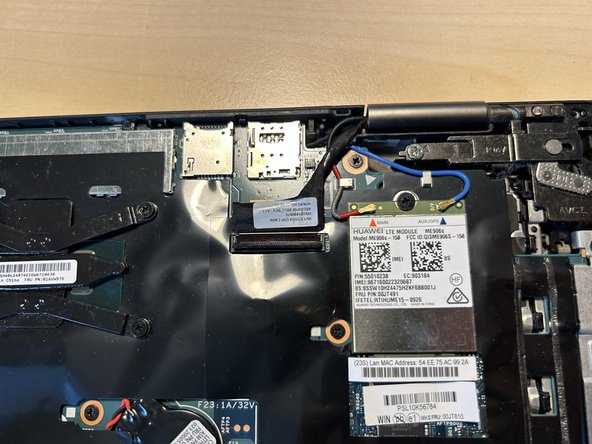
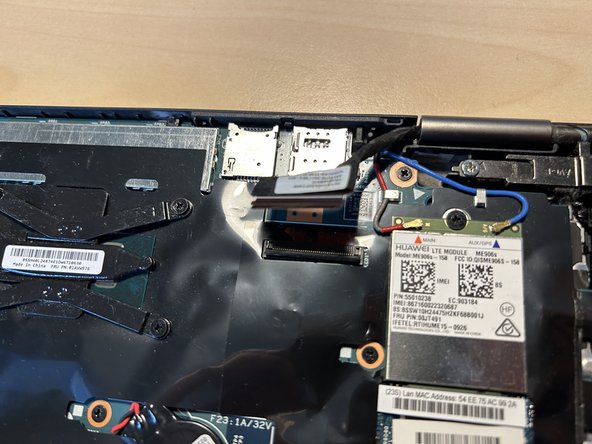
- Another display connector like the left is located in the right.
- Do as you did before - flip up the lever and pull out the ribbon cable.
- You could unscrew the display hinge screw now if you want.
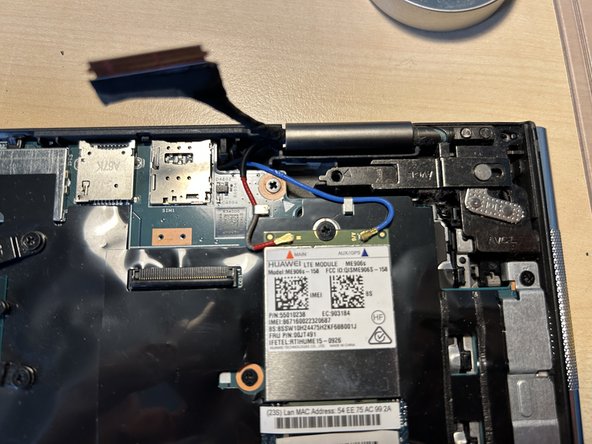
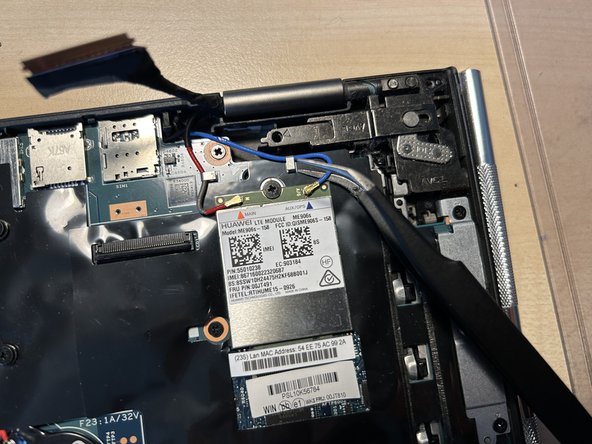
- If you have a LTE card installed like me unplug the two connectors with a pair of tweezers but make sure not to damage cables nor connectors.
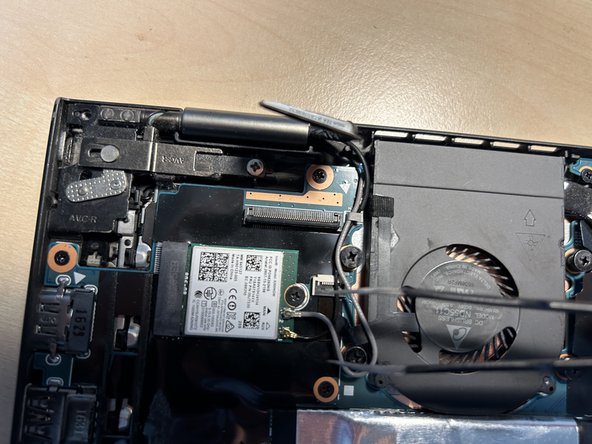
- The wi-fi card is located on the left side and also uses two antenna connectors.
- Gently unplug the connectors as you did before with the LTE card.
- While you're here you could unscrew the left hinge if you like.
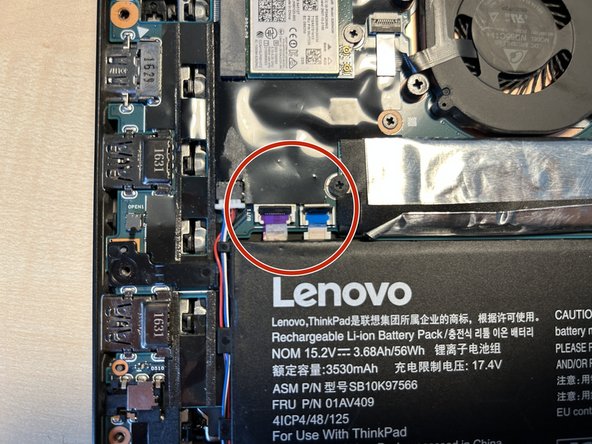
- There are ribbon cables above the battery. Unplug them in the same manner as you already did before.
- Before we move on we should just unscrew all screws marked with red circles.
- There is a metal shield holding down the mainboard to the right side which has to be removed as well.
- Make sure to keep track of the screw locations when removing them as they have different lengths.
- Left to the battery are more ribbon connectors to unplug.
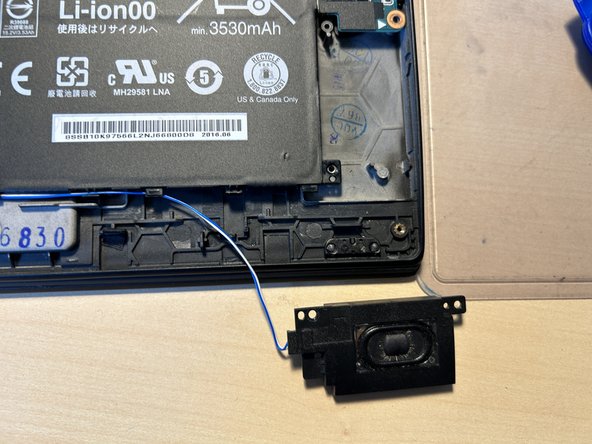
- If not already done unscrew the two screws holding the right speaker.
- The left speaker is secured with two screws as well.
- When removed the battery should come out as well.
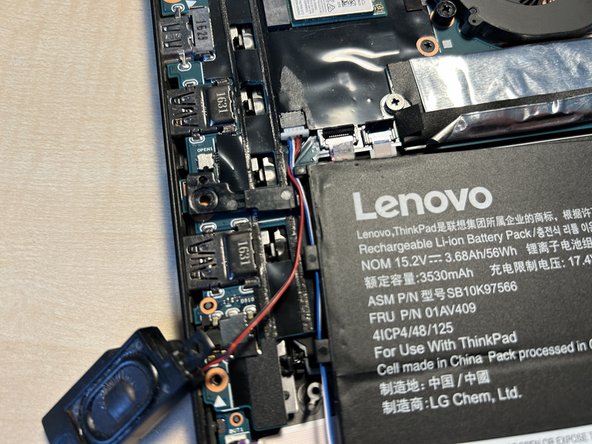
- Note that the right speaker is attached to the battery by its wiring. You do not need to untangle them though.
- I did separate battery and wiring which is not mandatory though.
- Use a spudger or your fingernails to pull out the speaker plug from the mainboard by the white plastic - not the cable!
- With the speakers, wires, ribbon cables and all screws removed you can go ahead and finally remove the mainboard.
- After removing the battery, unscrewing all the screws and disconnecting all ribbon connectors the mainboard can be lifted out from the left to the right.
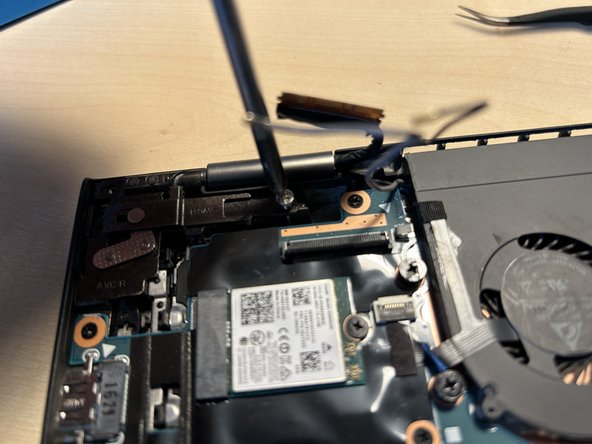
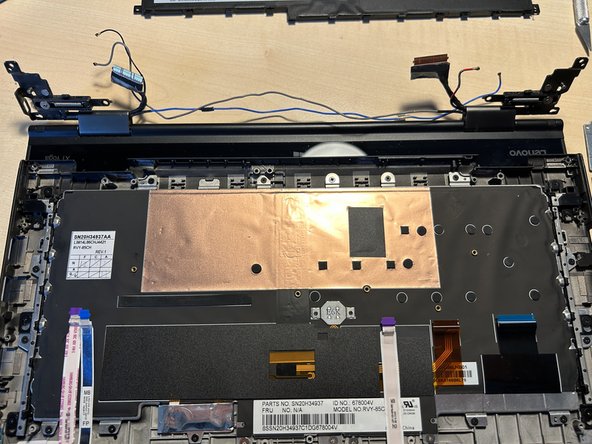
- If not already done in a preceding step you will find two silver PH1 screws in the upper left and right corners by the display hinges.
- Remove both of them to separate the display assembly from the C-Cover.
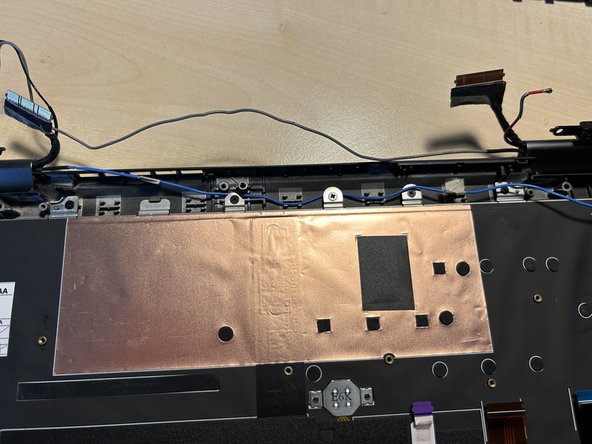
- Do not just rip off the display assembly yet, you still have to manage the antenna wiring
- Depending on your configuration you have one or two wires tucked in the upper area of the device
- When you have removed all wiring from the C-Cover you may flip up the hinges carefully and remove the screen.


