Acer Predator 17 G9-791 Bottom Case Replacement
ID: 155390
Description: If you need to access the inside of your Acer...
Steps:
- The service panel can be located on the bottom of the device. It is shown here as the panel located in the middle of the device, going from the upper vents to the bottom of the device.
- Loosen the two Phillips #0 screws.
- Pull up slightly on the top of the panel to help fully separate the screws from the rest of the device.
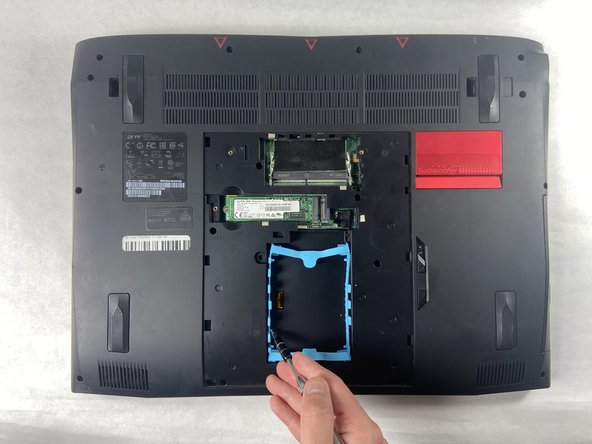
- Continue pulling up on the panel to separate it from the laptop and remove it.
- Remove the nine 4.5 mm Phillips #0 screws from the panel.
- Remove four 14 mm Phillips #0 screws.
- Remove six 7 mm Phillips #0 screws.
- Slide the "unlock" slider up located to the right of the service panel and pull the disc tray out.
- Remove the two 4.5 mm Phillips #0 screws located underneath the removed optical drive.
- Pry up on the edges of the bottom cover and lift the bottom case off of the device.