Motherboard Cover Removal
ID: 155439
Description: This is a prerequisite-only guide! This guide...
Steps:
- Insert a SIM eject tool, bit, or straightened paperclip into the SIM card tray hole on the left edge of the phone.
- Push the SIM eject tool into the hole to eject the SIM card tray.
- Remove the SIM card tray.
- Heat an iOpener and apply it to the back cover's right edge for two minutes.
- A hair dryer, heat gun, or hot plate may also be used, but be careful not to overheat the phone—the display and internal battery are both susceptible to heat damage.
- Flip your phone over so the display is facing up.
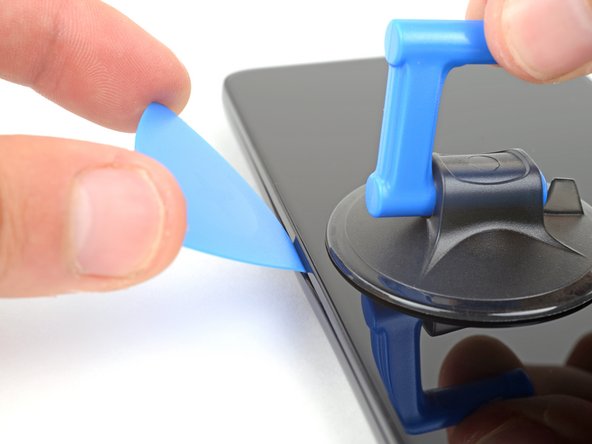
- Apply a suction handle to the middle of the display's left edge, as close to the edge as possible.
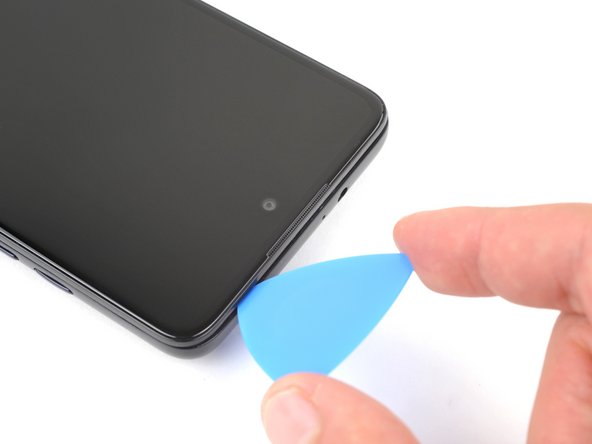
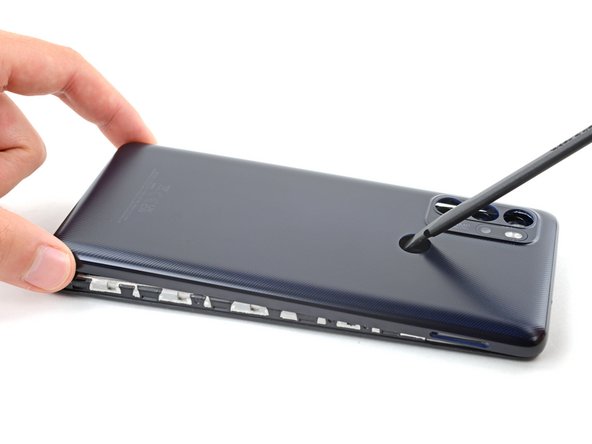
- Place the tip of an opening pick in the small gap between the back cover and the display.
- Pull up on the suction cup with a strong, steady force and push the opening pick down at a 45 degree angle until it slides into the gap between the back cover and the display.
- If you're having a hard time inserting the pick, reheat the adhesive with an iOpener and try again.
- Both adhesive and clips secure the back cover.
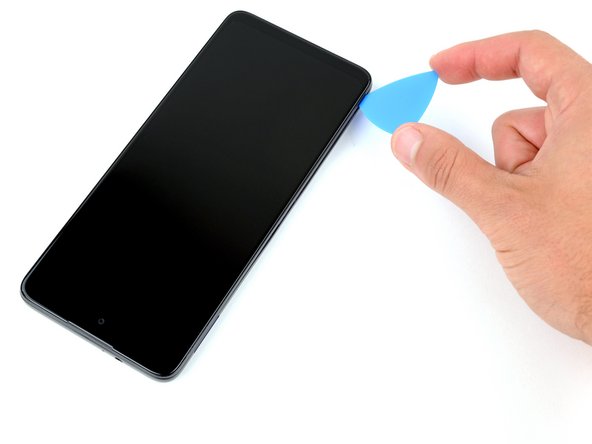
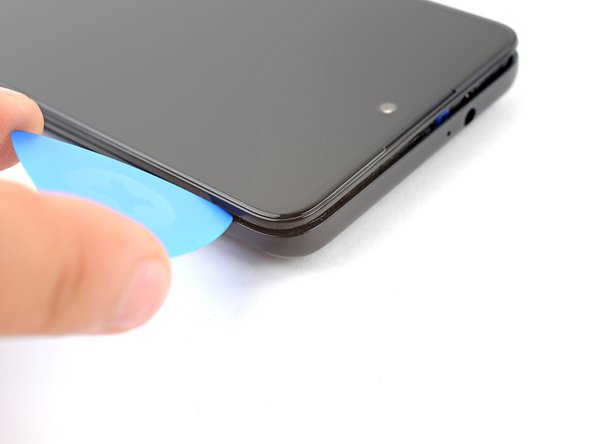
- During steps that involve sliding the opening pick, keep it angled down at a 45 degree angle.
- Slide the pick along the left edge down to the bottom left corner, and then up to the top left corner, to release the clips and slice the adhesive.
- Leave the pick inserted in the top left corner to prevent the adhesive from resealing.
- Flip your phone over and apply a heated iOpener to the back cover's top edge for two minutes.
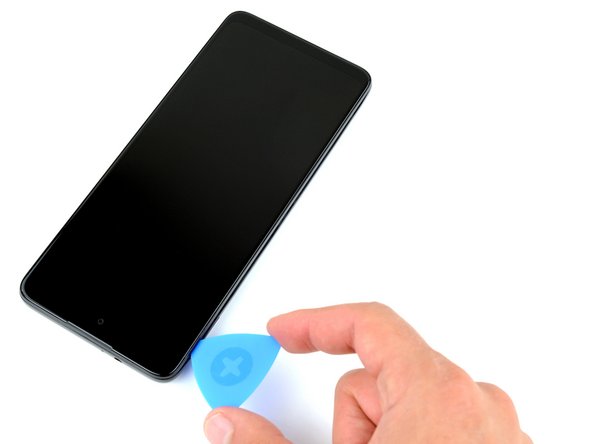
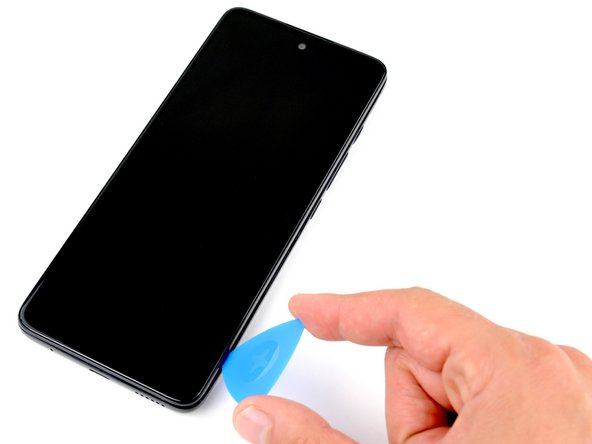
- Flip your phone over and rotate the pick around the top left corner.
- Slide the pick along the top edge to release the clips and slice the adhesive.
- Leave the pick inserted in the top right corner.
- Flip your phone over and apply a heated iOpener to the back cover's left edge for two minutes.
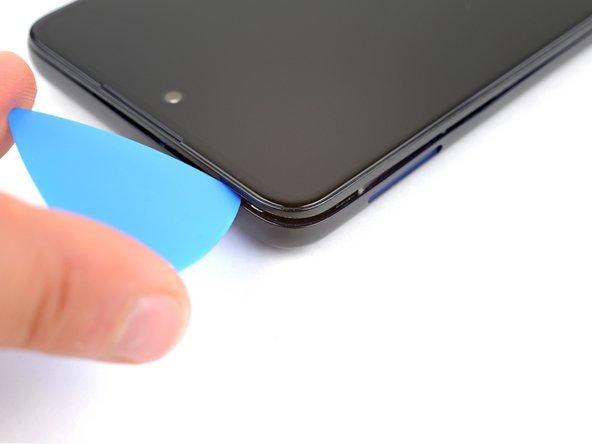
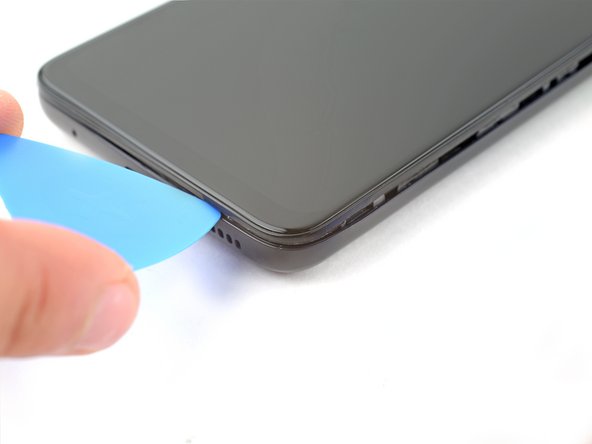
- Flip your phone over and rotate the pick around the top right corner.
- Slide the pick along the right edge to release the clips and slice the adhesive.
- Leave the pick inserted in the bottom right corner to prevent the adhesive from resealing.
- Flip your phone over and apply a heated iOpener to the back cover's bottom edge for two minutes.
- Flip your phone over and rotate the pick around the bottom right corner.
- Slide the opening pick along the bottom edge to release the clips and slice the adhesive.
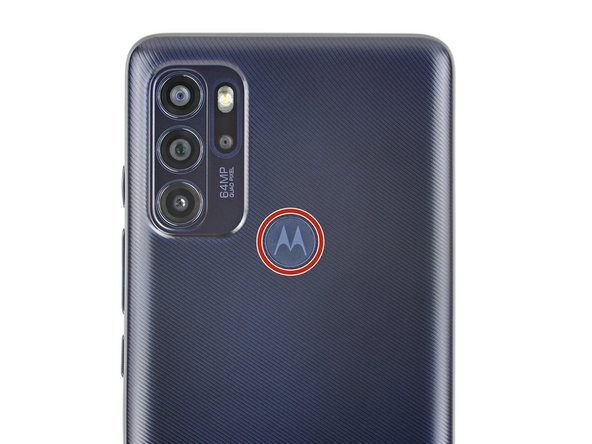
- Flip your phone over and apply a heated iOpener to the fingerprint sensor on the back cover for two minutes.
- Adhesive secures the fingerprint sensor to the back case.
- A fragile cable secures the fingerprint sensor to the motherboard. Be very careful during this step to avoid damaging the cable.
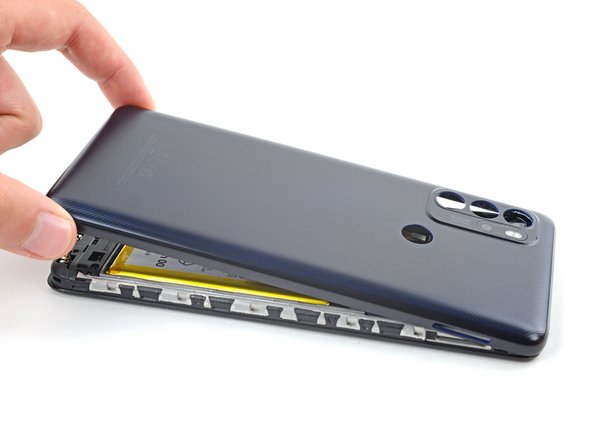
- Press down on the fingerprint sensor with the flat end of a spudger or your finger.
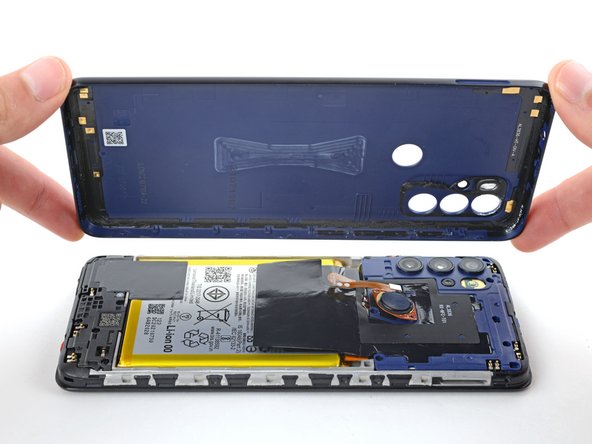
- While pressing down on the fingerprint sensor, gently pull up the bottom edge of the back cover until the sensor detaches.
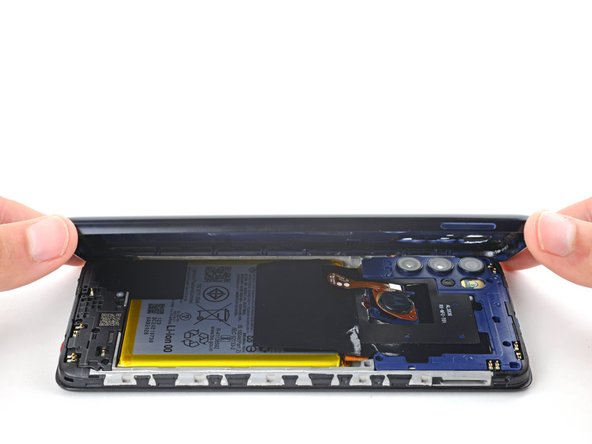
- Lift the back cover up and remove it.
- If the back cover is still stuck to the frame, slide an opening pick around the entire perimeter until the cover separates completely.
- During reassembly:
- This is a good point to test your phone's functionality before sealing it up. Use this guide to run a hardware test. Be sure to power your phone back down completely before you continue working.
- Apply new adhesive to the perimeter of the underside of the back cover after cleaning the relevant areas with isopropyl alcohol (>90%) and a micro-fiber cloth.
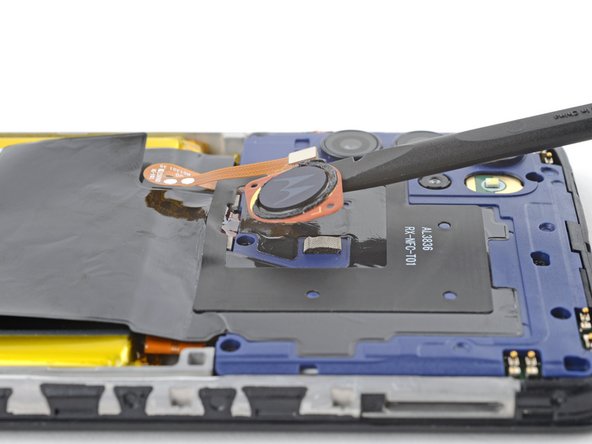
- The fingerprint reader is secured to the motherboard cover with light adhesive.
- Insert the flat end of a spudger under the fingerprint sensor.
- Gently pry up and detach the fingerprint sensor from the motherboard cover.
- Don't try to remove the fingerprint sensor yet, as it's still attached to the motherboard by a delicate ribbon cable.
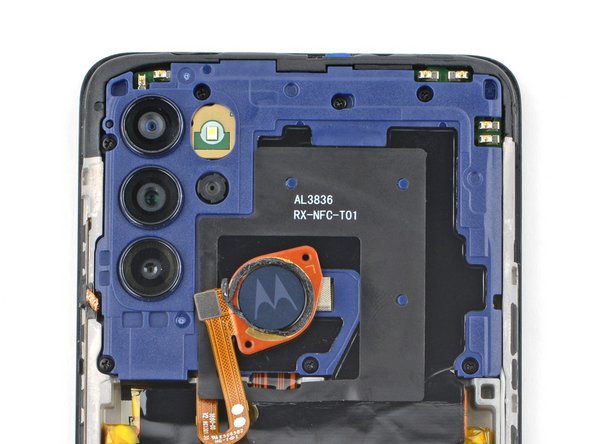
- Use a Phillips screwdriver to remove the seven 3.9 mm screws securing the motherboard cover.
- The motherboard cover is secured with tight clips.
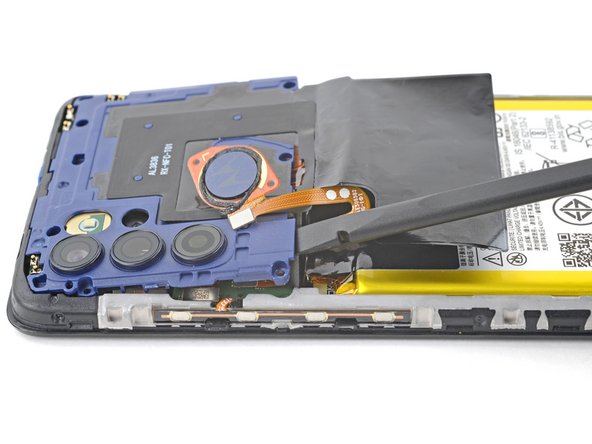
- Insert the flat end of a spudger in the gap between the frame and the bottom left corner of the motherboard cover.
- Lift straight up with the spudger to release the clips securing the motherboard.
- Don't pry against the battery, as this could damage it.
- This may take take a few attempts. It you're having trouble, try gripping the spudger closer to the flat end.
- During reassembly, press down around the perimeter of the motherboard cover to engage the clips.
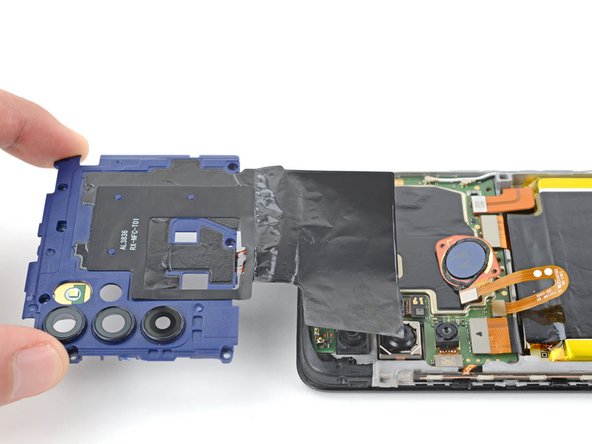
- Pull the motherboard cover towards the top of the phone to remove it.
- Make sure to avoid the fingerprint sensor cable when removing the cover, as it can easily rip.