Razer Huntsman Tournament Edition Port Replacement
ID: 155610
Description: If your port is either wobbly or...
Steps:
- Place the unplugged keyboard on a flat, clean surface appropriate for working on.
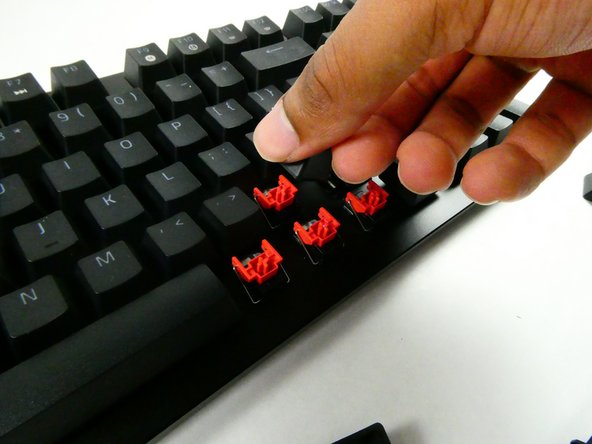
- Grip the keycap with your keycap puller.
- You can remove keycaps with your fingers if you don’t have a puller, but the adjacent keycaps must be removed first for sufficient grip.
- Pull with an upwards force to remove the keycap.
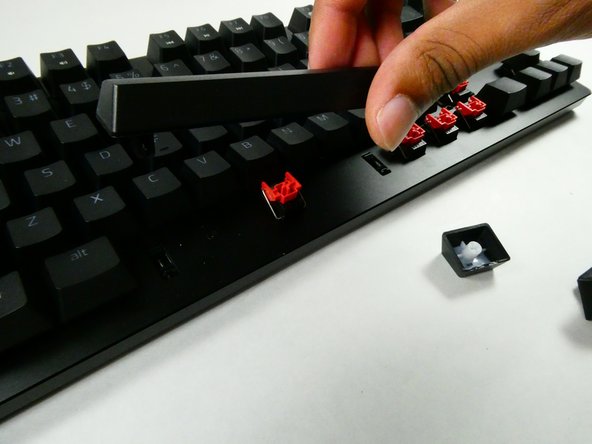
- Take a moment to clean the area that was previously obscured if it’s dirty.
- Use gentle force so as not to damage the stabilizers.
- Remove all of the keycaps with a keycap puller.
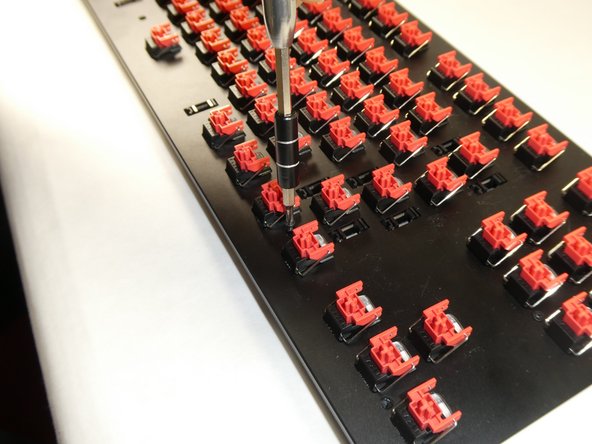
- Unscrew the thirteen 6.5 mm screws, using the Phillips #0 screwdriver, that are located in the front panel.
- Screw placement and quantity may vary per unit.
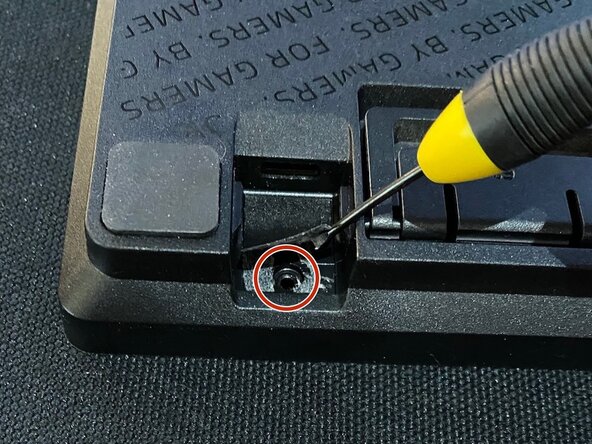
- If you have removed all screws and the front panel cannot be removed, there may be an additional screw near the USB port, below the sticker. (See third photo)
- Use an opening tool to pry open the chassis.
- Be careful not to use excessive force during this step so the plastic doesn't warp or break.
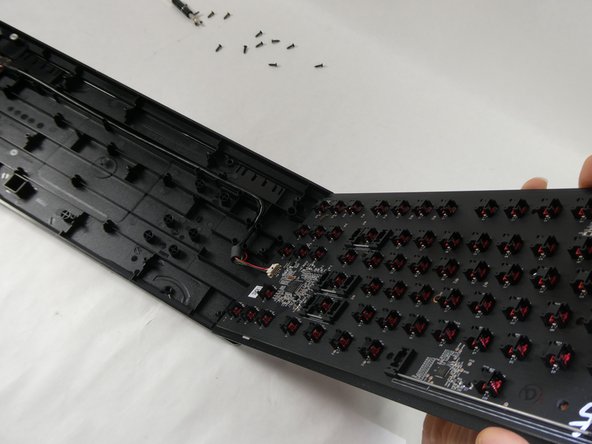
- Gently lift the front panel off.
- The front panel should be connected to the USB board. Do not tug the panel off as this may damage other parts.
- Disconnect the internal cable.
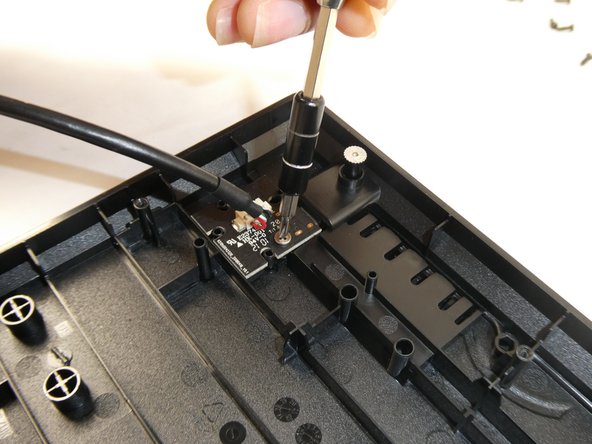
- Unscrew the board with the port.
- It should be located on the upper left, held in by two 6.5mm Phillips #0 screws.
- Move the cable out of the way for the second screw
- Detach the internal cable from the USB board.
- Do this carefully.
- Remove the USB board.