Left Nintendo Switch NES Controller Charging Rail Replacement
ID: 157648
Description: Use this guide to replace your Nintendo Switch...
Steps:
- Use a Tri-point #Y00 screwdriver to remove the six 6.0 mm screws securing the back case.
- Remove the back case from the controller.
- Use a Phillips #000 to remove three 3.0 mm screws holding the battery and it's housing.
- Remove the battery housing with the battery from the main board and set it aside.
- At this point the battery is still attached to the motherboard by a connector so don't pull it off the board.
- If you're not replacing the battery, you can leave it attached to the board to complete the repair, just be careful when moving them so you don't damage the connection.
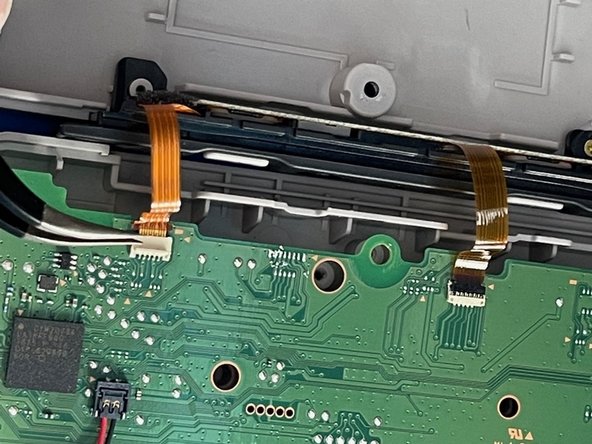
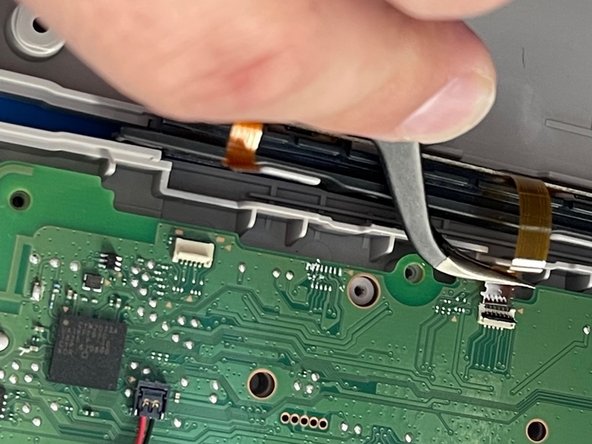
- Use the tip of a spudger or your fingernail to flip up the small locking flaps on the two ZIF Connectors. Then, you can safely pull the cable out.
- Be sure to pry up on the hinged flap, not the connector socket.
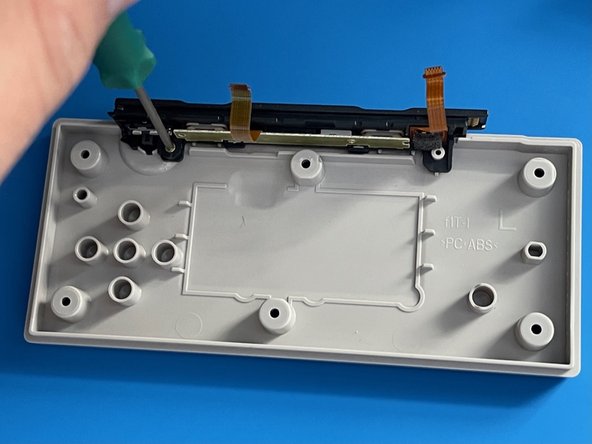
- Use a Phillips #000 to remove the single 3.0 mm screw holding the charging rail to the back plate.
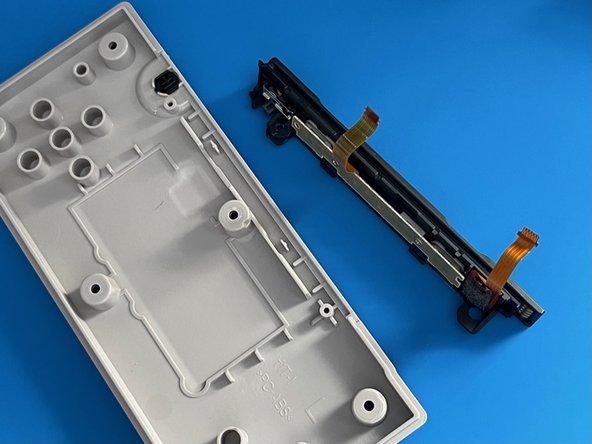
- Remove the charging rail.
- Use a Phillips #000 screwdriver to remove two 3.0mm screws from the rail PCB.
- Remove the charging rail PCB.
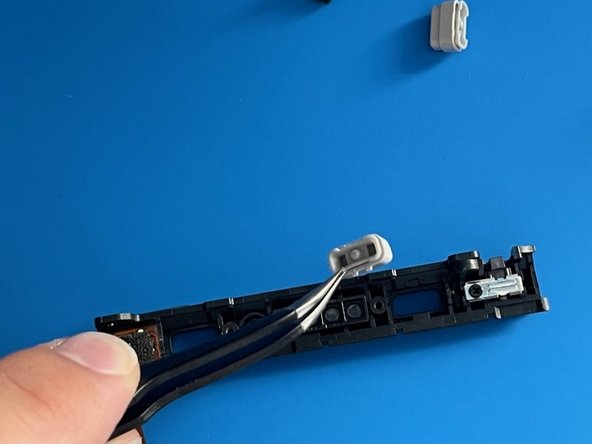
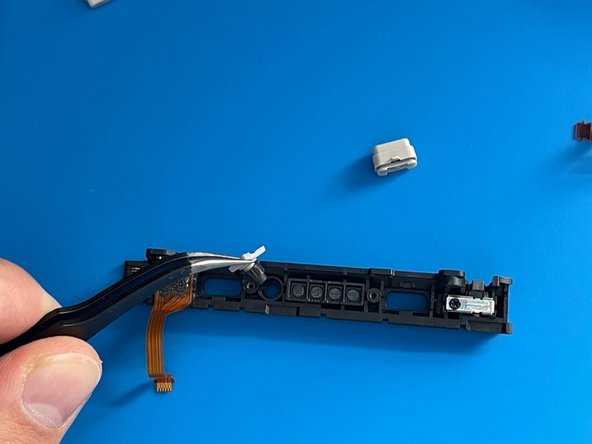
- Using tweezers, remove the SL and SR buttons.
- Do the same for the Sync button between them.