How to Replace the Pom Pom on a Beanie
ID: 157721
Description: Instead of tossing out the pom pom that fell...
Steps:
- Use sewing scissors to cut the string that attaches the pom pom to the beanie if it's still loosely attached.
- Measure 10 inches of yarn.
- Use your scissors to cut the yarn.
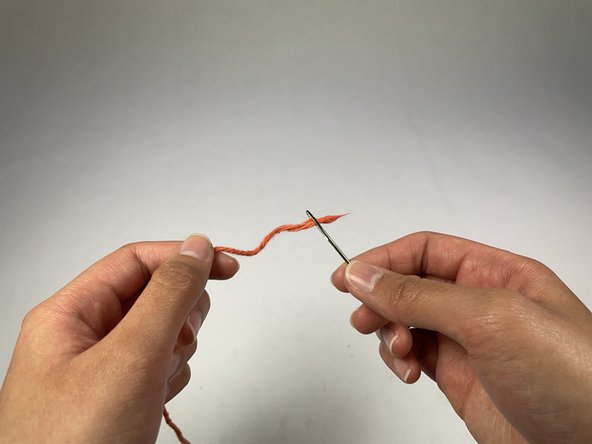
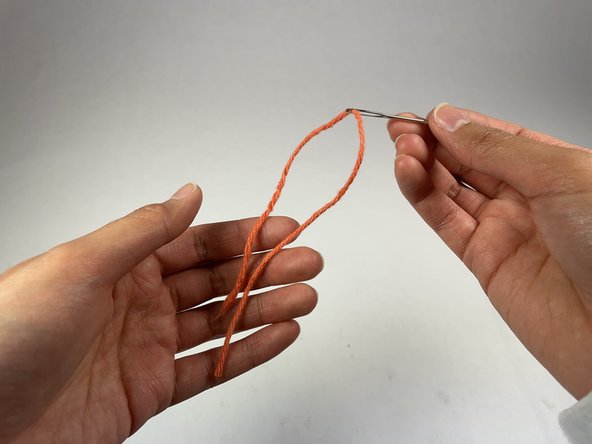
- Pull one end of the yarn through the eye of a hand sewing needle until you have an even amount of yarn on both sides of the needle.
- The point of the needle is sharp enough to pierce skin.
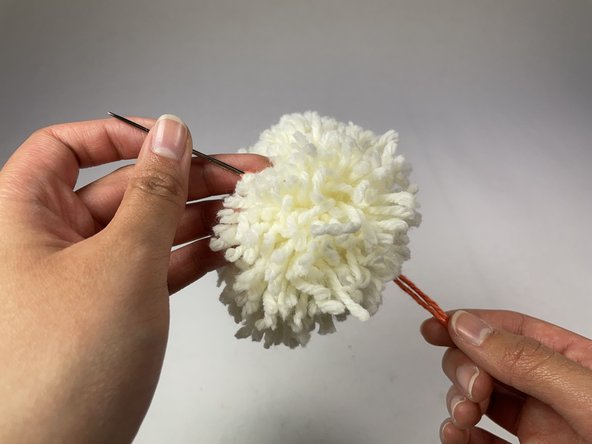
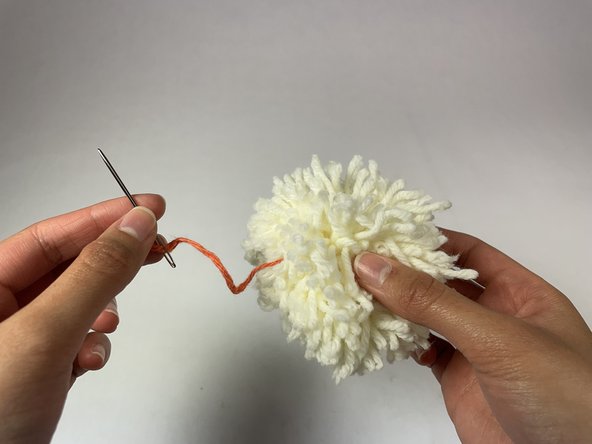
- Push the needle through the pom pom, leaving a 3 inch tail of yarn.
- Be aware of where the needle will exit and where your hand is holding the pom pom.
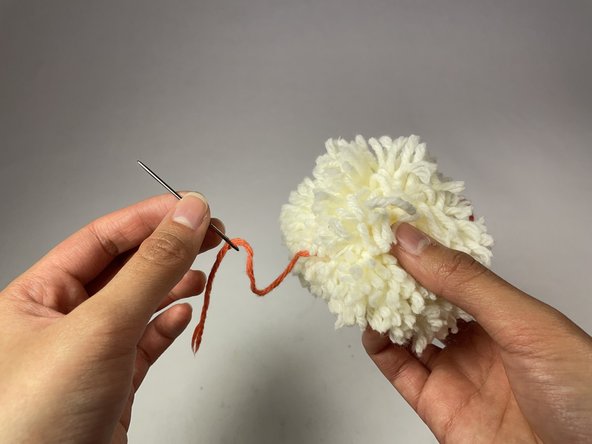
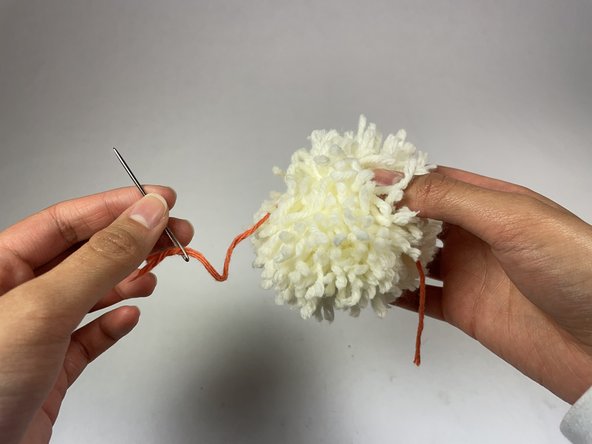
- Poke the pom pom with the point of the needle at the same place you poked it in Step 4.
- Pull the needle all the way through and keep the yarn on the needle.
- You will end up with two strands of yarn, one on each side of the pom pom.
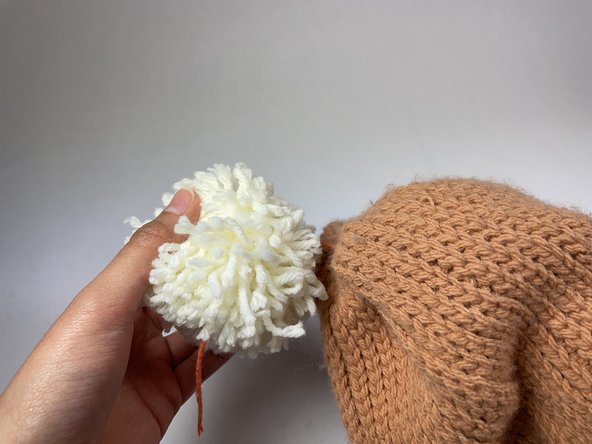
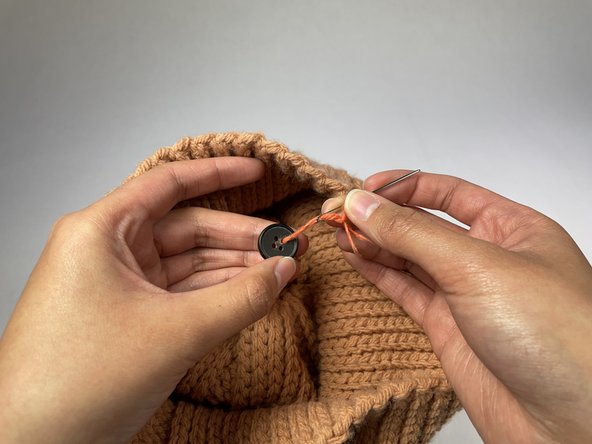
- Push the needle through the top of the beanie.
- Pull the needle all the way through until the pom pom is fixed against the beanie.
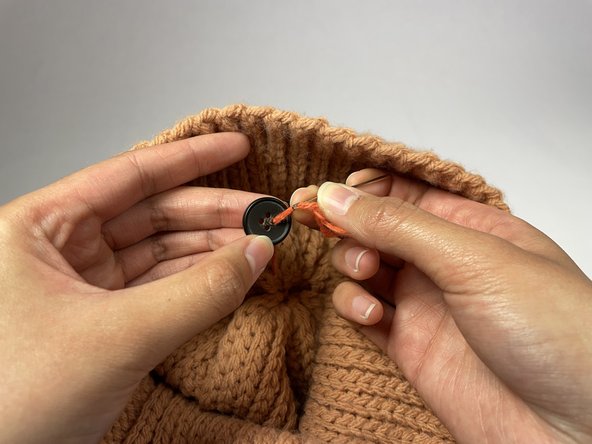
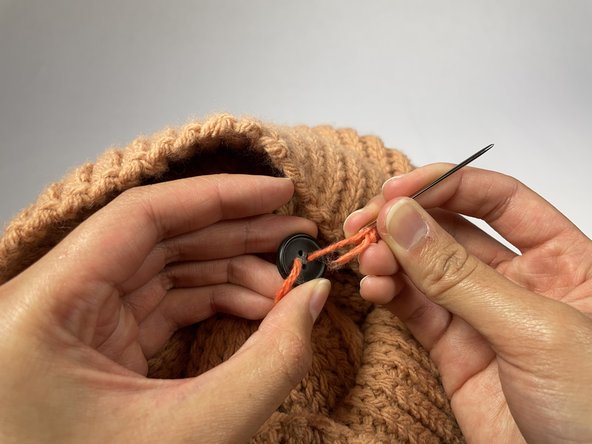
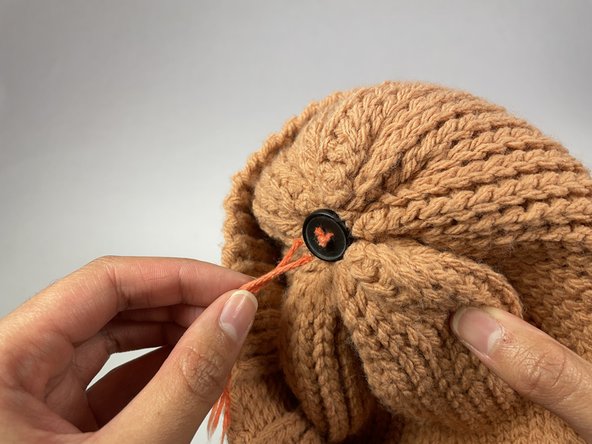
- Push the needle all the way through one of the holes of the button.
- Keep button in place and remove the needle from the yarn.
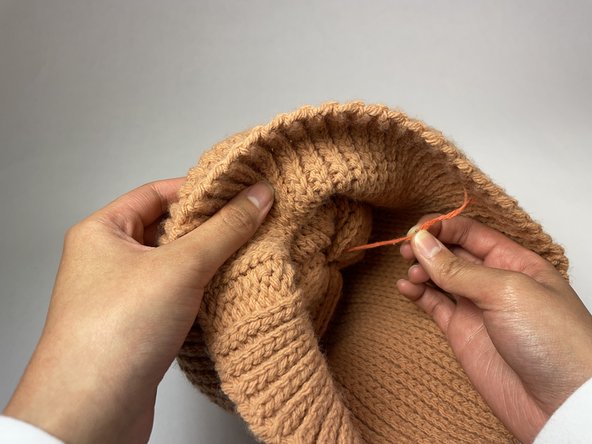
- Put the second strand of yarn through the eye of the needle.
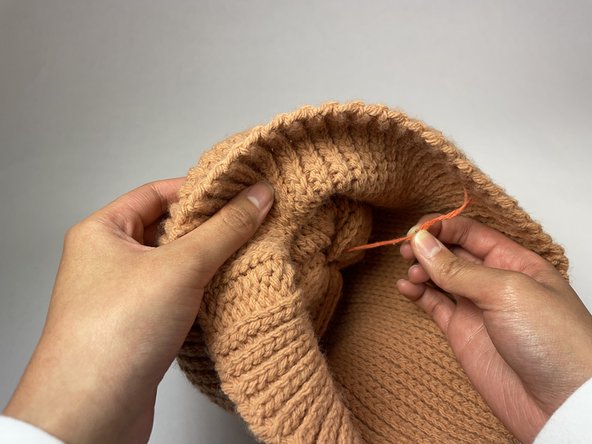
- Poke the needle through the top of the beanie again.
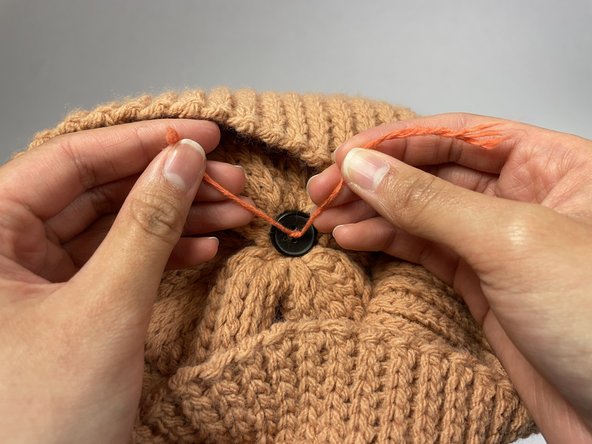
- Pull the remaining yarn all the way through to the other side of the beanie.
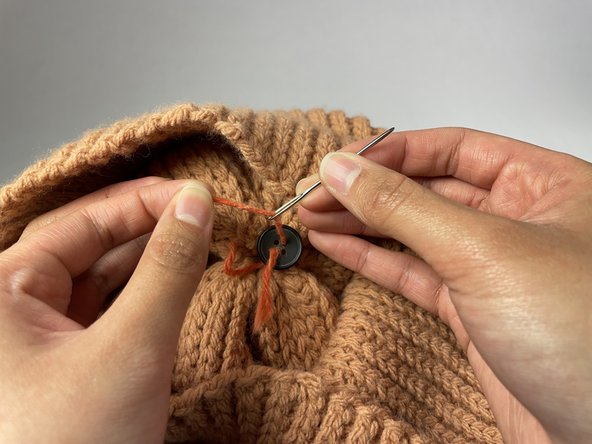
- Pull the yarn all the way through another hole in the button.
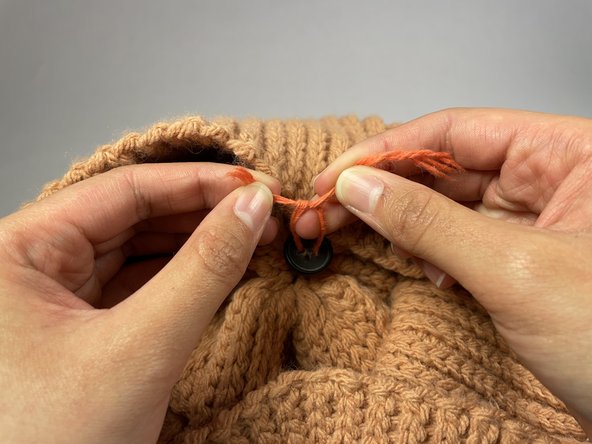
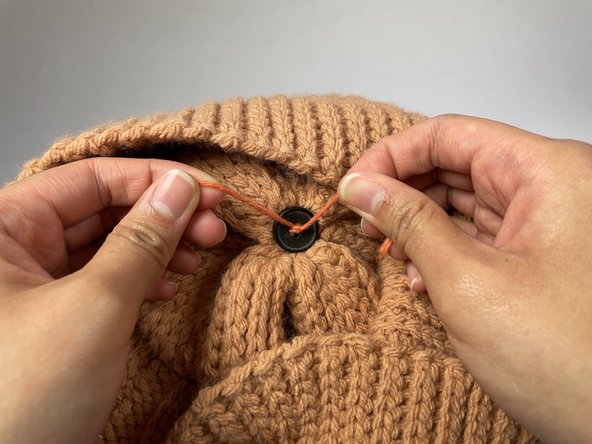
- Tie an overhand knot with the two ends of the yarn.
- Tie another overhand knot.
- Cut off the remaining ends of the yarn, cutting close to the button.