Bose QuietComfort 35 Earpad Cushion and Scrim Mat Replacement
ID: 157806
Description: If the ear pads on your Bose QuietComfort 35...
Steps:
- Slide the power button to the "off" position.
- The power light color should be red.
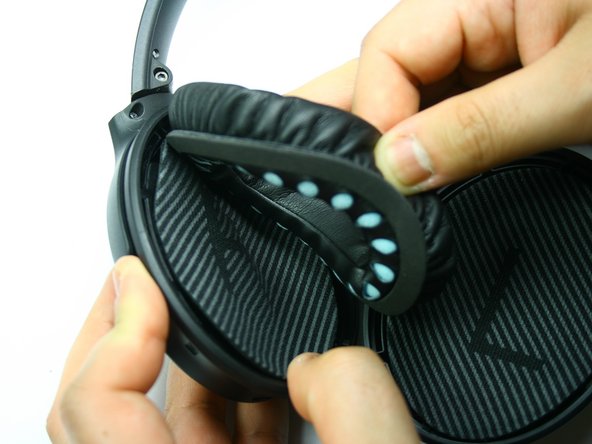
- Firmly squeeze the torn portion of the ear cushion while grasping the plastic ear cup.
- Pull the cushion toward the center and up to remove them from the fasteners.
- Repeat this on all sides of the cushion until it's freed from the ear cup.
- Repeat the above steps for the second ear cushion.
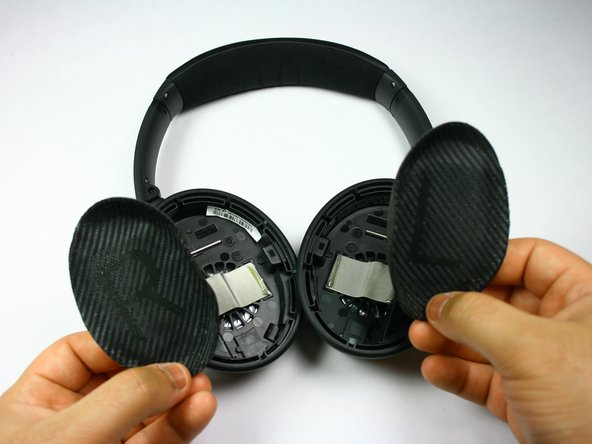
- Take the top end of the scrim mat while firmly holding the plastic earcup.
- Peel it back and away from the plastic to break the adhesive and remove it from the ear cup.
- Repeat the above steps with the second scrim mat.
- Using your fingernail or a spudger, to scrape away remnants of the scrim mat from both sides of the plastic earcup.
- Use a paper towel dipped in rubbing alcohol to scrub any excess adhesive from the plastic earcup.
- Do not soak the paper towel as too much rubbing alcohol could flood the exposed speakers and interior electronics within the earcup permanently damaging them.
- Holding the replacement scrim mat firmly, peel the tab covering the new adhesive on each side of the new scrim mat.
- Place the new scrim mat inside the empty earcup, covering the exposed speaker and interior electronics.
- Repeat the above steps with the second replacement scrim mat.
- It is easy to place the new scrim mats in the wrong earcup. The scrim mat labeled R should be placed in the earcup that has the power switch. The scrim mat labeled L goes in the opposite earcup.
- A tiny R and L is also inscribed within the earcup.
- On the inside rim of the earcup, there are small clips.
- Align the cushion with the ear cup, and expose the plastic ring underneath the cushion by pulling the cushion back slightly.
- Slide and press the plastic ring into the first clip until you hear a clicking sound. Repeat for the remaining clips.
- Every time you insert a part of the cushion's plastic ring under one of the clips, you will hear a clicking sound which means it has been successfully placed behind the clip.
- Repeat the above steps for the second ear cushion.
- Confirm that the ear cushions are secure.