2006 Toyota Highlander Side View Mirror Replacement
ID: 158356
Description: This guide will show you how to replace the...
Steps:
- Pop out the master switch panel with a heavy duty spudger by sliding it in from the side.
- Flip the master switch over to see the plug.
- Unplug the master switch panel by firmly pushing down the notch and pulling it out.
- This may require some force.
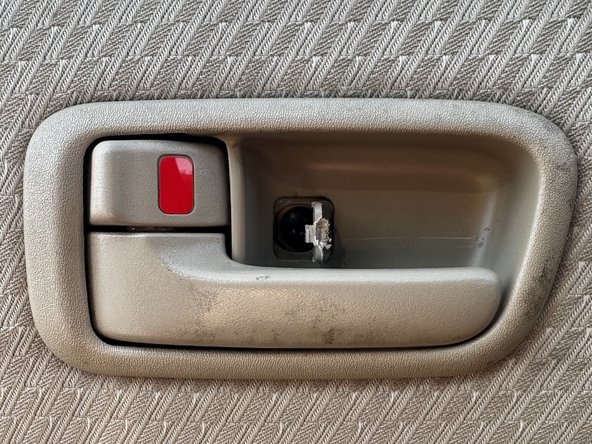
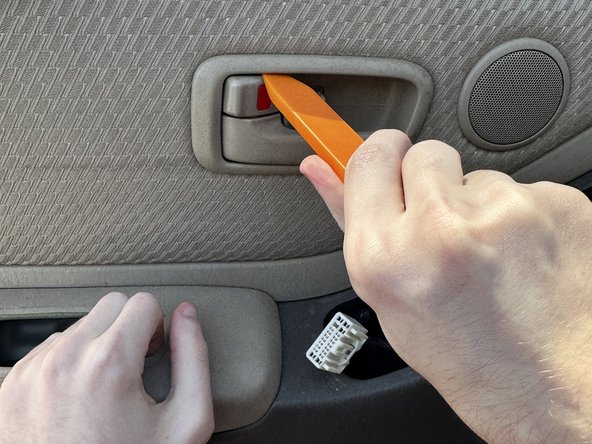
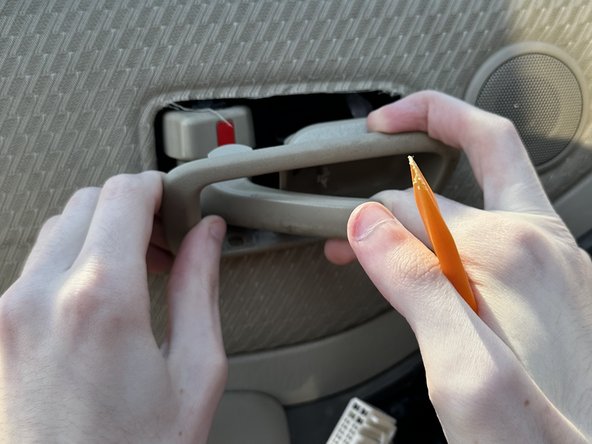
- Remove the door handle with the spudger by sliding it in from the side. Make sure to get it into the middle as there is a notch there holding it in place.
- Note the arrows when replacing it.
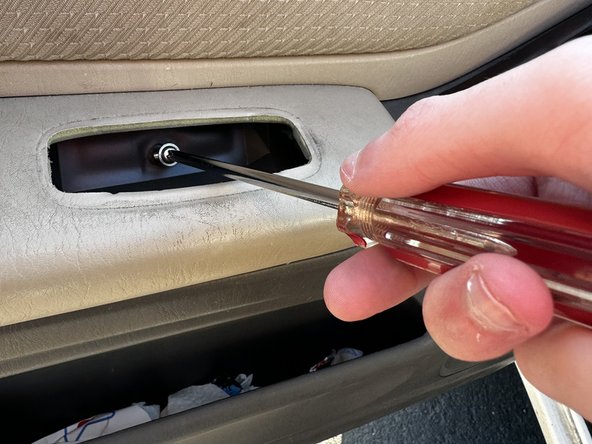
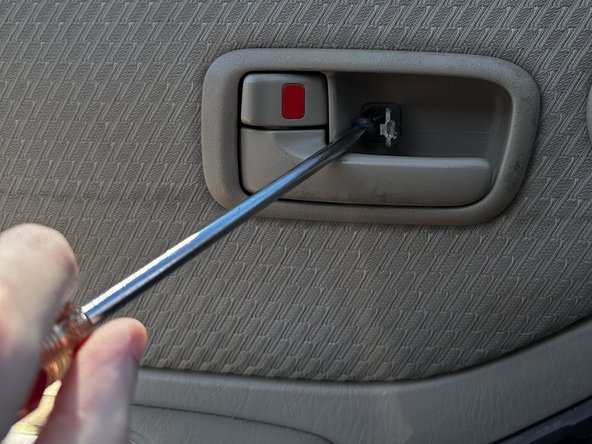
- Remove the single Phillips screw hiding beneath.
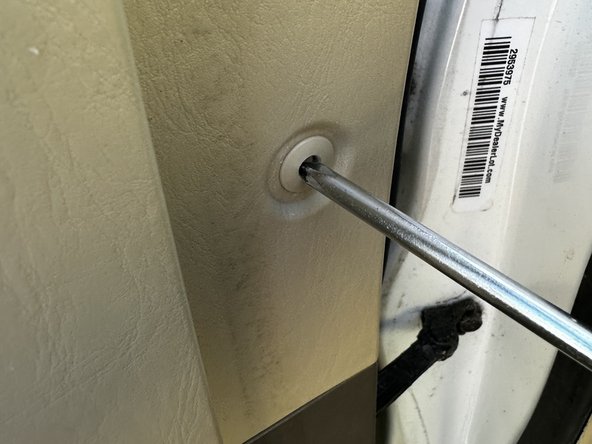
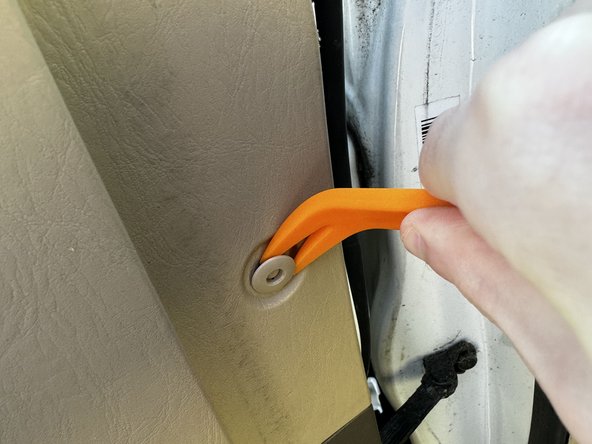
- In the door handle area, pry the small screw cover open with a spudger.
- Remove the single screw with a Phillips screwdriver.
- Place the wedge between the lock and the frame to pry the frame out.
- Use a spudger to remove mirror cap.
- Use a Phillips screwdriver (or any other sufficiently thin object) to push in the center piece. Use a spudger to remove the push cap.
- Although not needed for now, push the push-cap back up to re-insert it later.
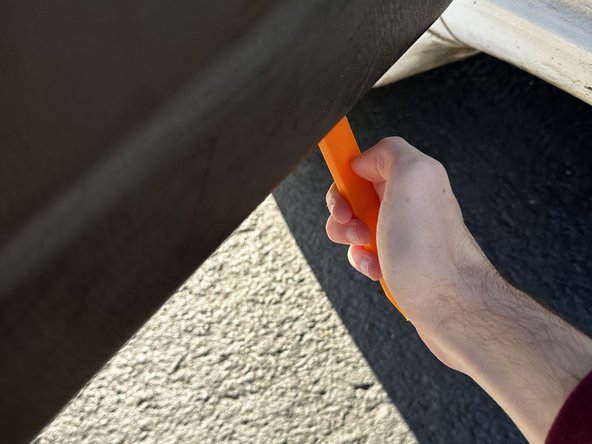
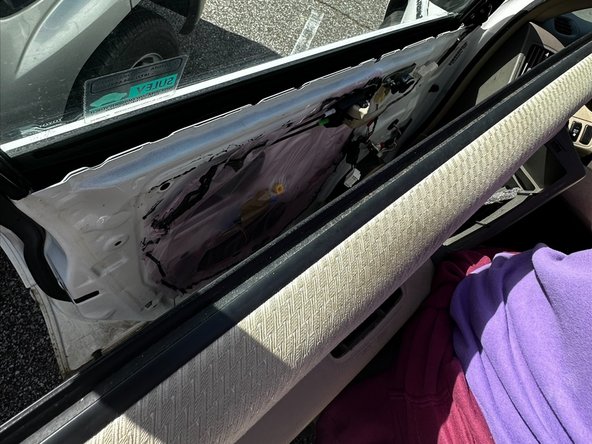
- Completely remove the door panel by feeling for a gap underneath the door. Use the heavy duty spudger to pop the door panel off.
- When putting the door panel back on, make sure the master switch panel plug from step 1 is accessible, otherwise you may need to take panel off again to reach it.
- Take the door panel and lift it up and over to completely remove it from the door.
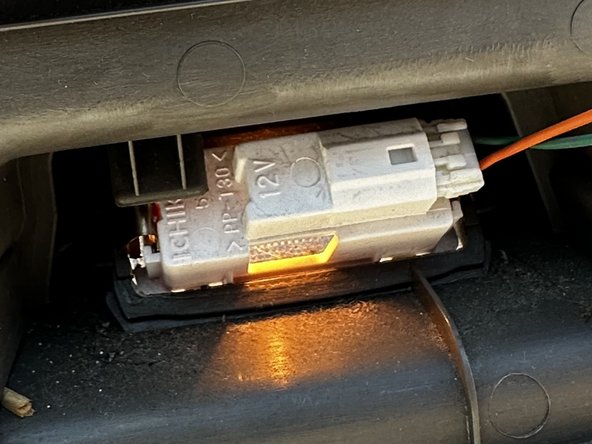
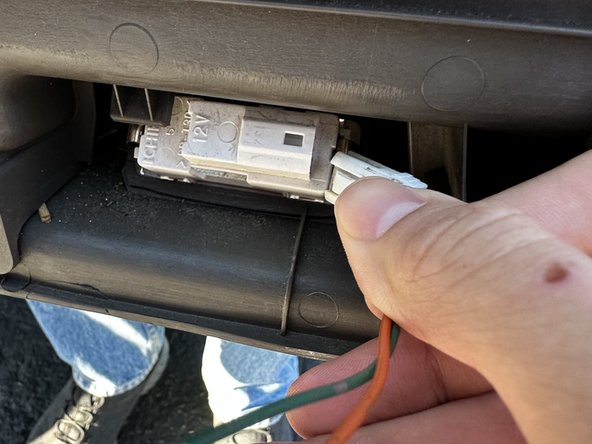
- Remove the door courtesy light located at the bottom of the panel.
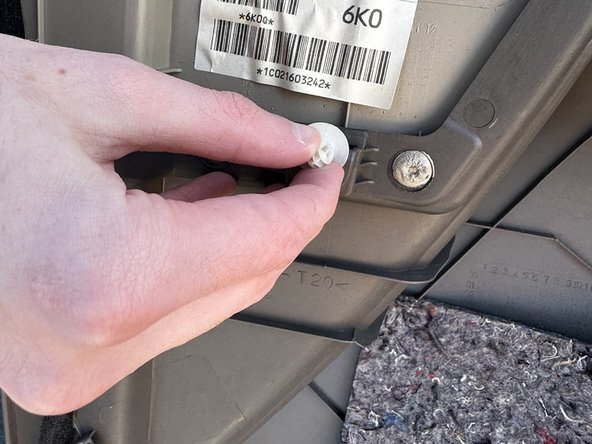
- Check for plastic pins. If some are stuck do the door, use a clip to pull it out. Slide it back into the door panel for later.
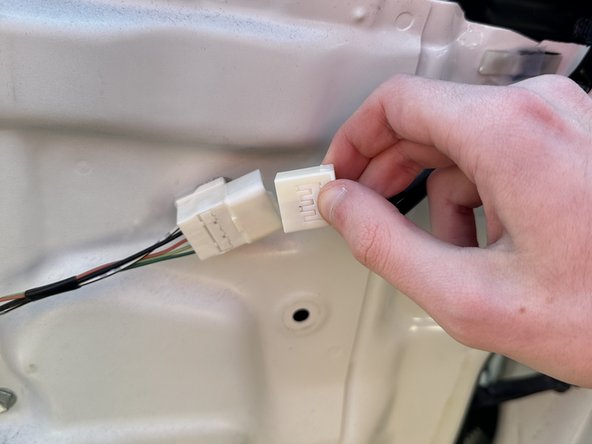
- Detach the mirror's cable from the car.
- Carefully remove tape from the wire using scissors.
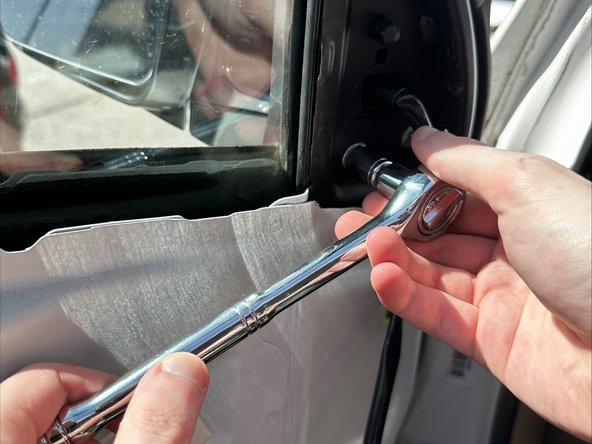
- Unscrew the three bolts with a ratchet and a 10 mm socket.
- Slowly pull the mirror out (make sure the connected wire also comes out).
- Place in the new mirror by doing the above bullet point in reverse.
- Note that there is a plastic covered "leg" above the wire. You will need to line this up with it's associated hole when putting in the new mirror.