How to Repair a Christmas Tree Light Wire
ID: 158721
Description: Don't let a broken Christmas tree wire ruin...
Steps:
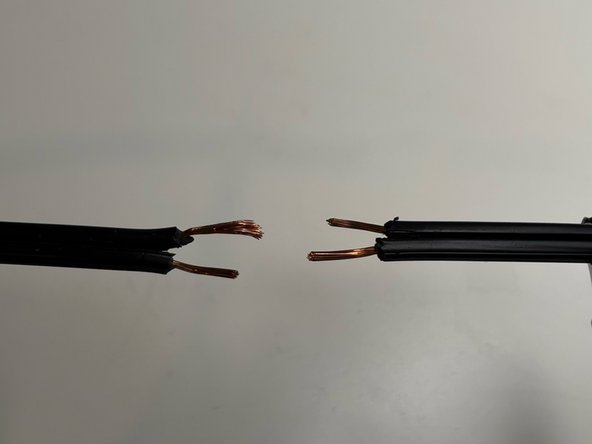
- Unplug the lighting.
- Using the wire strippers, split both wires apart approximately one inch.
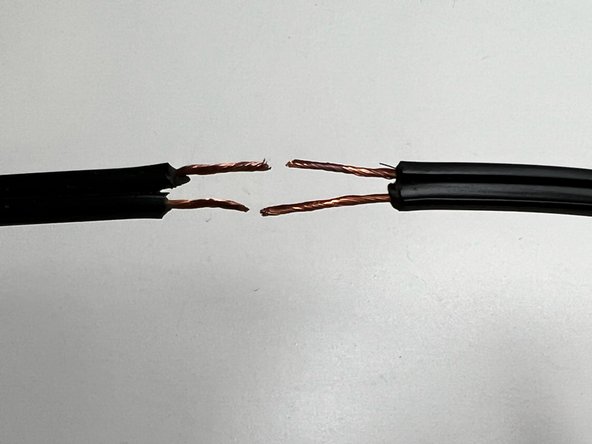
- Using the wire strippers, strip about an inch of insulation off of each wire.
- Use appropriate wire gauge when stripping. A good practice is to start with large gauge and work your way down.
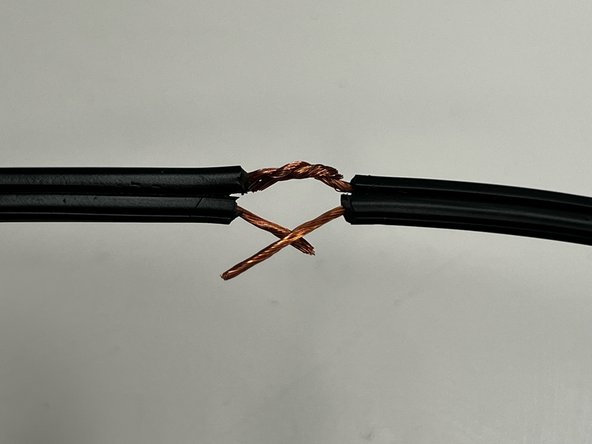
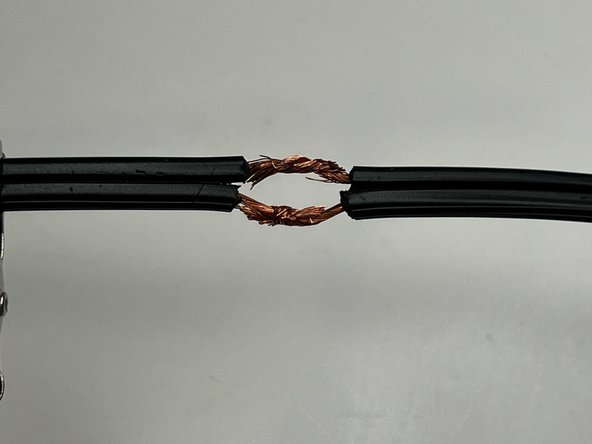
- Twist all four copper strands.
- This will make it easier to work with and help prevent fraying.
- Insert the heat shrink tubing on the longer end of your wire.
- Once the heat shrink is on your wire, slide it out of your way. We will address the heat shrink in Step 9.
- Cross and twist the wires together to create a connection.
- This helps the wires form a better connection when soldering together.
- Solder your wires together by applying heat to the bottom of your wires and solder to the top. The solder will melt onto the copper strands solidifying both wires together.
- Burn and fire hazard. Take appropriate precautions and solder in a well-ventilated area.
- Pre-heat soldering iron to 325 Fahrenheit.
- Use electrical tape to wrap the soldered wires.
- This will prevent both wires from contacting each other.
- Slide the heat shrink over the soldered wires.
- Use your heat source to apply heat to the heat shrink.
- Burn and fire hazard.
- Apply heat from heat appliance half an inch away from heat shrink.
- Connect your Christmas tree plug into the outlet.