DualShock 4 Ribbon Cable Replacement
ID: 158801
Description: The original guide has been modified. This is...
Steps:
- On the back shell of the controller, use the Phillips #00 screwdriver to remove the four screws in each of the four corners.
- Using a plastic opening tool, gently pry open the left handle of the controller and pull down the tool to create an opening.
- Repeat these steps with the right handle and the top of the controller above the following buttons:
- Share button
- Options button
- Begin splitting the controller shells carefully.
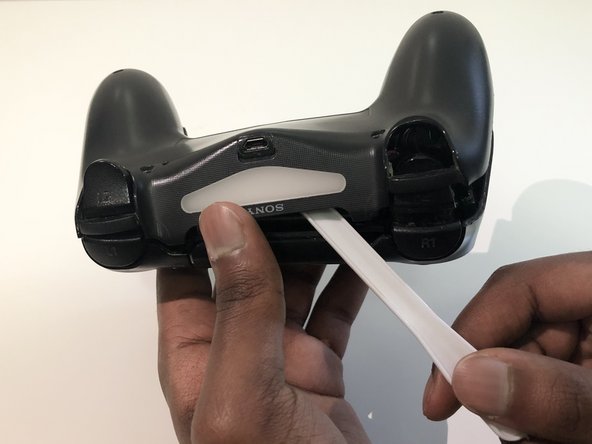
- The ribbon cable connects both shells of the controller together.
- Once the controller is open, use tweezers to detach the ribbon cable.
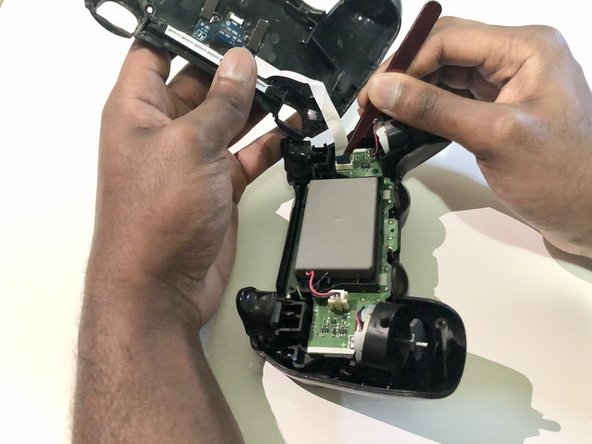
- On the back shell of the controller, remove the two screws holding together the plastic components of the charging board with a Phillips #00 screwdriver.
- Use tweezers to remove the black plastic connector and your fingers to remove the white piece of plastic.
- Push back the clear plastic cover using your fingers, as shown in the orange box.
- Use your thumb to hold down the clear plastic cover to create space to remove the ribbon cable.
- With the cover held down, use tweezers to remove the faulty ribbon cable.