Glade Automatic Spray Holder SJC-180 Plastic Gears Replacement
ID: 160231
Description: Troubleshooting and replacing plastic gears in...
Steps:
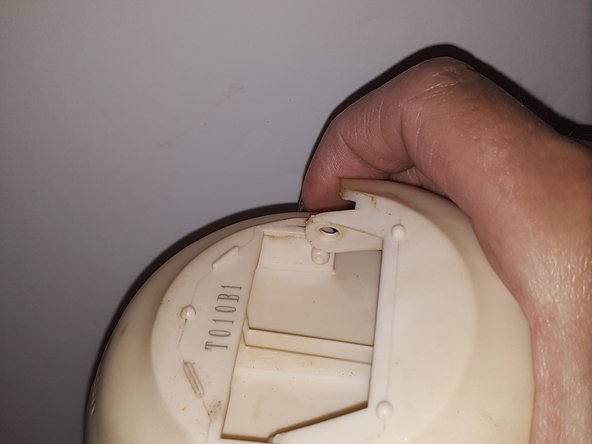
- Press the button labelled glade to open the housing.
- The inside of the holder has the timer switch and the covering for the inner workings of the holder. For this project, you only need to worry about the battery area located behind the spray.
- Locate the timer switch and slide it to off.
- This will prevent any accidental sprays into your face before you remove the spray canister.
- Remove the spray canister to expose the batteries.
- Hold the device securely with one hand to prevent any movement.
- Once the spray canister is removed, you will see the battery compartment exposed, allowing for easy access to the batteries
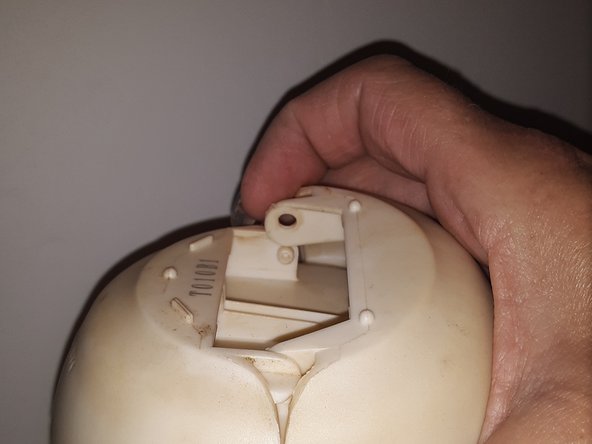
- Squeeze and remove the bottom of the front cover. This makes troubleshooting and repairing easier.
- Pop one side of the hinge from its peg and slightly pull it away from the device.
- Do the same with the opposite side of the device. Removing the cover will make it easier to work.
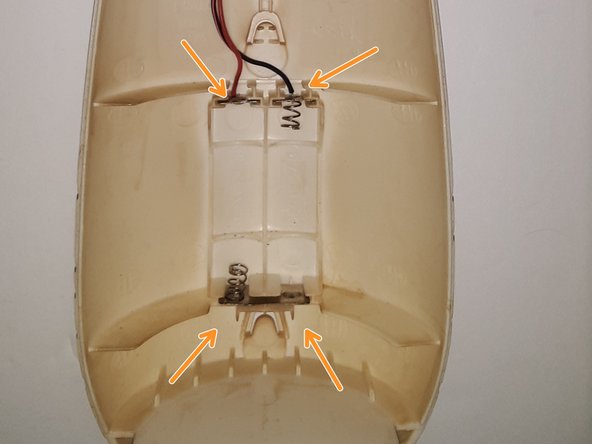
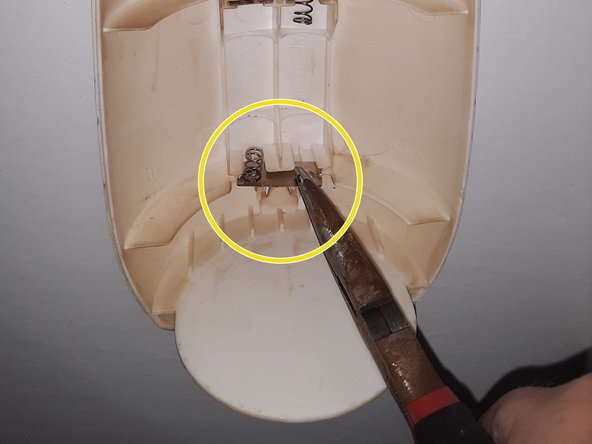
- Remove the batteries to expose the terminals. The terminals are the thin metal pieces that hold the batteries in place.
- Without the batteries, you can visually assess for problems like loose wires.
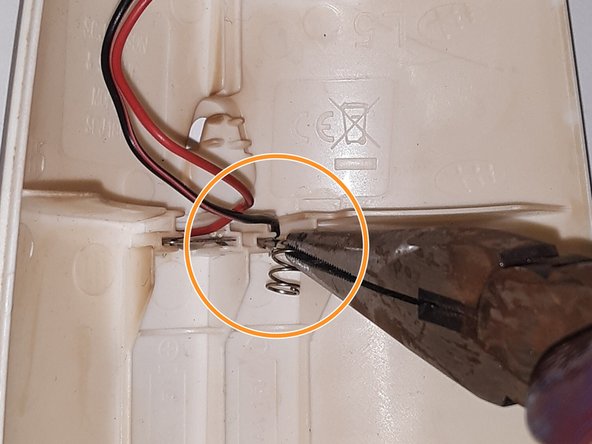
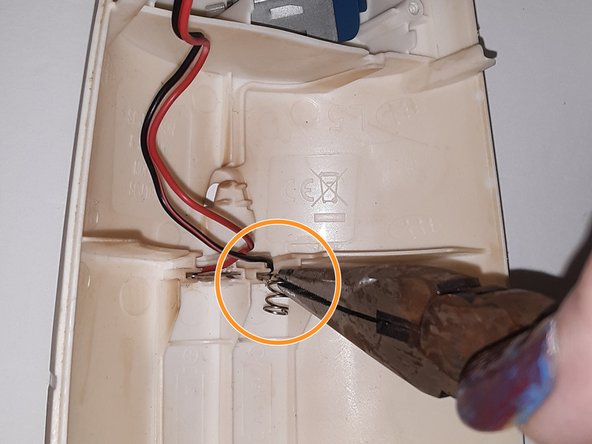
- Use small needle nose pliers to gently remove each terminal. Check if any wires are disconnected or loose.
- The terminals with negative connections (black wires) could have breaks or might have detached from the terminal base. Check for additional issues.
- The bottom terminal is one piece instead of two pieces like the top ones.
- Use the soldering gun and soldering electrical wire to solder the bared wire to the terminal.
- Align the bared wire with the terminal you intend to solder. Make sure the wire is properly seated against the terminal.
- Make sure your fingers are a safe distance away from the soldering rod and from the component you are fixing. Use pliers to hold the terminal still.
- The solder does not need to be beautiful, just functional.
- Put the fixed terminal back into the correct place to hold the batteries.
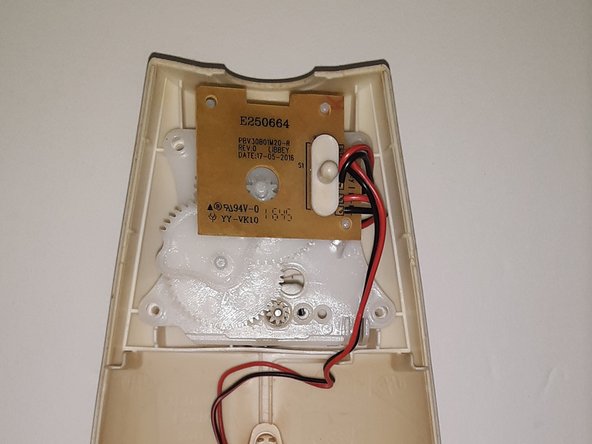
- Pull off the plastic gear cover. Be careful of wires that may be stuck to the plastic cover.
- Pull upward on the circuit board. The circuit board is held in place by three pegs but is not attached to the gears.
- Take a picture of the gear assembly. This picture will help in the reassembly process.
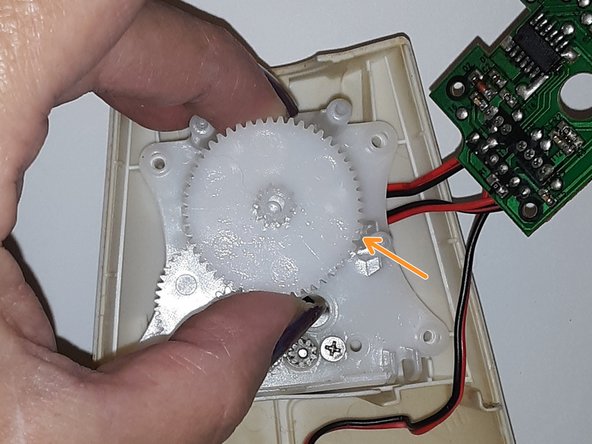
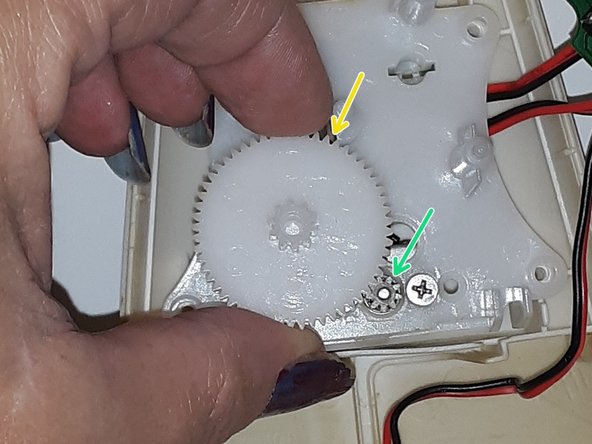
- Using only your fingers, remove each gear. Start with the fan shaped gear.
- Remove the second and largest gear.
- Remove the slightly smaller third gear. This will expose a small gear that is attached to the motor.
- Do not remove the small gear that is attached to the motor. Inspect the small gear for any damage. Do not remove the motor.
- Once removed, inspect each gear for breaks or other issues. Make sure to check the edge teeth and center teeth of each gear. Any gear that is damaged must be replaced.
- Double check all of the gears for any damage.
- Compare the new gears to the old gears to confirm they are identical.
- Place each new gear into the correct position. Replace the batteries.
- Test if the gears spin properly. If the gears do not spin properly, check whether the gears are in the correct order.