Lenovo IdeaPad Flex 3 CB 11M735 Charging Port Replacement
ID: 160449
Description: The charging port is one of the most frequently...
Steps:
- Shut down your Chromebook completely. Unplug the charger and anything else connected. Flip the device over and place on a flat surface.
- Use a T6 Torx screwdriver to unscrew the nine M2 x 6.5mm screws.
- Using a plastic spudger, carefully lift the palmrest from the bottom cover.
- Be careful while removing the keyboard, and unplug the connections.
- Remove the seven 4.5 mm screws using a Phillips #00 screwdriver.
- Disconnect the display cable from the motherboard.
- Remove the display from the laptop.
- Remove the eight 4 mm screws from the motherboard using a Phillips #00 screwdriver.
- Each screw securing the motherboard is marked with a small triangle, which helps identify the correct screws for reassembly, as some holes require multiple layers to be screwed together.
- Disconnect the ribbon cable from the motherboard.
- Remove the motherboard from the laptop.
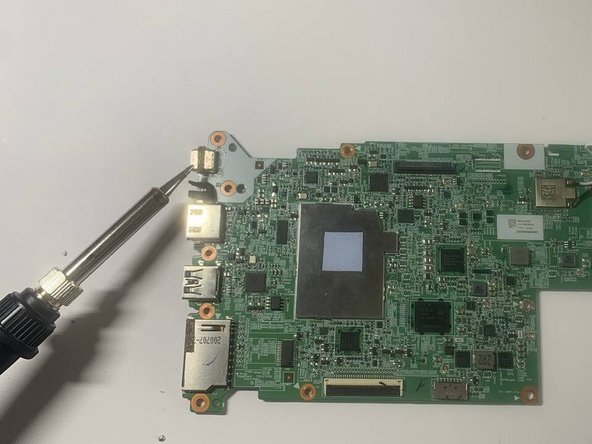
- Plug in your soldering iron and set it to approximately 350°F.
- Be cautious to avoid burns, and always use a proper stand. Keep the soldering iron away from flammable surfaces.
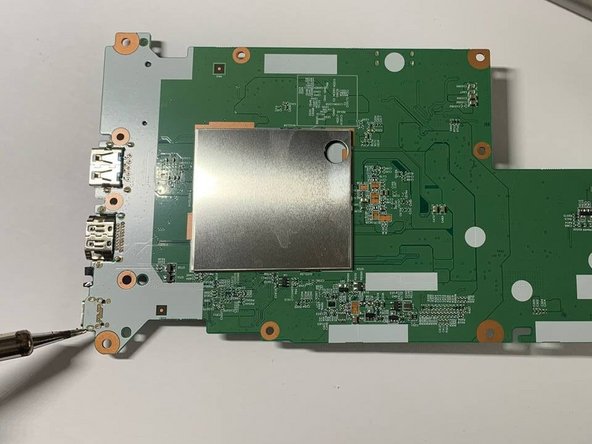
- Flip the motherboard over and carefully desolder the small holes using the tip of your heated soldering iron. This will melt the solder, allowing you to remove the USB-C port.
- Position the new USB 3.1 Type-C 16-pin female connector in place, then reheat the solder to secure it to the motherboard.