Whirlpool WED87HED Dryer Idler Pulley Replacement
ID: 160834
Description: Use this guide to replace the idler pulley on...
Steps:
- Before you begin your repair, unplug your dryer.
- Your power cord may have four prongs rather than three. The additional prong is a ground connection.
- Throughout this guide, keep track of each screw and reinstall it exactly where it came from.
- Use a 5/16 inch nut driver to remove the two 15.7 mm-long screws securing the top panel to the rear panel bracket.
- Grasp the top and slide it 1/2 to 1 inch toward the rear of the machine.
- Lift the top panel upward to separate it from the chassis.
- Remove the top panel from the machine.
- Use a 5/16 inch nut driver to remove the 16.2 mm-long cover plate screw.
- Remove the cover plate.
- Mark the cables with a permanent marker if needed and take a picture or draw a diagram.
- Use a Phillips driver or a 1/4 inch nut driver to remove the three 21.4 mm-long screws.
- If your plug has 4 prongs, there will be a ground connection from the cord as well. Use a 5/16 inch nut driver to remove this connection.
- Pull the cord carefully down through the round hole.
- Make sure you replace the connections correctly when you reassemble.
- Use a 5/16 inch hex driver to remove the 16.5 mm-long green ground screw.
- Use a Phillips driver to remove the two 15.3 mm‑long cord terminal block screws.
- Move the cord terminal block behind the rear panel.
- Use a 1/4 inch nut driver to remove the eleven rear panel screws.
- Ten 20 mm-long screws
- One 12.9 mm-long screw under the water inlet.
- Throughout this guide, keep track of each screw and reinstall it exactly where it came from.
- Use a 1/4 inch nut driver to remove the 16.4 mm-length screw holding the main board bracket to the chassis.
- Use a 1/4 inch nut driver to remove the two 20 mm-long screws from the top rear of the machine.
- Put on gloves before continuing, as the rear panel is sharp.
- Lift the panel about 1/2 inch and tilt it to the rear to release it from the vent pipe.
- Slide the panel off the vent pipe and remove it.
- During reassembly, perform the following:
- Make sure that the vent pipe is fitted into the collar on the panel.
- Make sure the tabs at the bottom are aligned to the bottom rim of the chassis.
- Position the panel so its screw holes match with the chassis.
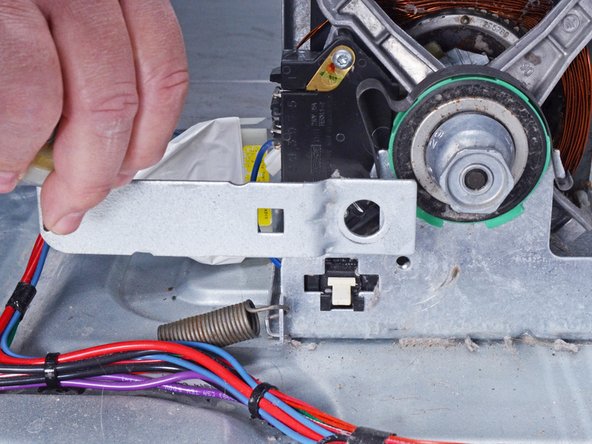
- Use a 3/8 inch socket, or a nut driver, to remove the bolt securing the idler arm to the motor frame.
- Move the idler arm toward the side of the dryer to unhook the idler arm tension spring from the arm.
- Remove the idler arm.
- During reassembly, be sure to reattach the spring before securing the arm.
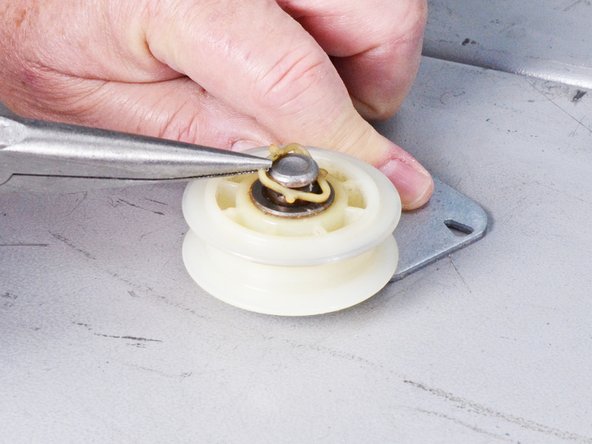
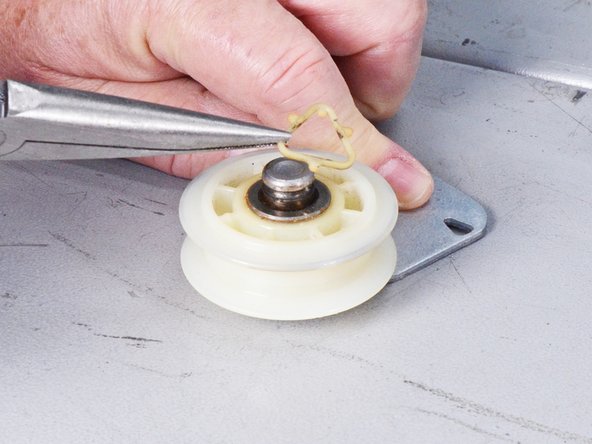
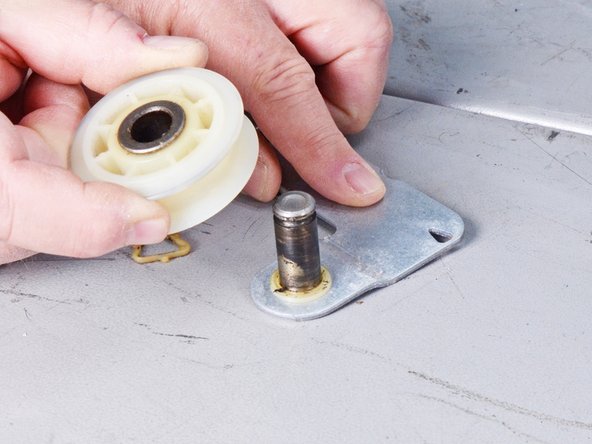
- Use long nose pliers to remove the plastic retaining clip from the groove in the idler pulley shaft.
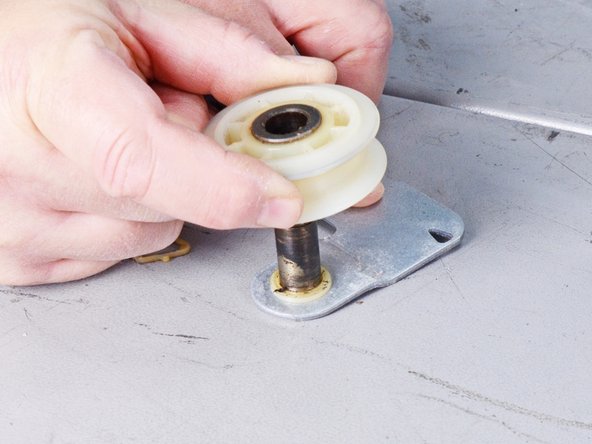
- Lift the idler pulley straight off its shaft and remove it.