Lenovo IdeaPad 3-15IIL05 Heatsink Replacement
ID: 161346
Description: Use this guide to replace the heatsink in your...
Steps:
- Allow your laptop's battery to drain below 25% before starting this repair—a charged battery may catch fire if damaged.
- Unplug all cables and fully shut down your laptop.
- Use a Phillips screwdriver to remove the ten screws securing the back cover:
- Six 7.6 mm-long screws
- Four 4.7 mm-long screws
- Plastic clips secure the back cover to the frame. You'll hear and feel the clips release.
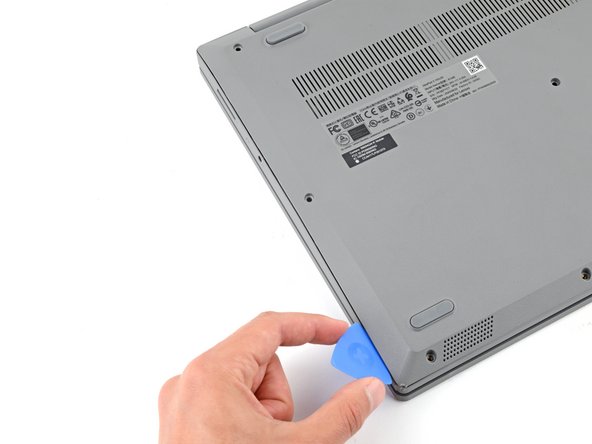
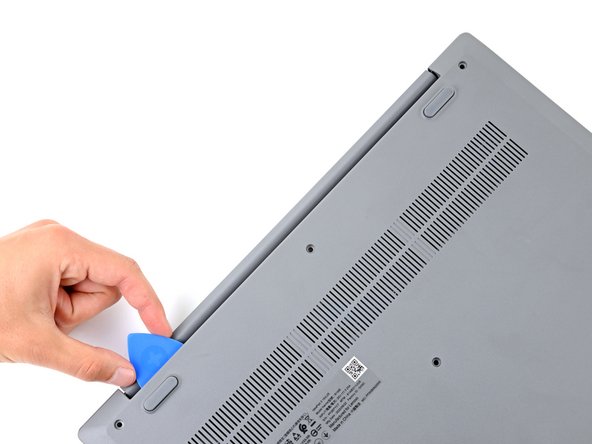
- Insert the flat side of an opening pick between the top left corner of the back cover and frame.
- Angle the pick down to about 45 degrees.
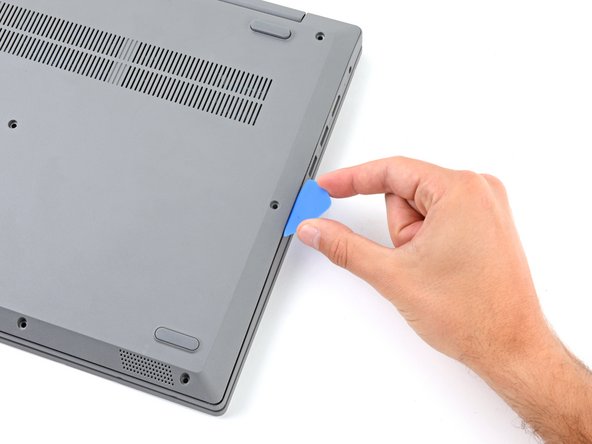
- Keep the opening pick angled down at about 45 degrees while sliding it along the front and side edges to help release the clips.
- Slide the pick to the bottom left corner of the laptop to release the left clips.
- Slide the opening pick to the bottom right corner to release the bottom clips.
- Slide the opening pick to the top right corner to release the right clips.
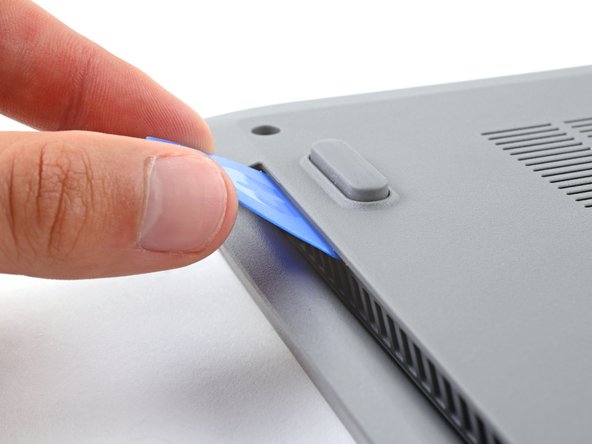
- Insert the flat end of an opening pick between the back cover and frame, to the left of the right hinge.
- Pry the back cover up with the pick to release the top right clips.
- Leave the pick inserted next to the right hinge.
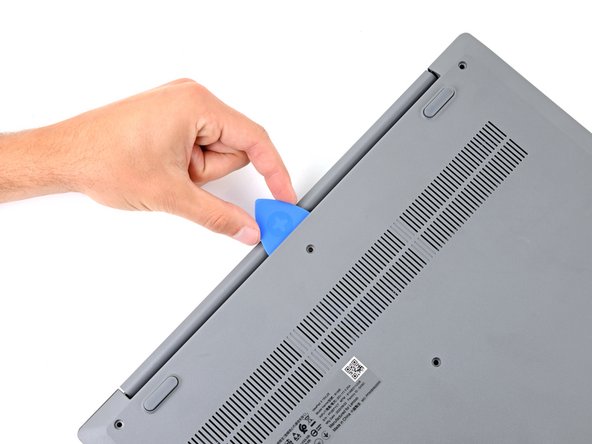
- Angle the pick up to about 45 degrees.
- Slide the opening pick to the top left corner to release the remaining clips.
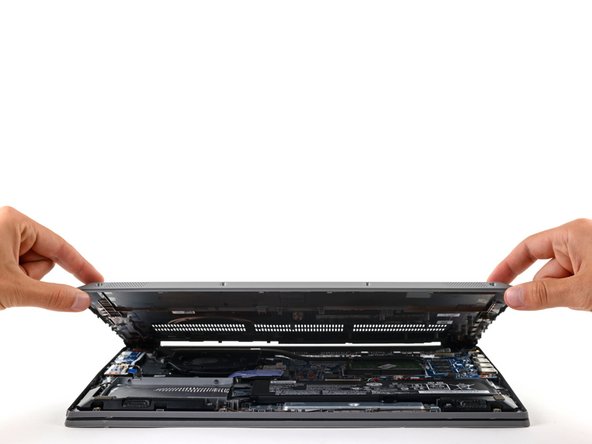
- Remove the back cover.
- During reassembly, lay the back cover on the frame and press firmly around the perimeter to engage all the clips.
- Use the flat end of a spudger to gently push the battery connector out of its socket on the motherboard.
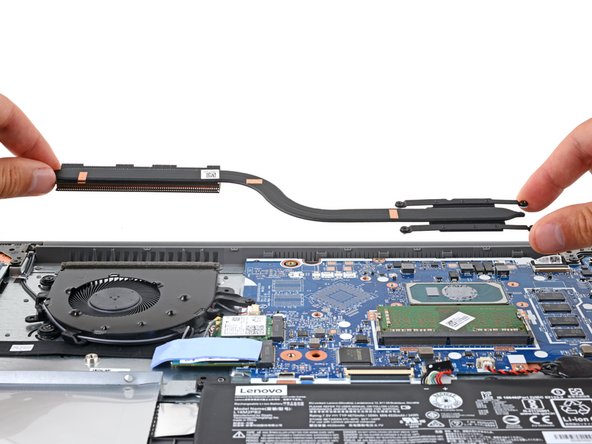
- Use a Phillips screwdriver to loosen the four captive screws securing the heatsink.
- During reassembly, tighten the heatsink screws in an "X" pattern. For example: top left, bottom right, top right, bottom left.
- Remove the heatsink.
- You may feel slight resistance when removing the heatsink, as thermal paste bonds it to the CPU.
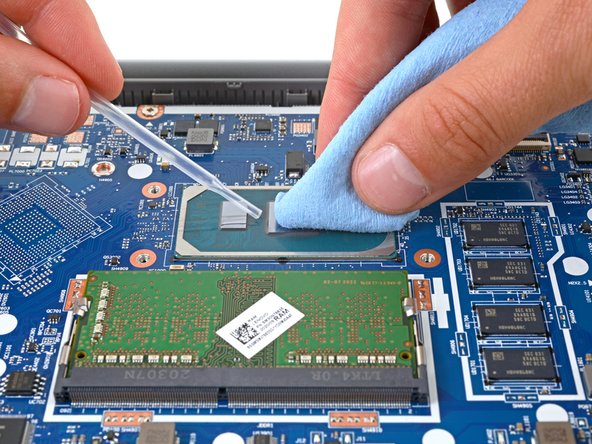
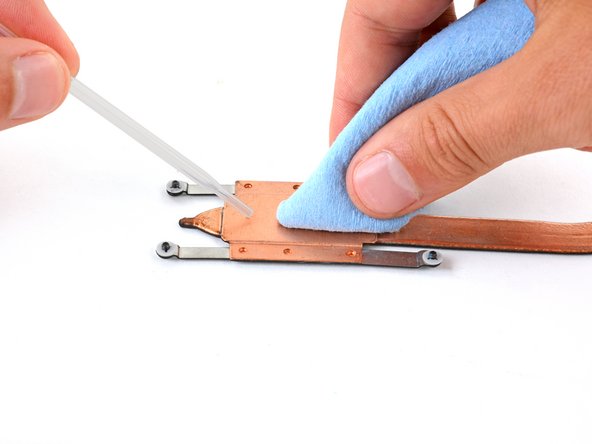
- Before installing a new heatsink, follow this guide to clean the CPU and reapply thermal paste.
- If you're just reapplying thermal paste and not replacing the heatsink, clean the bottom of the heatsink as well.