Happrun H1 Cooling Fan Replacement
ID: 165223
Description: Projectors are a valuable tool for...
Steps:
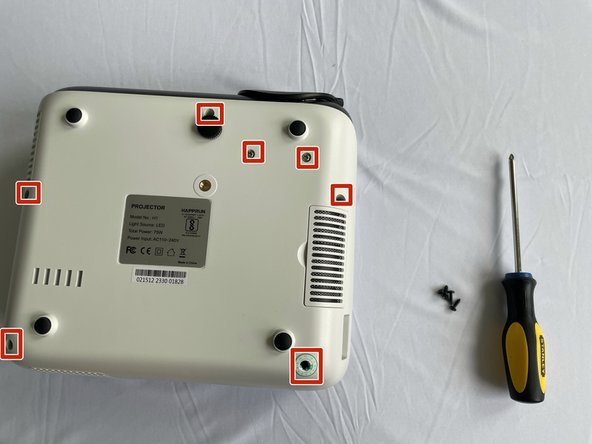
- Flip the device upside down so that the projector's air filter is facing up.
- Remove the filter by gently pulling it out until it pops out.
- Use a Phillips #1 screwdriver to remove the housing screws.
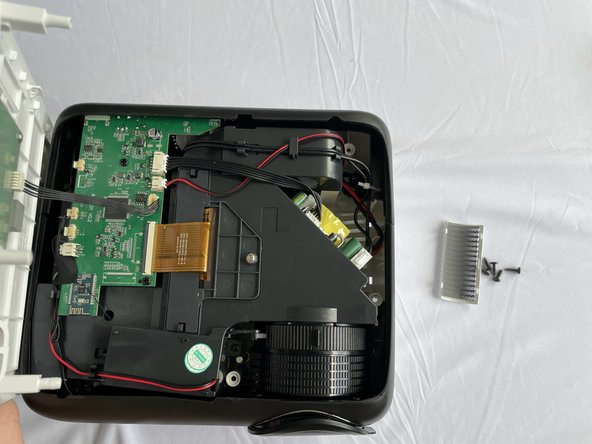
- After all the screws are out, insert an opening tool in the small space between the front cover and the back cover and gently lift it up.
- Remove the covers and set aside.
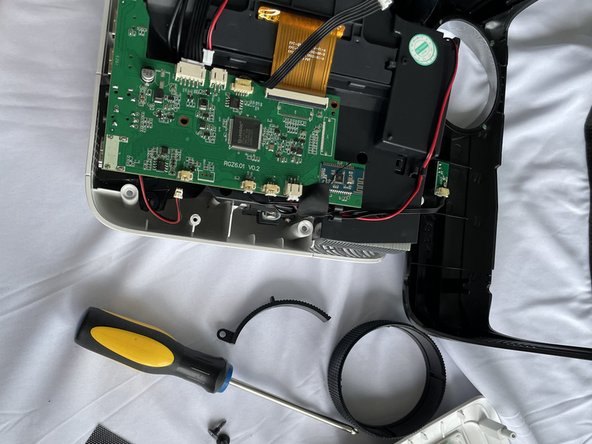
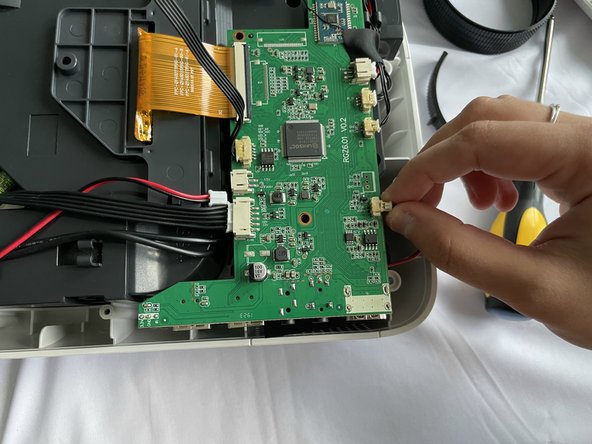
- Use your hands or an opening tool to disconnect the cables from the source.
- To disconnect the wires, use the opening tool to lift the lock on the connector and slide the cable out of the connector.
- Be gentle while pulling the wire to avoid signal loss.
- These will be colorful wires connected with white plastic clips.
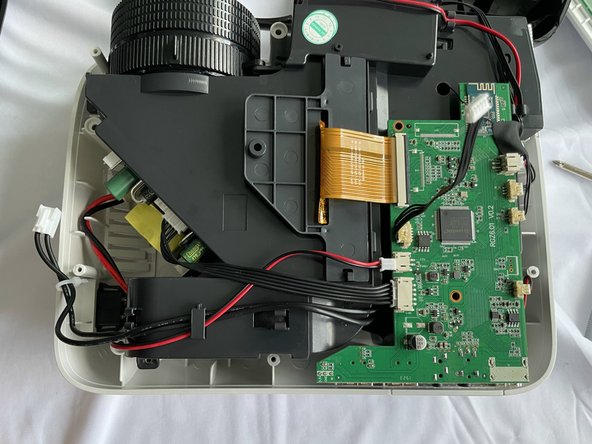
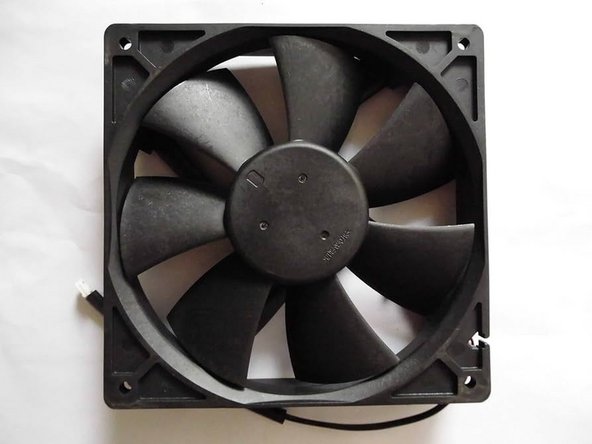
- Gently pull out the fan from below the motherboard and swap it with a new one.
- Reconnect the wires between the fan and the motherboard.
- Gently push the colorful cables inside the white plastic clips until it gets locked
- Be gentle while connecting the wires.
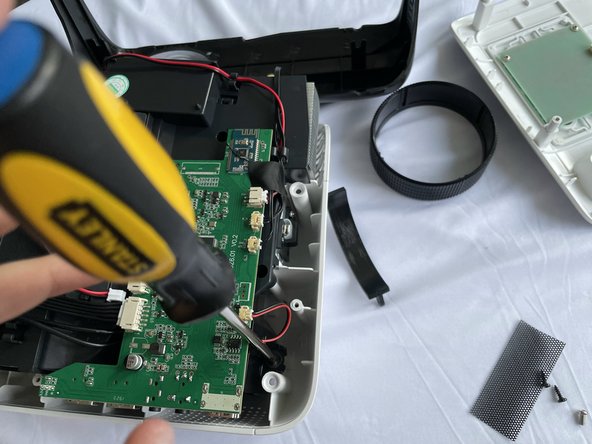
- Place the screws in the holes and using a Philip#00 screwdriver gently rotate it until it is tight.
- Tight the screws properly so that the fan does not come out.
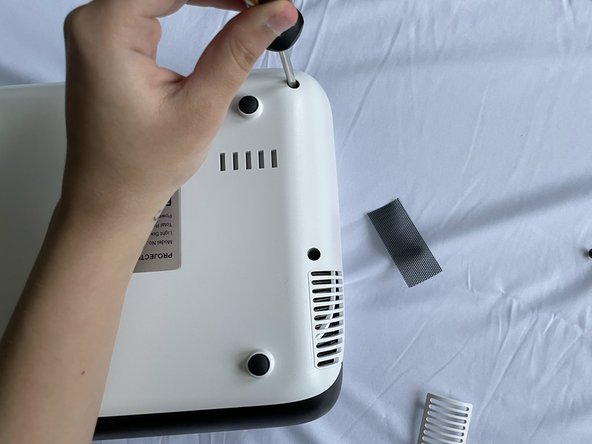
- Now put the cover back in place and tighten the screws using a Philip#00 screwdriver.
- Make sure the front and the back cover align properly.
- The Cooling fan of the projector has been replaced.