2004-2013 BMW 3 Series Inner Taillight Replacement
ID: 165264
Description: With time, the elements can cause the plastic...
Steps:
- Unlock your trunk.
- This can be done with either the remote or the trunk release button located on the driver's side footwell area.
- Using the trunk handle, lift the trunk to it's highest position.
- Using the appropriate trim tool, carefully remove all ten rivets from the trunk liner.
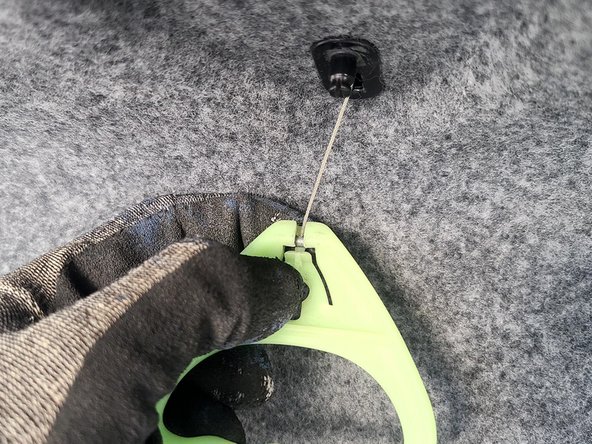
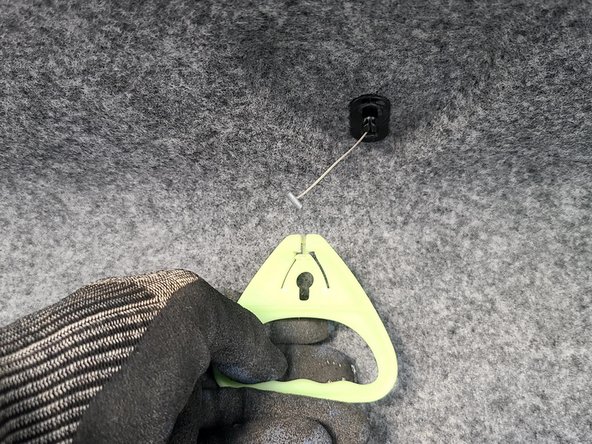
- Pull on the green tab to release the inner trunk release handle.
- After this, the trunk liner should be loose.
- Carefully remove the liner and put it off to the side for later reassembly.
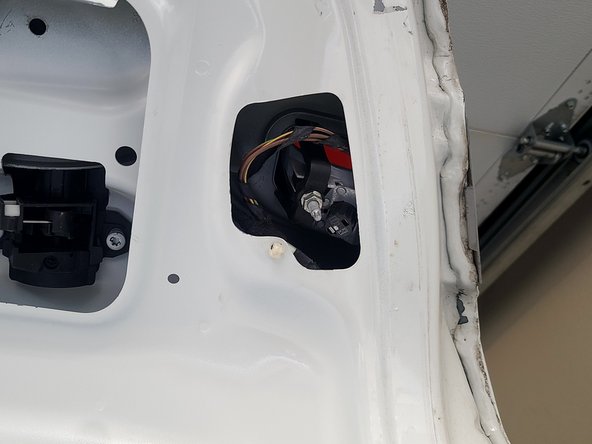
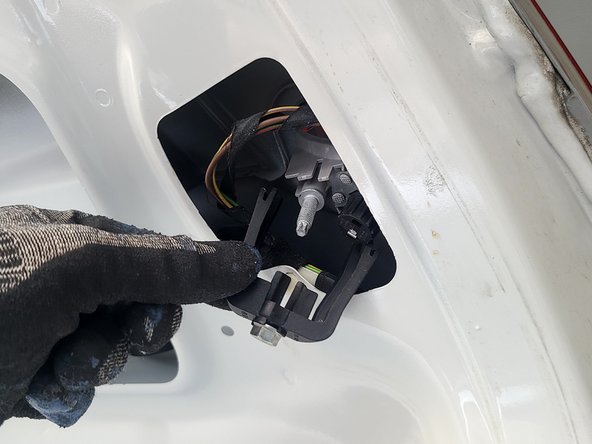
- Using either a 10 mm socket or an open-end 10 mm wrench, turn the nut counterclockwise to loosen it and remove the bracket that secures the inner taillight.
- An open-end wrench was used in this guide, however, both tools work for removing the retaining nut.
- From underneath the inner taillight, push the housing with enough upward force to separate it from its socket.
- Be careful when pushing the housing, as the connector is still attached to the inner taillight.
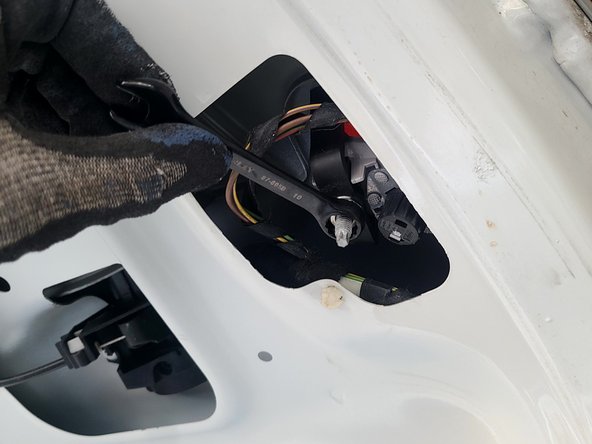
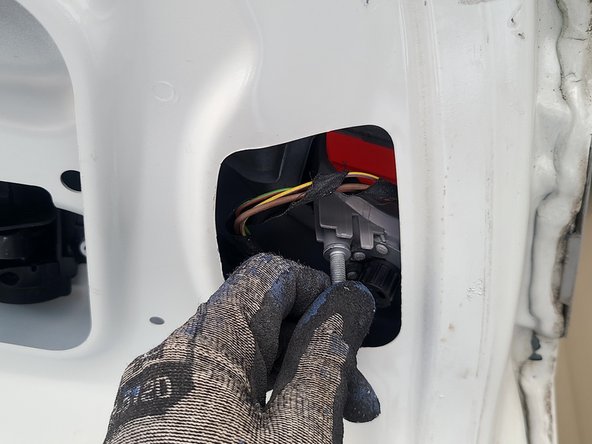
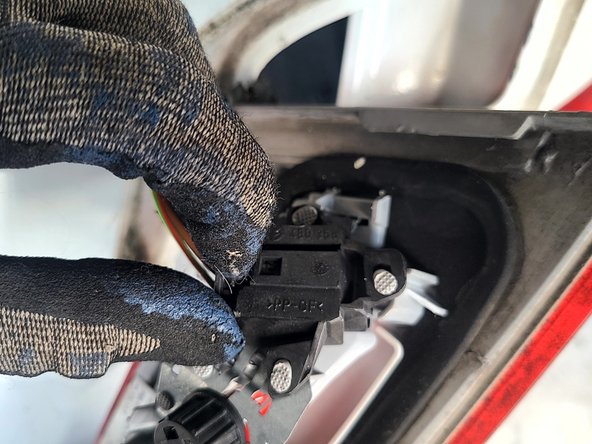
- Tilt the inner taillight enough to gain access to the connector on the underside.
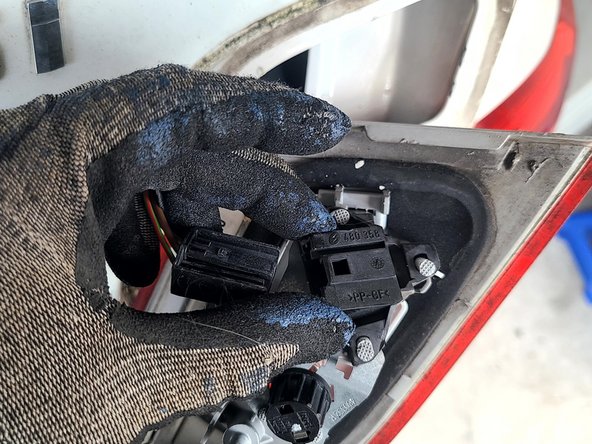
- Firmly press the locking tab in the center of the connector.
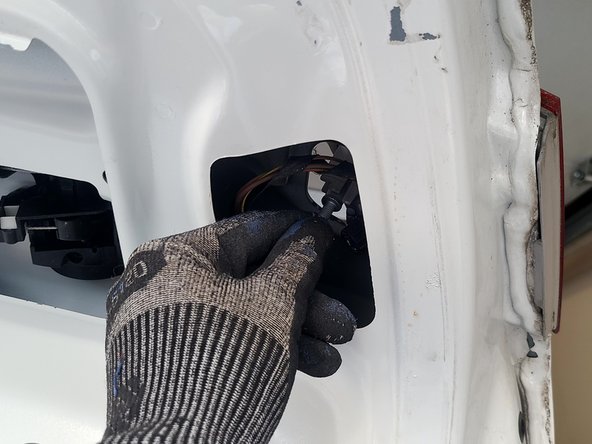
- Pull downwards on the connector to disconnect the inner taillight housing.
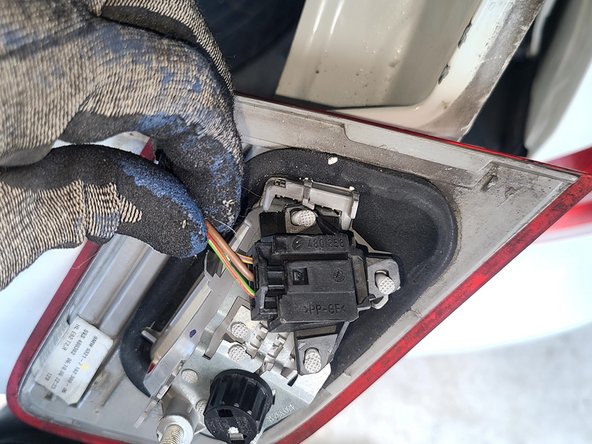
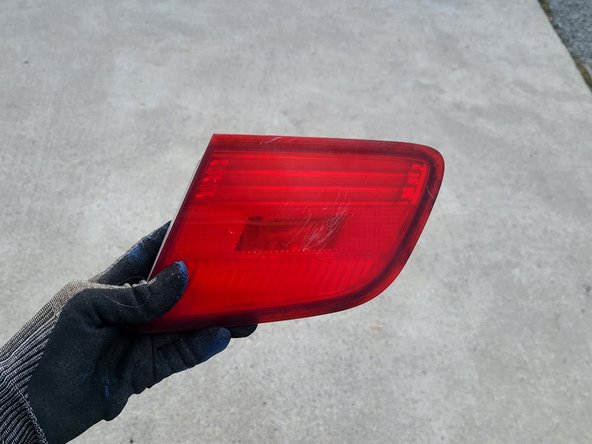
- Prepare your new taillight for reassembly.
- Responsibly recycle your old inner taillight if it is no longer functional.