Hamilton Beach 22794 Disassembly
ID: 165362
Description: This guide is a complete disassembly guide for...
Steps:
- Remove the crumb tray from the back of the toaster.
- It may require a firm tug on the tray.
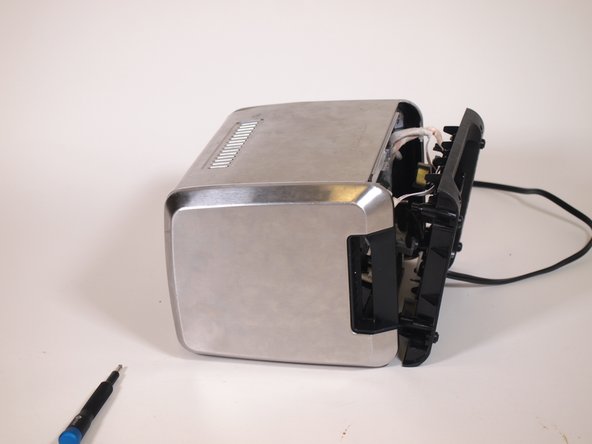
- Turn the toaster on it's side and unscrew all 6 Phillips #0 screws from the bottom housing.
- The first 5 are all 12.5mm screws
- The last screw is on the left side and measures 10 mm.
- One of the screws is of a different color on the LEFT side.
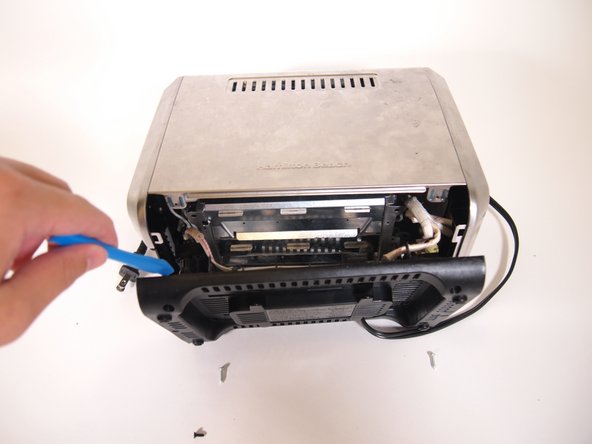
- Remove the bottom housing of the toaster.
- This may require a small plastic spudger if it's not easily coming apart.
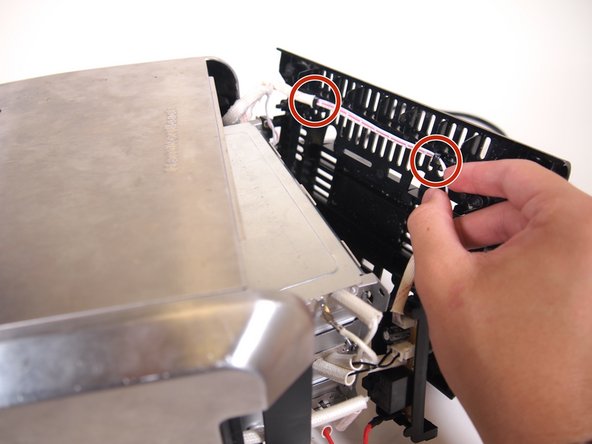
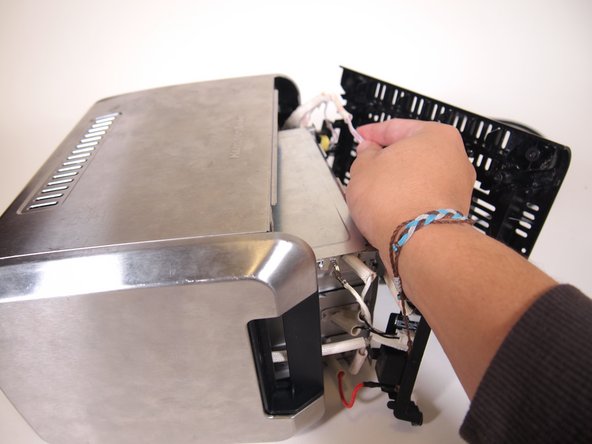
- As you're removing the bottom, make sure to move any brackets out of the way and unclip the white cable.
- Pull the cable firmly up & out to free it from the clips.
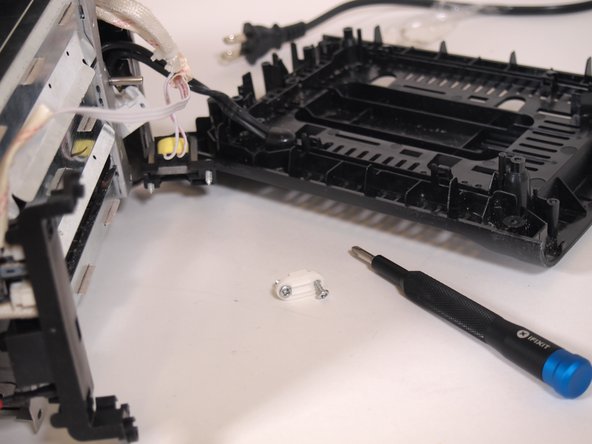
- Gently lay the bottom housing down and unscrew the 10 mm screws securing the small white bracket with a Phillips #0 screwdriver.
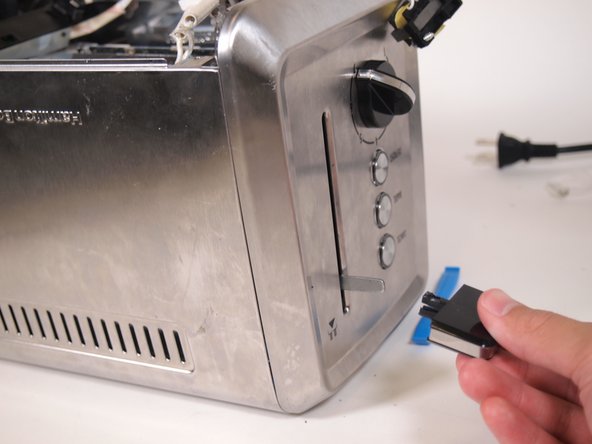
- Go to the front of the toaster to remove the large square handle.
- This requires a firm tug and possibly a slight twist to free it from the metal rod.
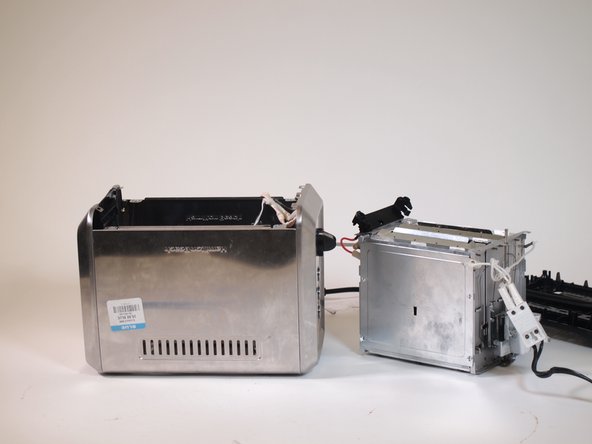
- Now that the bottom housing and the handle are removed, you can pull up on the central unit and remove it from the top housing.
- You may need to wiggle this unit to free it from any snagging/catching.
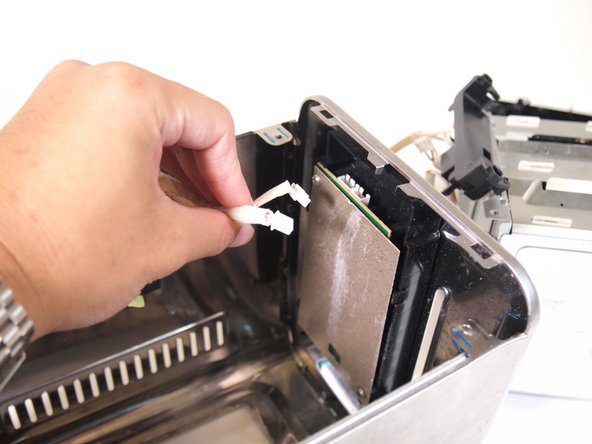
- After removal, you will see two small wires plugged in to a board.
- Firmly pull up on these wires to unplug.
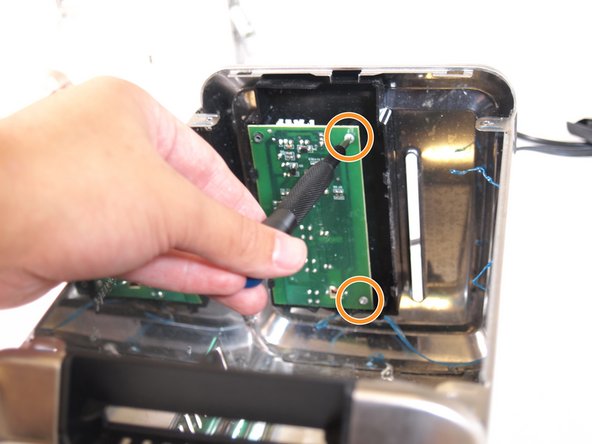
- Unscrew the two Phillips #0 7 mm screws that secure the metal backing to the circuit board.
- Remove the metal backing.
- Unscrew the two 5 mm Phillips #0 screws and remove the board.
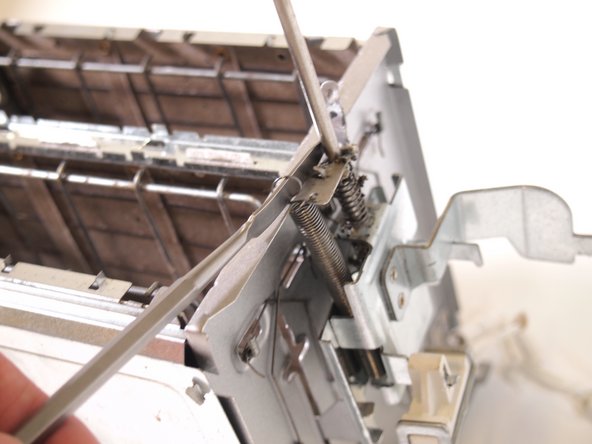
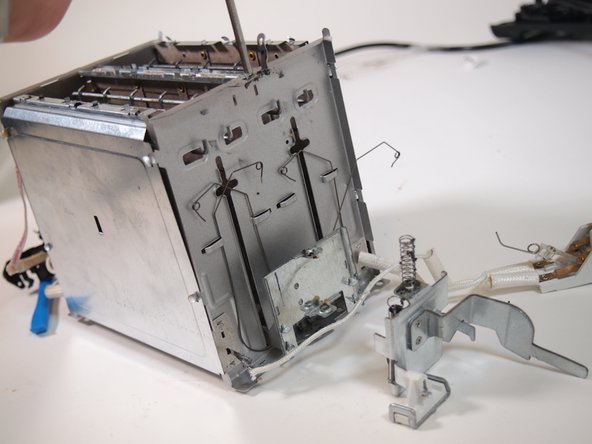
- Using your metal spudger, unfold the metal bracket and unhook the spring so that you can free the press-down mechanism.
- Unhook the other springs on the size and pull up on the metal rod to free the push-down mechanism from the center part.
- Using your metal spudger, unfold the metal tabs holding the bread-holding trays in place.
- Pulling up, remove the bread-holding metal trays.
- Now that we know how to dissaseble the toaster, it's valuable to learn a little bit about how it functions:
- The toaster constantly receives power when it's plugged in, but the electrical circuit remains inactive until you push down the handle.
- Pushing down the handle causes two switches to close, completing the circuit and activating the toaster's power source.
- The circuit breaks when a certain power level is reached in the timing chip on the circuit board. This signal weakens the electromagnet, releasing the handle and popping up the bread trays.
- A potentiometer, linked to the control knob on the front of the device, regulates power flow to the chip.
- Setting to maximum (level seven) restricts the power flow, prolonging toasting. On the other hand, choosing cancel reduces resistance, quickly ejecting the toast.