2006-2011 Cadillac DTS Fuse Box Replacement
ID: 165455
Description: If your fuse box in a Cadillac DTS if faulty,...
Steps:
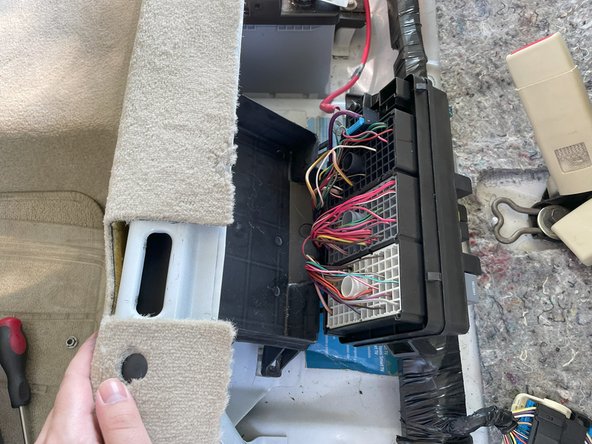
- Pull on the seat with your hand to remove the cover.
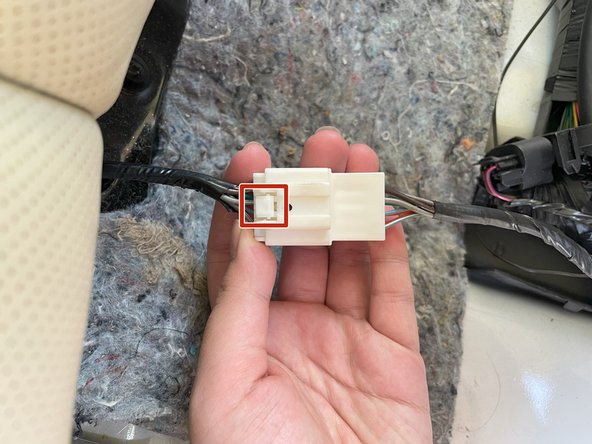
- Push down on the button with your fingers, then uncouple the connection between the seat cover and the car.
- Do not pull on the wires themselves. Grasp each of the two white connectors.
- Set the seat cover aside.
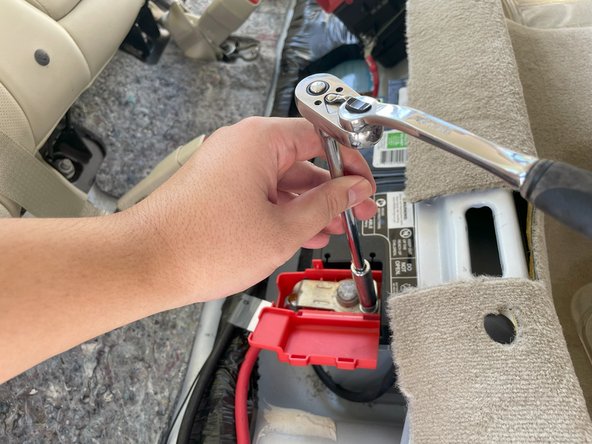
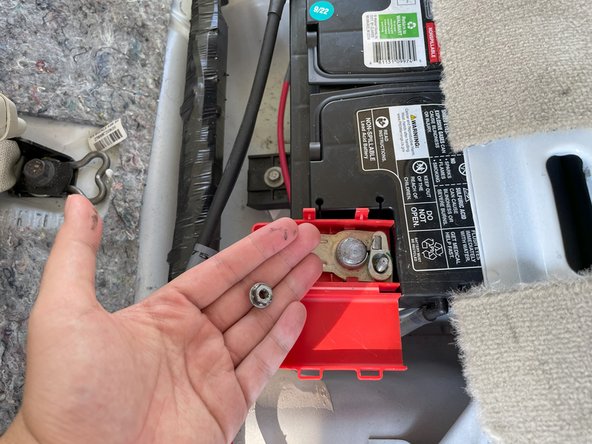
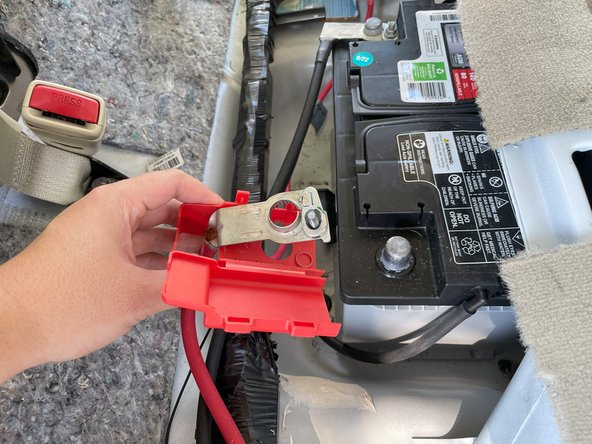
- Unscrew the 10 mm hex lug from the positive connection on battery with the 10 mm torque wrench.
- Pull the wire from the terminal and set the wire aside.
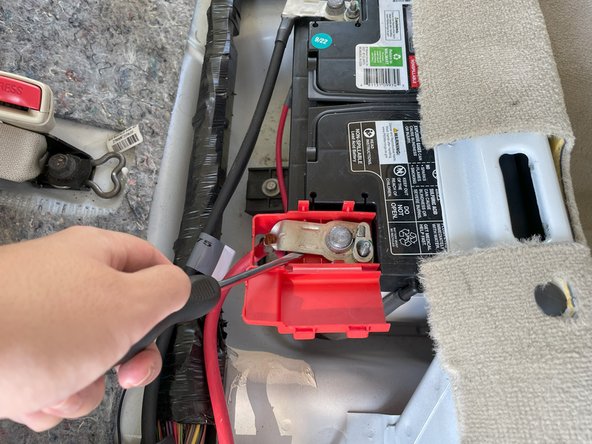
- Wedge in a flat head screw driver and use it as leverage to pop the wire off the terminal.
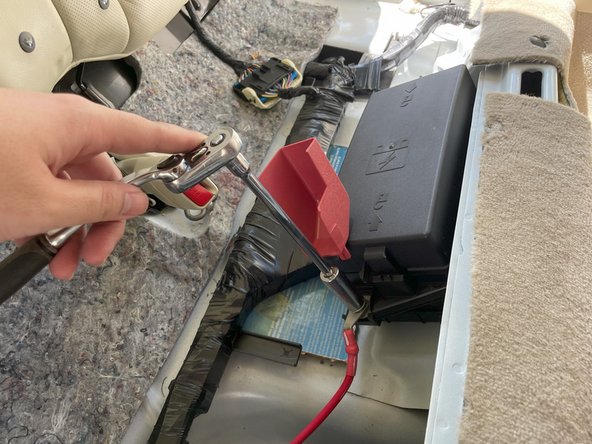
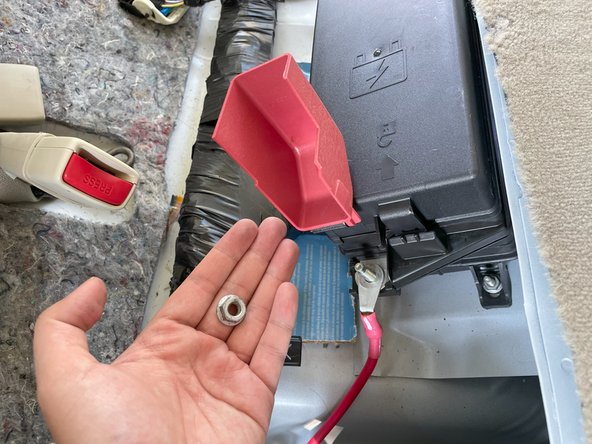
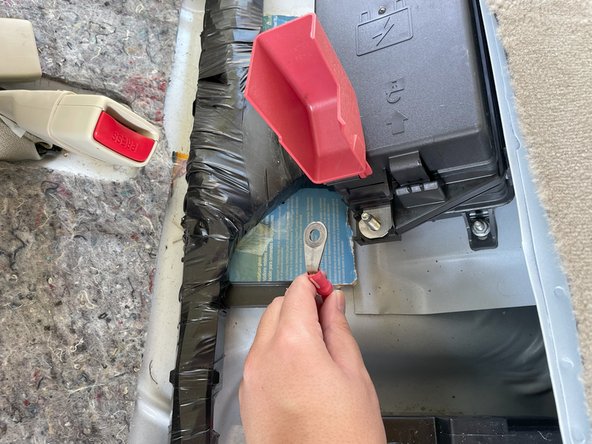
- Unscrew the 11 mm hex lug from the positive wire from the fuse box.
- Pull the positive connection from the terminal.
- Place the wire aside.
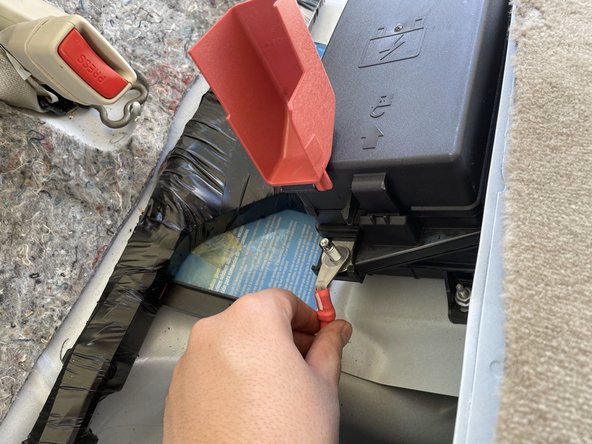
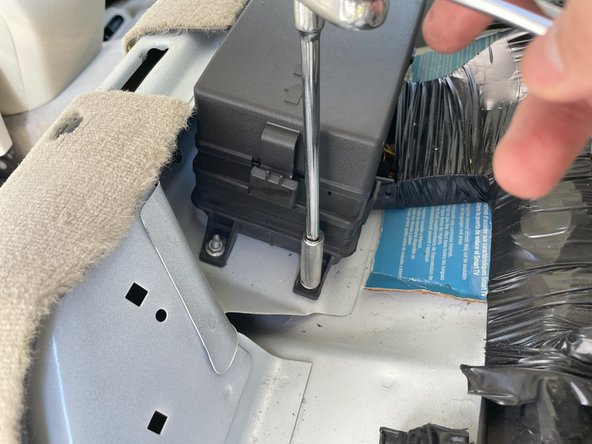
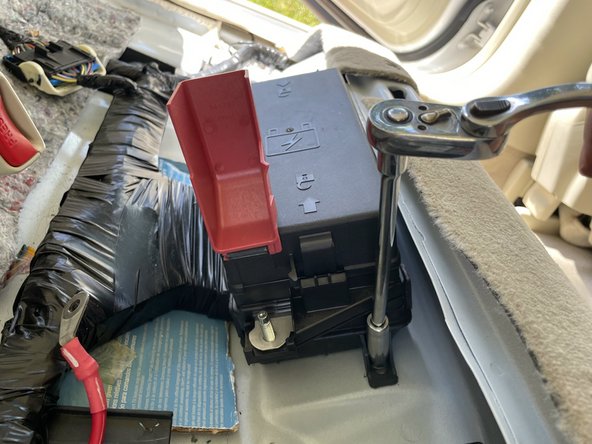
- Unscrew the three 100 mm hex lug screws holding down the fuse box to the car using the 10 mm torque wrench.
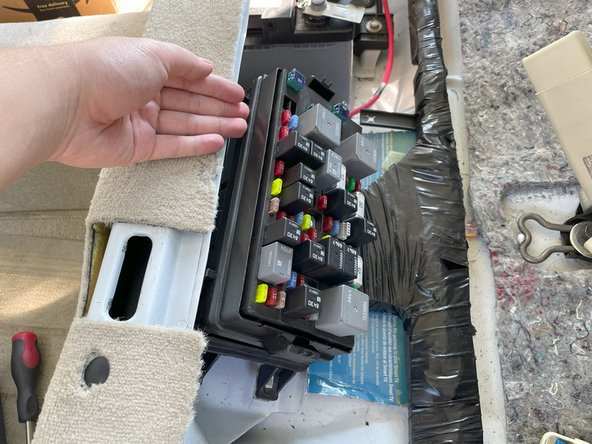
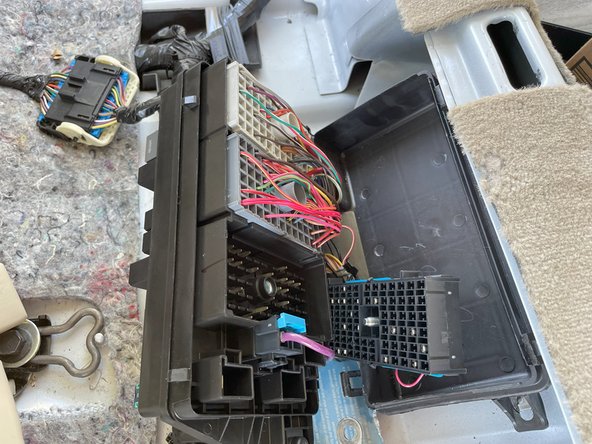
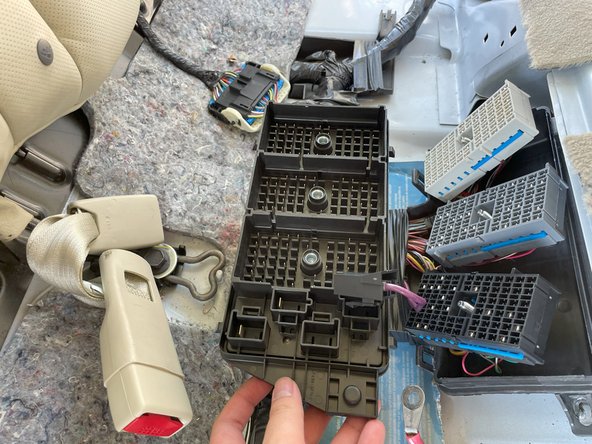
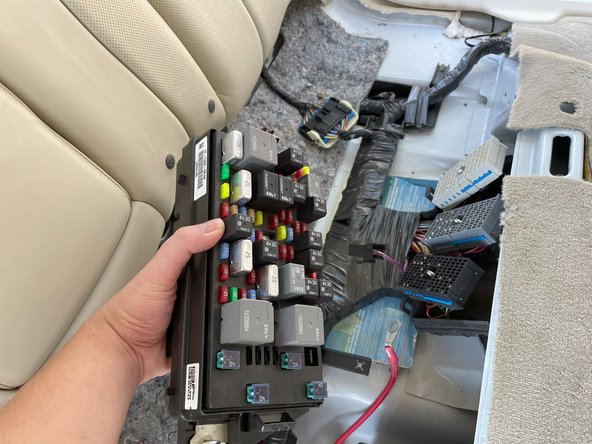
- Pull the cover from fuse box.
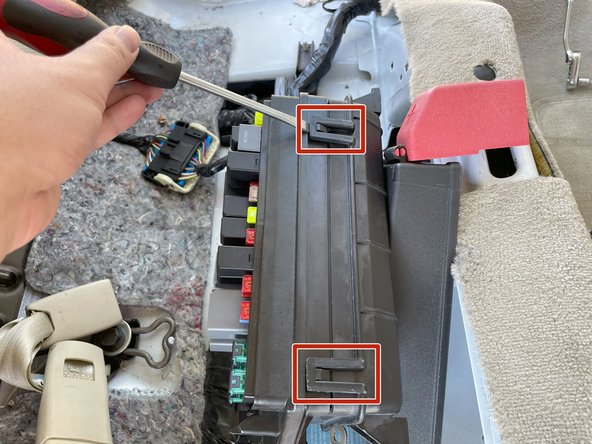
- Uncouple the four tabs on both side of the box. Wedge a flat head screw driver in between the gaps and use as leverage to assist in process.
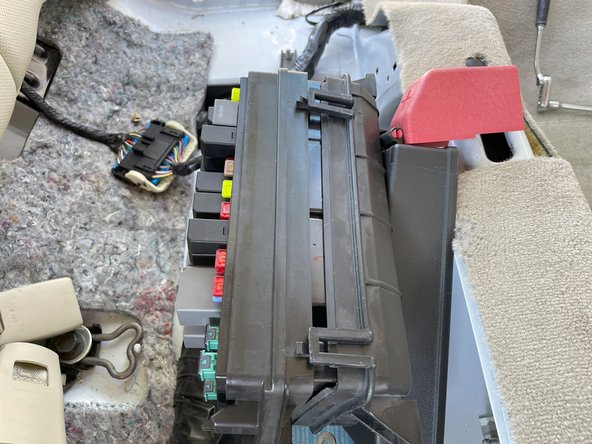
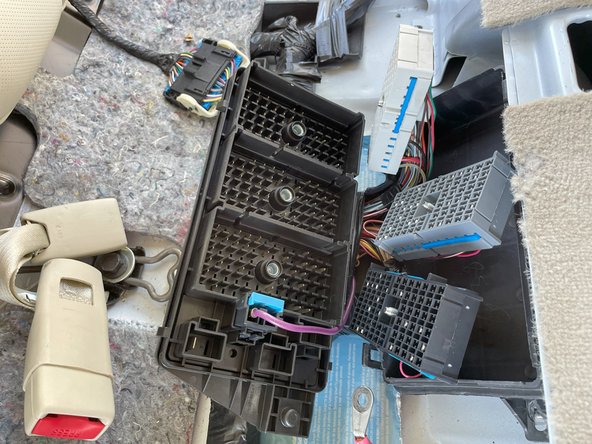
- Flip the fuse box over.
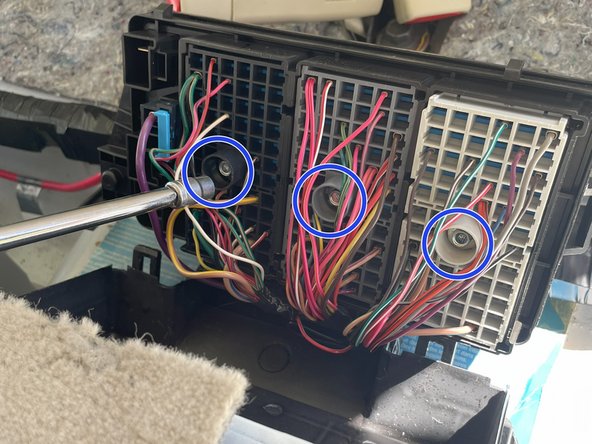
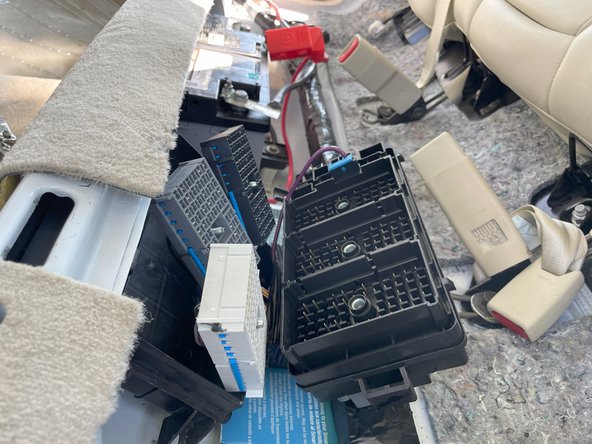
- Loosen the three screws holding down the blocks using a 7mm torque wrench.
- Blocks will raise as you loosen the screw, but screws will NOT come out.
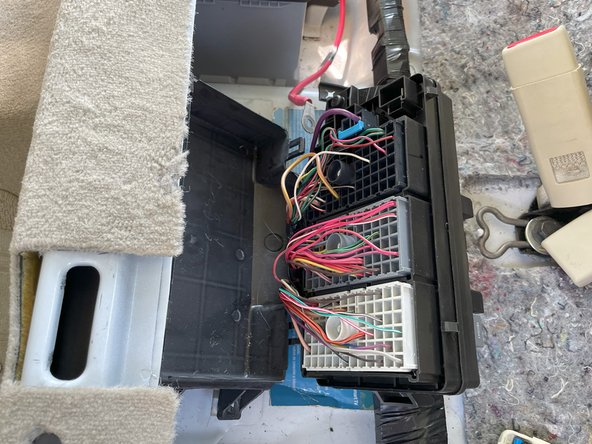
- Pull the block from the box. Wedge a flat-head screw driver in between the block and use the screwdriver as leverage to pop the block from the box.
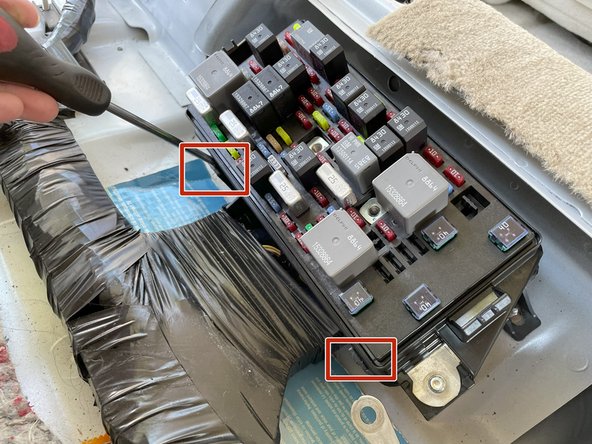
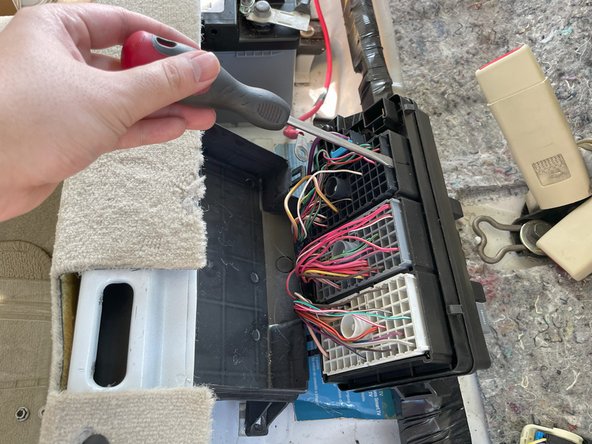
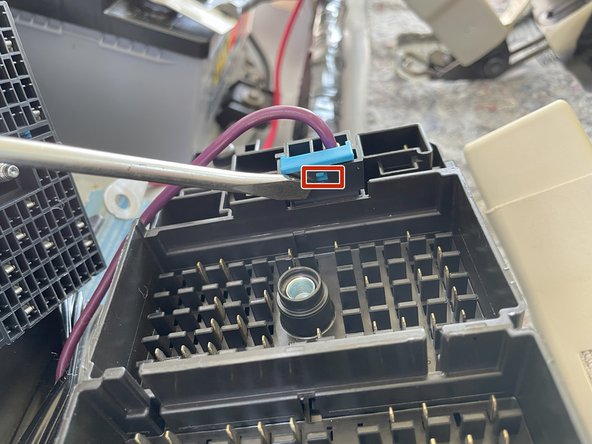
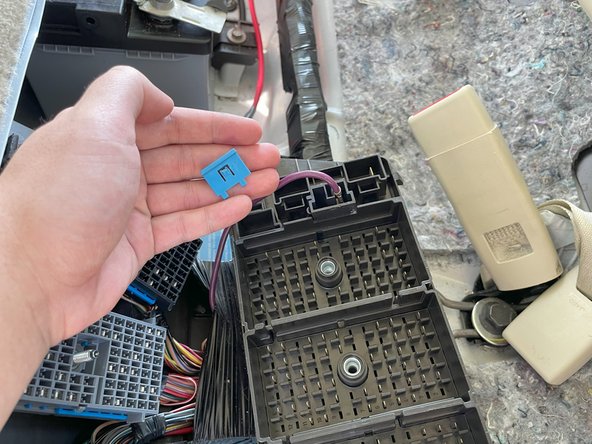
- Push down on the button to uncouple the blue tag from the connection. Use a flat head screw to assist in pushing down the button.
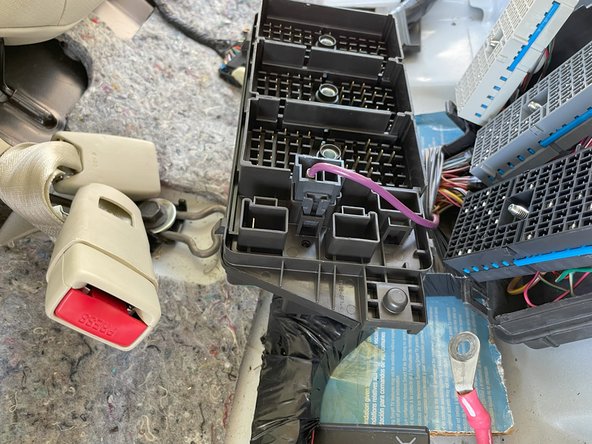
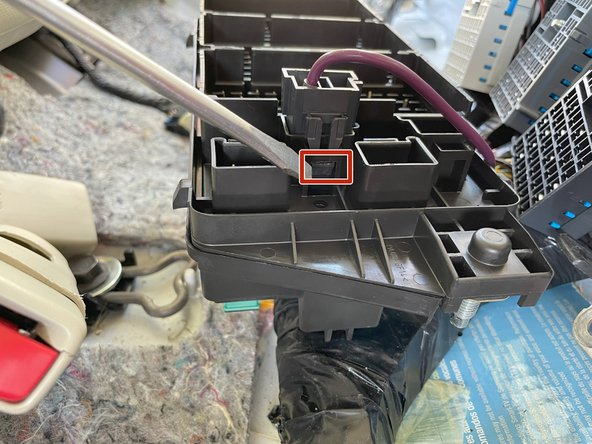
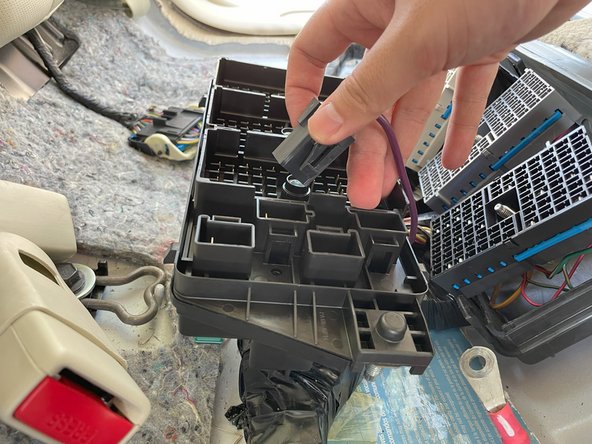
- Push down on tab to uncouple the connection from fuse box. Use a flat head screw to assist in pushing down the button.
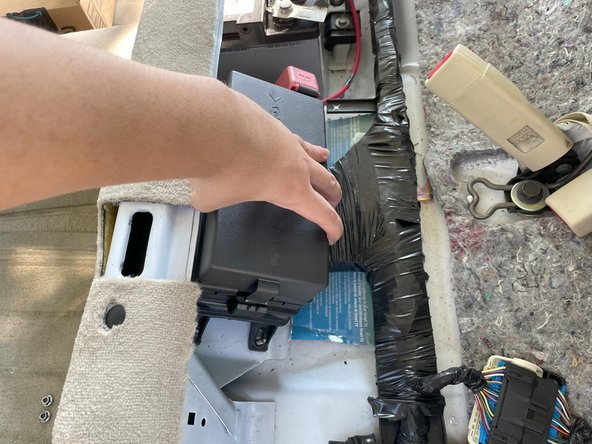
- Remove the fuse box from the car.
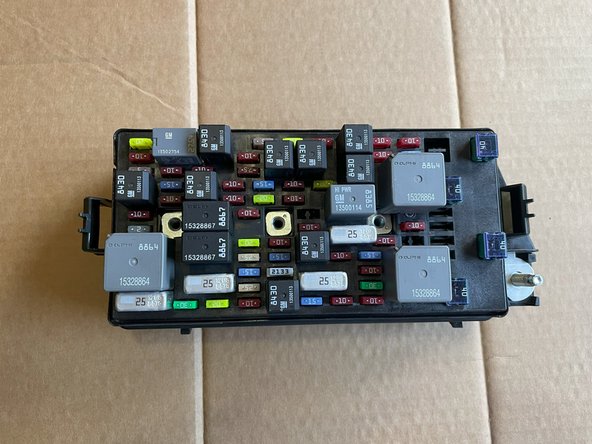
- Transfer fuses from the old to new box.