How to Replace a Tail Light on a Nissan Pathfinder
ID: 165593
Description: Welcome to my guide on fixing a tail light on a...
Steps:
- Insert a flathead screwdriver into the top of the trim cover and gently pry it towards you.
- Repeat the above step to the bottom of the trim cover.
- Pull the trim cover off.
- Set the trim cover aside in a safe place.
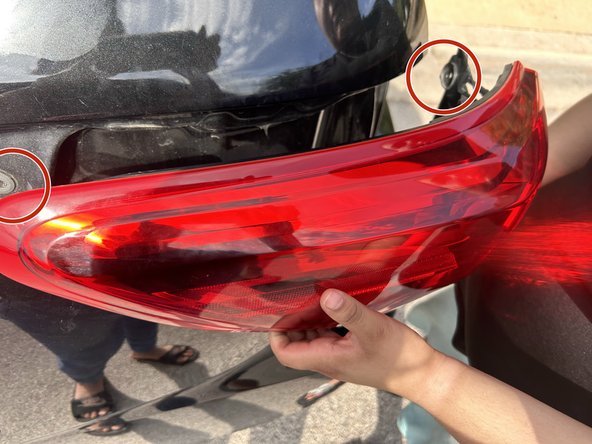
- Remove the two bolts using a 10mm socket and a 1/4" ratchet wrench.
- Place the wrench on the top bolt and turn counterclockwise until the bolt is entirely off.
- Repeat the above step to the bottom bolt.
- Set bolts aside in a safe place.
- Gently pull on the tail light housing to disengage the friction fasteners from their grommets.
- Once all fasteners have been disengaged, pull the tail light housing out.
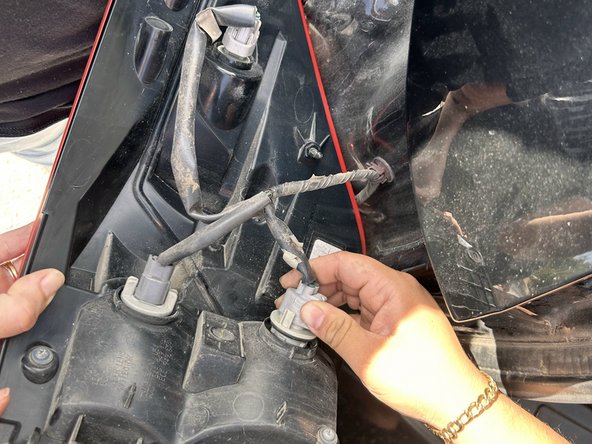
- Rotate the grey plastic bulb socket 1/4 and turn counterclockwise before pulling it straight out of the housing.
- Pull the old light bulb straight out of the socket.
- Push a new 7443 bulb into the socket.
- Re-insert the socket into the housing and rotate it 1/4 turn clockwise to secure it in place.
- Line up the two metal pegs near the outer edge of the housing with their corresponding plastic grommets on the rear corner of the SUV.
- Carefully push the tail light housing back into place.
- Spin in the two bolts a few turns by hand to prevent them from falling.
- Tighten the two bolts by turning them clockwise with the 10mm socket and a 1/4" drive ratchet until tight.
- Avoid over-tightening the bolts to prevent from cracking the plastic inner edge of the tail light housing.
- Line up the trim cover and push it back into place over the inner edge of the tail light housing.