Meaco 12l Low Energy Dehumidifier Replacing capacitor for compressor
ID: 165621
Description: The most common failure on a household...
Steps:
- I originally thought that I had to completely remove the back cover to access the components - however it turns out that on this model the capacitor is easily accessible through just removing the top cover.
- The repair only requires a cross-head / Philips head screw drive and a small flathead screwdriver.
- Obviously - make sure the appliance in unplugged!
- Remove the three screws indicated by the arrows above / behind the control panel.
- Remove the two screws accessible when you lift the air direction flap.
- Lift the cover, carefully taking care not to damage the control panel cable and let this gently hang to one side.
- Remove the two outer screws as indicated.
- In order to remove the cover, use the small flathead screwdriver to release the two clips on the other side of the enclosure.
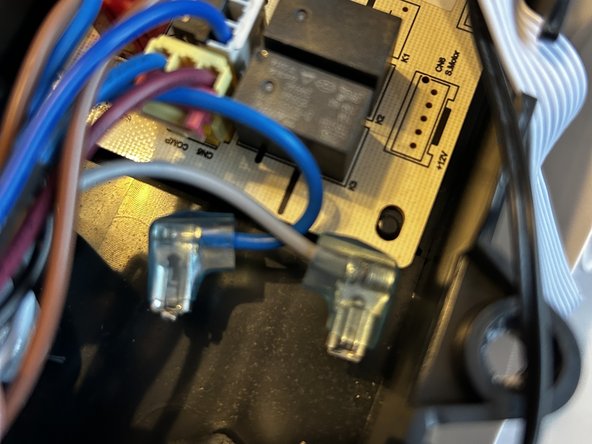
- Once the cover is off, you can inspect the two capacitors. The main capacitor for the compressor is indicated in the first picture.
- In my case this was obviously the problem with the crack visible and the melted contents having oozed out.
- In any case, work carefully at this point to avoid any electrical shock from the capacitor/s. Use an insulated screwdriver to remover the indicated screw.
- Lift the capacitor out and remove the two connectors, taking note of their colours and positions.
- Noted that the one connector has a small pin that holds it in place.
- It is a good idea to short-out the capacitor using the metal of your screwdriver before handling it beyond this point.
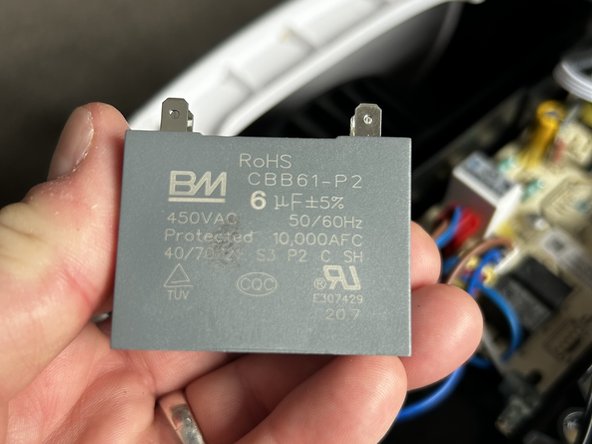
- The third photo shows that this is a 6 uF 450VAC capacitor. The part number CBB61 is helpful in finding a replacement. The P2 refers to the fact that is has two sets of connectors.
- I found my replacement on Amazon (UK) - brand name on the capacitor is RXiN for around £9. Shop name "sourcing map".
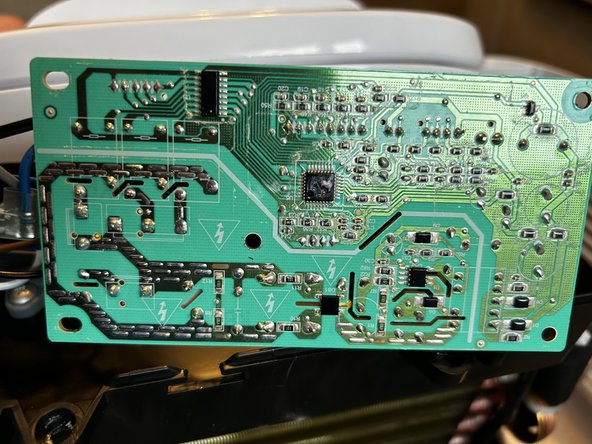
- I decided to check over the other capacitor, the top of the electronics board and the underside (need to remove more screws), to check for other damage (burn marks, loose solder, etc).
- Once you receive your replacement part, you can install it and reassemble everything in reverse of the above.
- Only test the device once you have closed the black electrical box to ensure your safety. You should hear the compressor click on.