Sonos Roam Inner Circuit Board Replacement
ID: 166970
Description: If your Sonos Roam is unresponsive, having...
Steps:
- Power off your Sonos Roam before beginning disassembly.
- Use the metal spudger to pry the end cap with the buttons.
- Pry from all sides to loosen the adhesive.
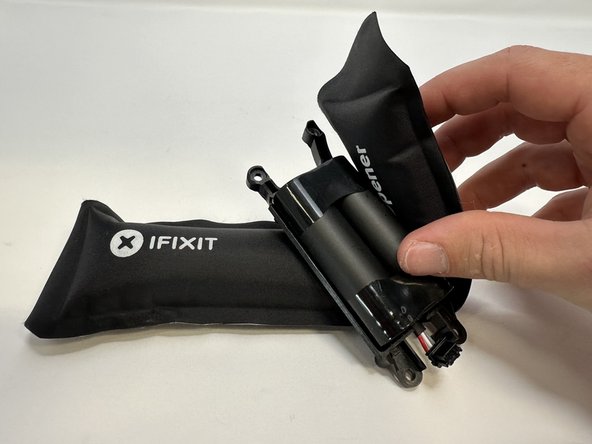
- Use the iOpener, a blowdryer, or a similar heating device to loosen the adhesive if having difficulty.
- Flip the device to the other end cap.
- Use the metal spudger to loosen the adhesive.
- Use the iOpener, a blowdryer, or a similar heating device to loosen the adhesive if having difficulty.
- Flip the device so that the Sonos logo is on the top.
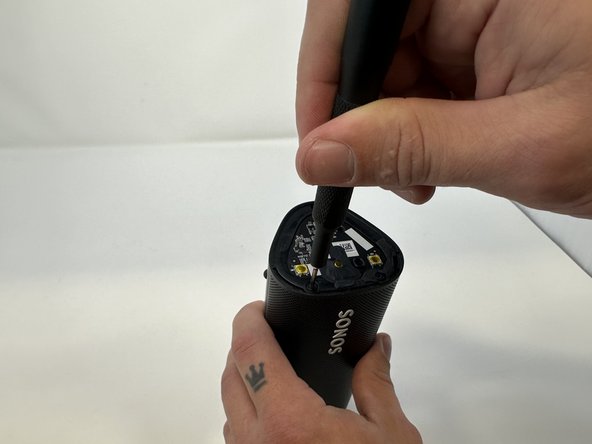
- Use the Torx T6 screwdriver to remove the two 6 mm screws.
- Flip the device.
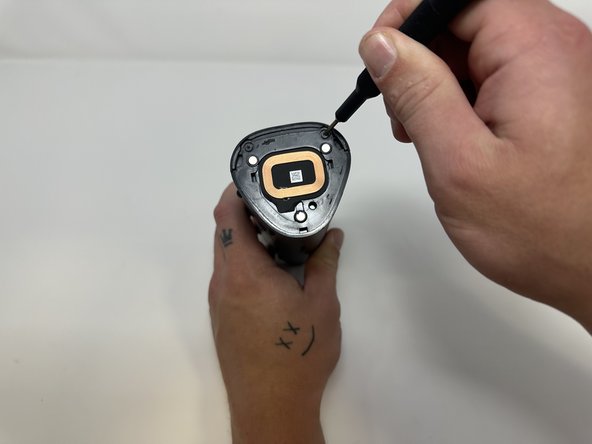
- Use the Torx T6 screwdriver to remove the two 6 mm screws.
- Flip the device so the Sonos logo is on the top.
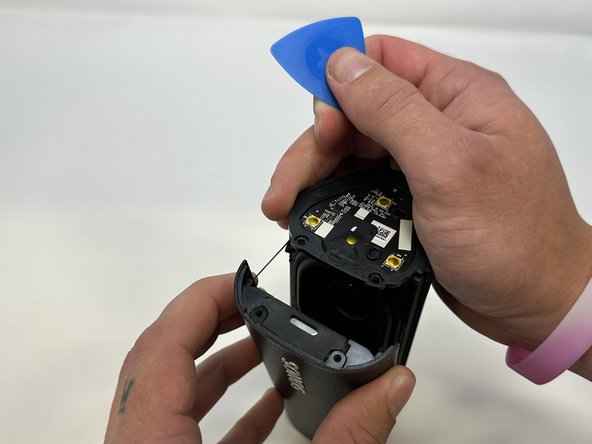
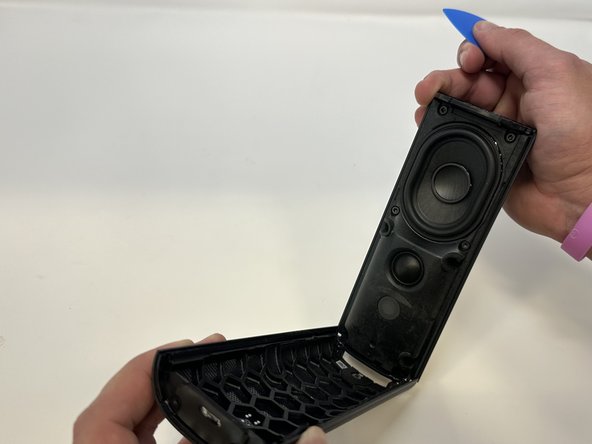
- Use the iFixit opening picks to wedge between the split of the grille and the back of the speaker to pry the grille apart.
- Use the iOpener, a blowdryer, or a similar heating device to loosen the adhesive if having difficulty.
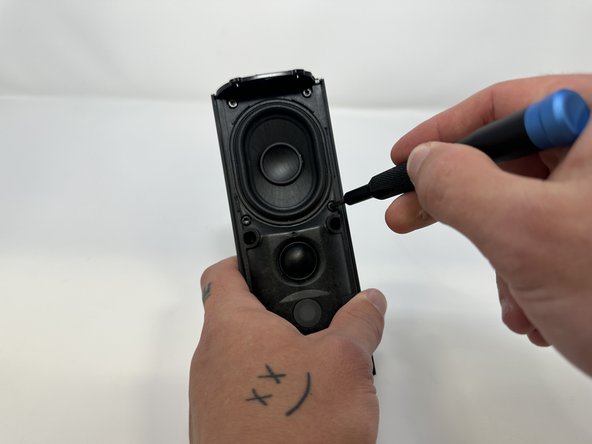
- Use the TR10 Torx screwdriver to remove the six 7 mm screws.
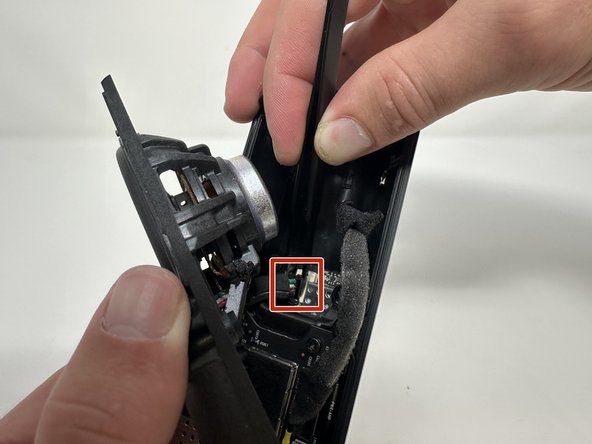
- Begin to carefully separate the speaker module from the device.
- Firmly squeeze the middle of the plug using the tweezers to pull it out of the socket.
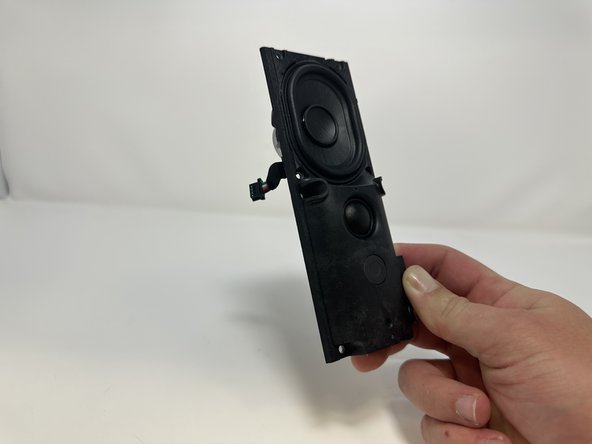
- Separate the speaker module from the device.
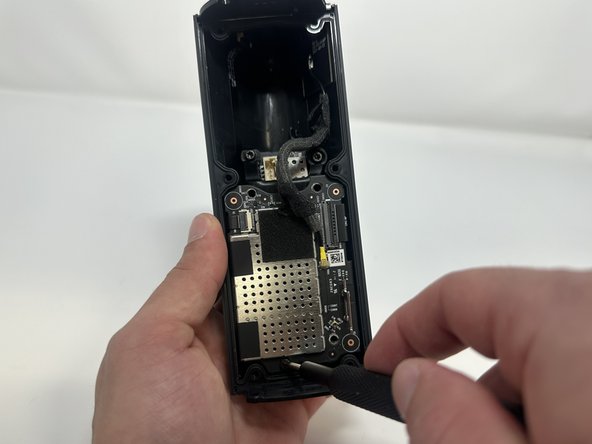
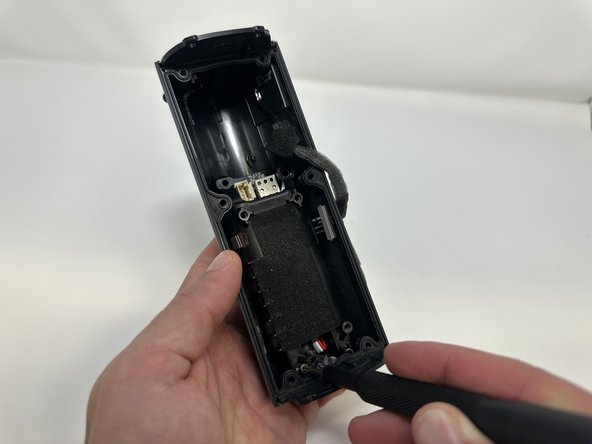
- Use the TR10 Torx screwdriver to remove the four 7 mm screws.
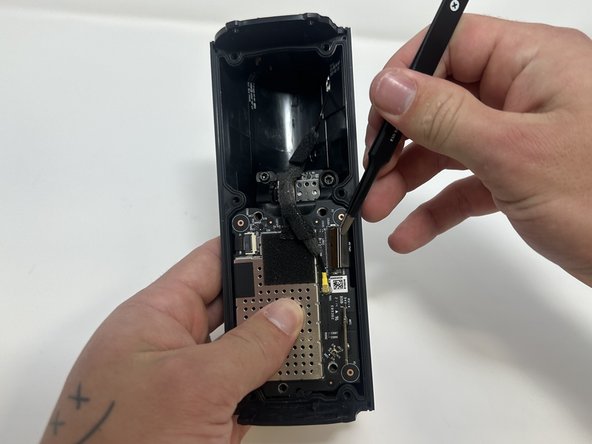
- Use the tweezers to flip the latch holding the large ribbon in place.
- Grab the large ribbon with the tweezers and pull upwards to remove it.
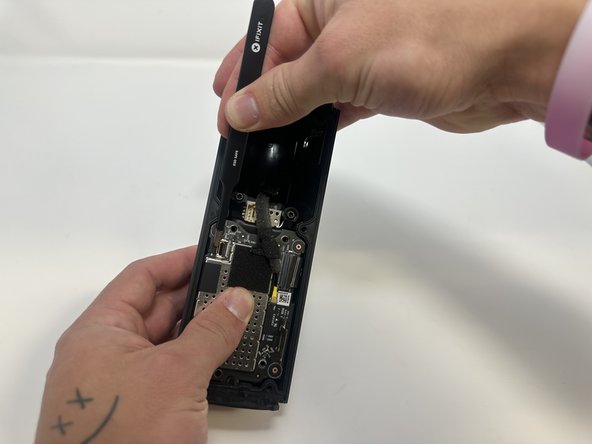
- Use the tweezers to flip the latch holding the small ribbon in place.
- Grab the small ribbon with the tweezers and pull upwards to remove it.
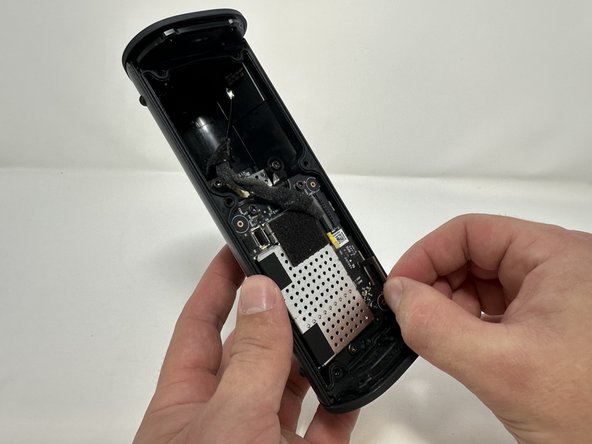
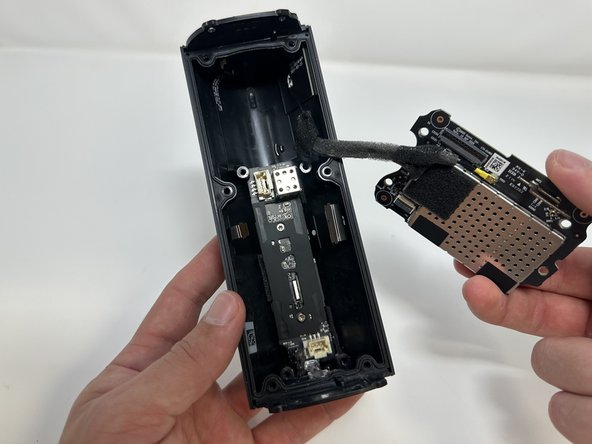
- Grab the metal piece sticking out of the outer circuit board.
- Pull upwards to remove the outer circuit board.
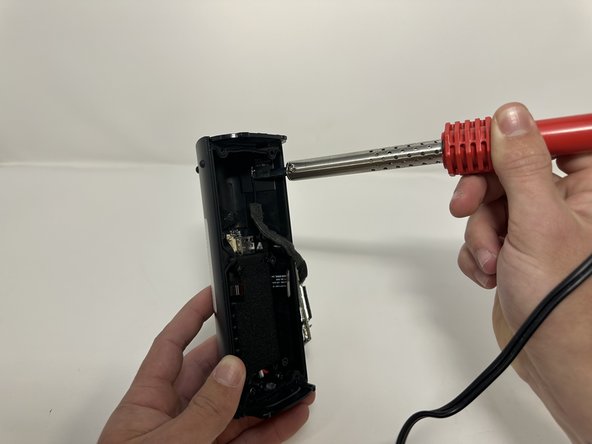
- Soldering Iron is very hot and can cause injury if not used properly.
- Use a soldering iron to desolder the outer circuit board from the speaker casing.
- Use the TR10 Torx screwdriver to remove the four 7 mm screws.
- Use the tweezers to firmly squeeze the middle of the plug.
- Pull the plug out to remove it from its socket.
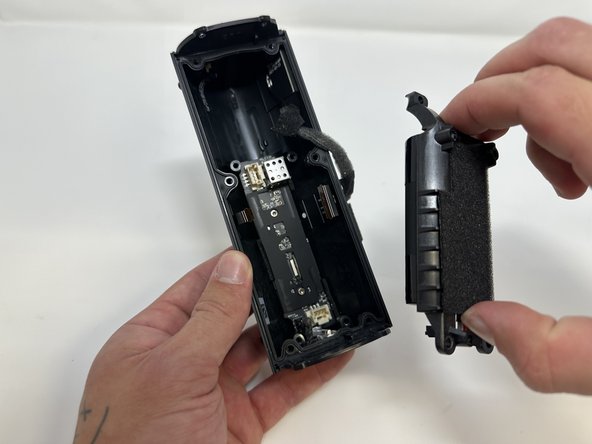
- Remove the battery from the device.
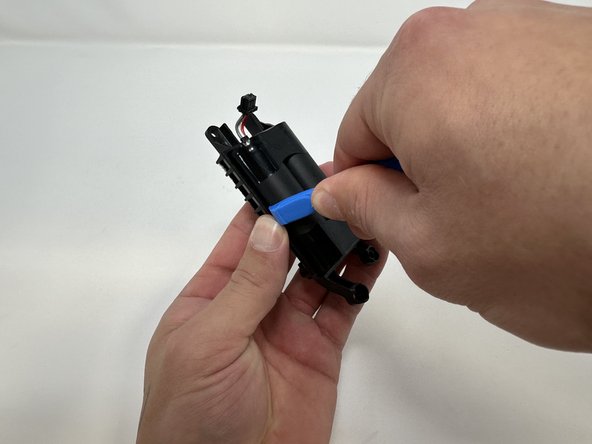
- Use the iFixit opening tool to pry the battery out of its casing.
- Use the iOpener, blowdryer, or a similar heating device to loosen the adhesive if having difficulty.
- Remove the battery from its casing.
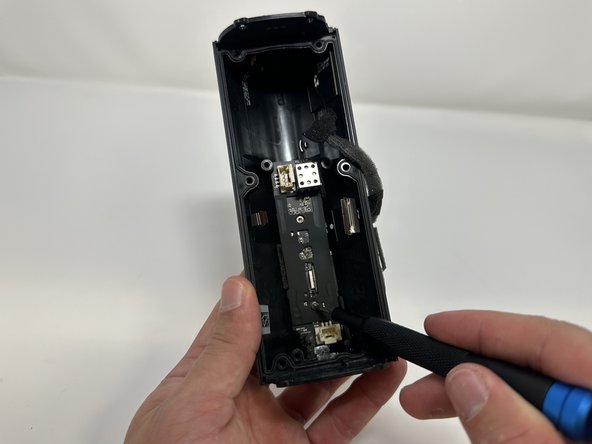
- Use the TR9 Torx screwdriver to remove the two 5 mm screws.
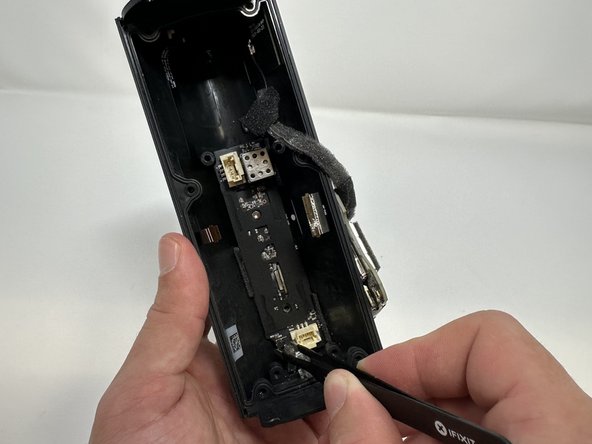
- Use the tweezers to firmly squeeze the center of the plug.
- Pull the plug out to remove it from its socket.
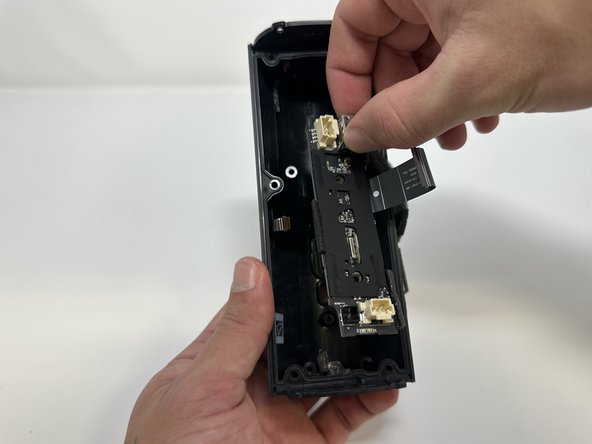
- Grab the metal box to remove the inner circuit board.