Lenovo IdeaPad 5 15ITL05 SATA Drive Replacement/Addition
ID: 167178
Description: Use this guide to add or replace the SATA drive...
Steps:
- Use a T5 Torx driver to remove nine screws securing the back cover.
- The three screws on the hinge side will be longer.
- The back cover is held on by plastic tabs around the entire perimeter of the cover.
- Use plastic pry tools at the seam. I like to start near the hinge.
- Once all the tabs are loose, you will be able to remove the cover.
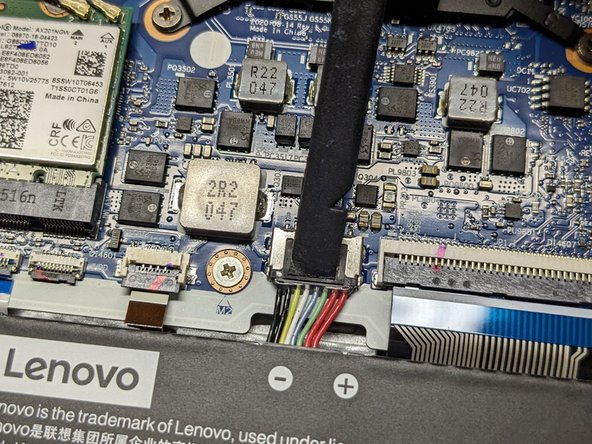
- Use the flat end of a spudger to push the square tab on the battery connector and slide it out of its socket.
- Use a Phillips screwdriver to remove the four screws securing the battery.
- Note: Two of the screws on the left in the image will also hold in the SATA drive bracket.
- Remove the battery.
- Use a Phillips screwdriver to remove the remaining two screws securing the SATA drive bracket.
- The SATA drive connector is below the Wifi adapter and to the right of the M.2 NVME slot.
- It is the second left connector.
- Lift the flat cable connector.
- Fold the cable.
- Slide the cable in with the blue/non-contact side facing up.
- Lower the flat cable connector.
- In the example, the power is on top, and data is on the bottom. You'll need to install your SATA drive in the correct orientation.
- Note the orientation.
- There are 4 screw mount points.
- Connect the SATA drive to the connector.
- Place the SATA drive in.
- Place the battery in.
- Use a Phillips screwdriver to fasten the six screws securing the SATA drive bracket and battery.
- Push the battery connector back into place.