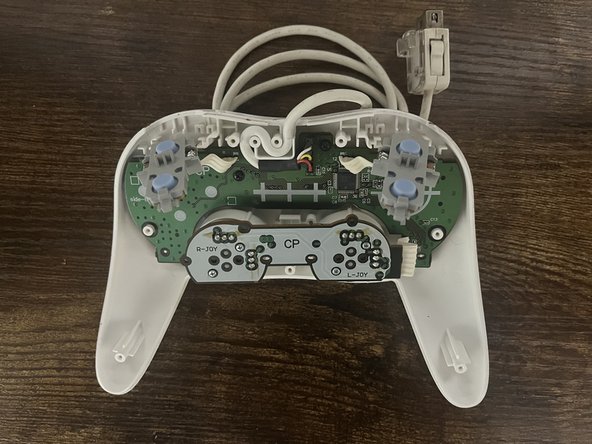
Nintendo Wii Classic Controller Pro D-pad Replacement
ID: 167272
Description: The D-pad is an essential part of any...
Steps:
- Turn the controller over and locate the 7 screws.
- Using the 2.5mm Y0 Tri-point screwdriver remove the screws.
- Now that the screws are removed, it's time to remove the back plate.
- Rotate around the controller and carefully separate the two plates.
- This step can be done either using your hands or with a prying tool.
- Focus on the front plate with the circuit board.
- Now remove the left and right trigger buttons by tugging them out.
- Next is the removal of the silicone buttons.
- Gently pull them out of their socket. When pulled out, they should just be hanging.
- Gently pull the white cord towards you to remove it from the cord holder.
- Locate and remove the two screws with a 2.5mm Phillps screwdriver.
- Now gently lift up the circuit board to separate it from the front plate.
- When reconnecting the circuit board to the front plate, pre-place the Phillips screws into the holes of the circuit board. This ensures the alignment of the two parts during reassembly.
- Set aside the circuit board and focus on the front plate.
- Remove the white silicone button pad.
- Depending on you how remove the button pad, the D-pad may either be removed along with it or will need to be removed after.
- Put away the old D-pad and get your new D-pad.
- Insert the new D-pad into the D-pad socket. Ensure that the curves of the D-pad align with the small ridges of the socket.
- Then place the white silicone button pad on top of the D-pad. The hole on the left should fit into a small tube to secure its position.