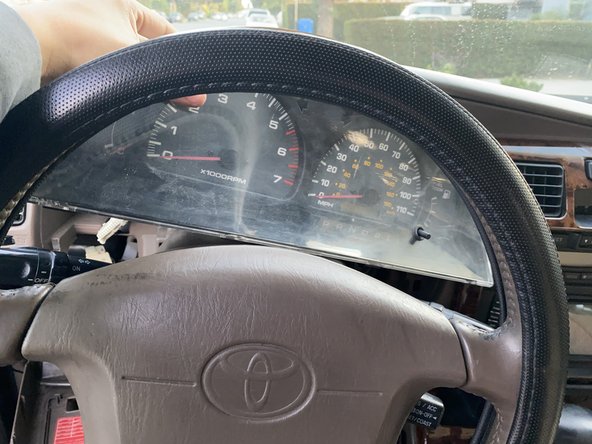
2000 Toyota 4Runner Dashboard Light Bulbs Replacement
ID: 167327
Description: This is a guide to replacing the light bulb on...
Steps:
- Remove the car key from the ignition so there isn't a current running through the car while working on it and to have more room.
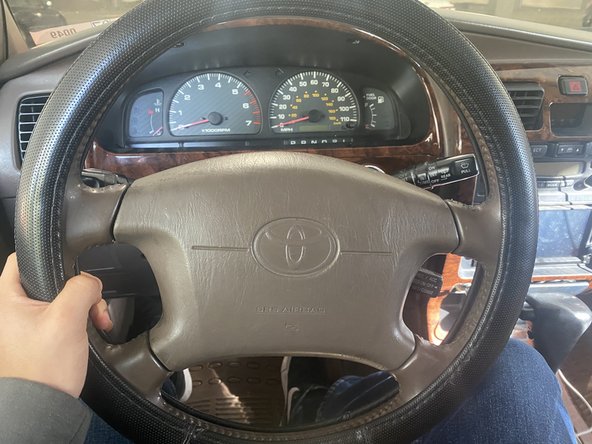
- On the left side of the steering column, there is a lever that, by pulling forward, allows you to adjust the steering wheel's position.
- Pull the lever on the left side of the steering column while moving the steering wheel up or down to make some room.
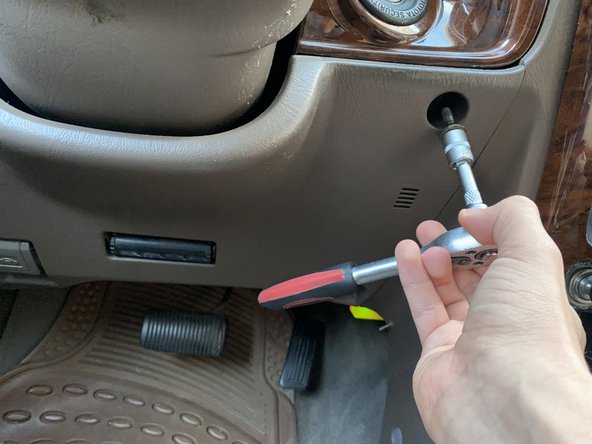
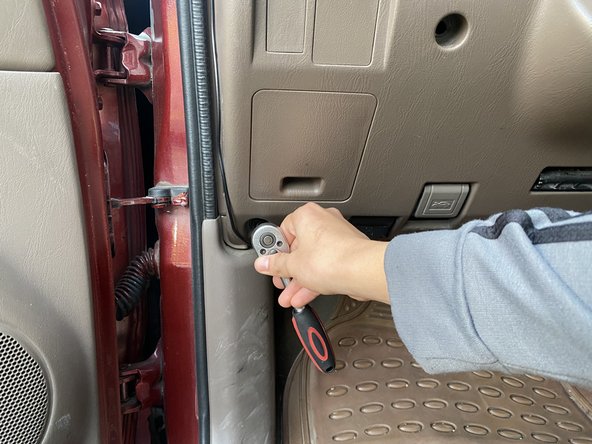
- Use a 10 mm socket on a ratchet wrench to remove the two 10 mm bolts near the steering column.
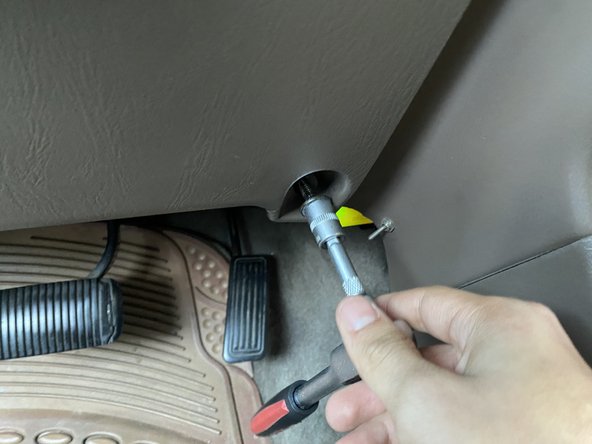
- Remove the other two 10 mm bolts that are closer to the pedals.
- When removing the 10 mm bolt on the bottom left corner, it will be easier to open the car door to reach it.
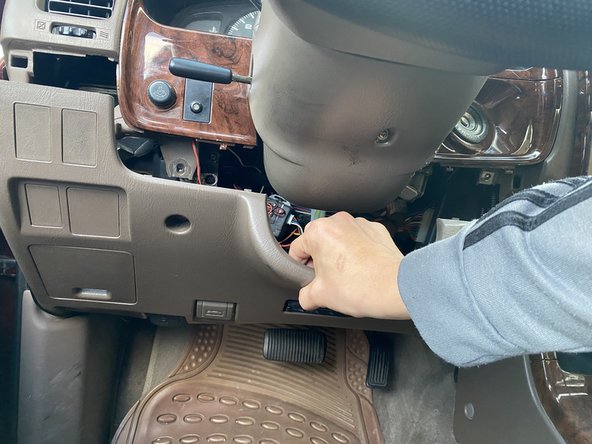
- Gently pull the cover downwards.
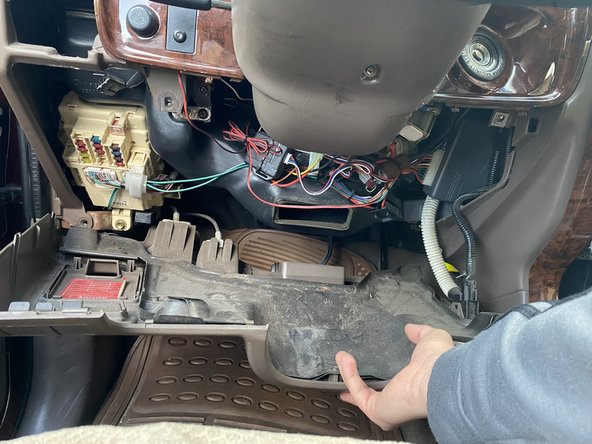
- Gently rest the cover on the floorboard so that the wires and cables don't get damaged.
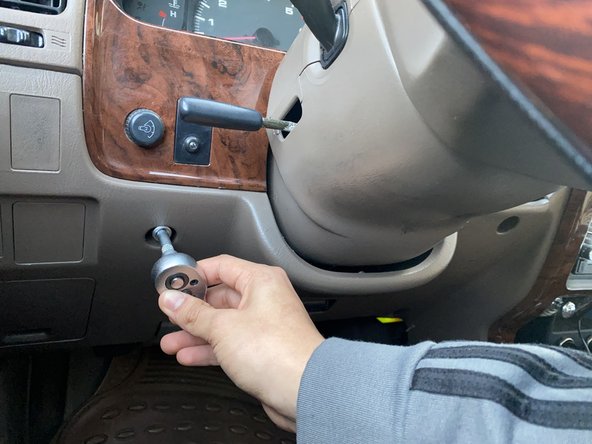
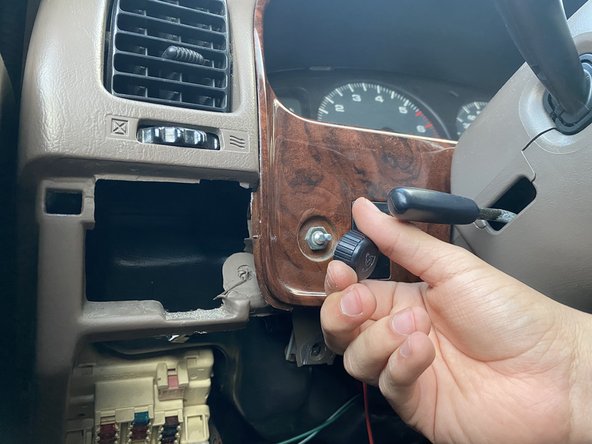
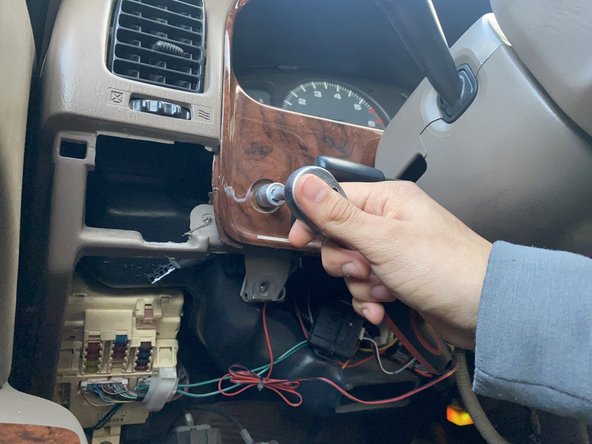
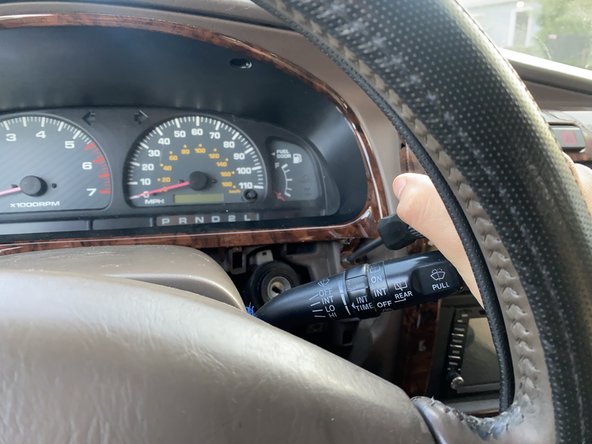
- Grab onto the light-dimmer cap on the left side of the steering and gently pull it out.
- Use a 12 mm socket to remove the 12 mm nut holding the dimmer switch in place.
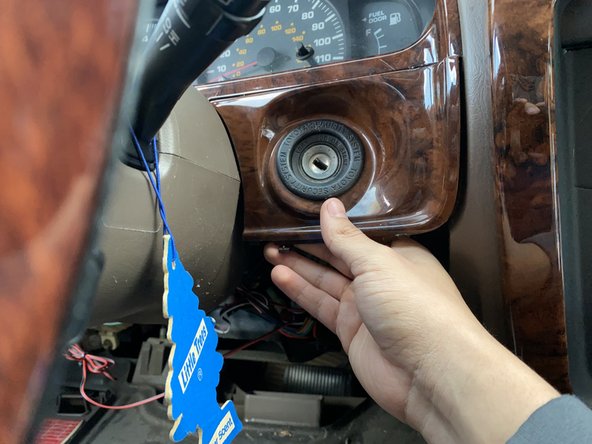
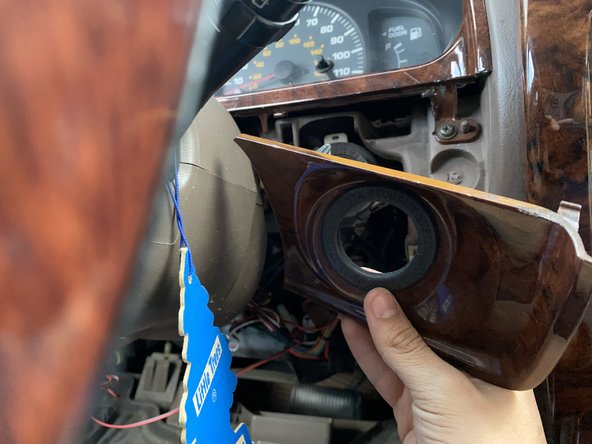
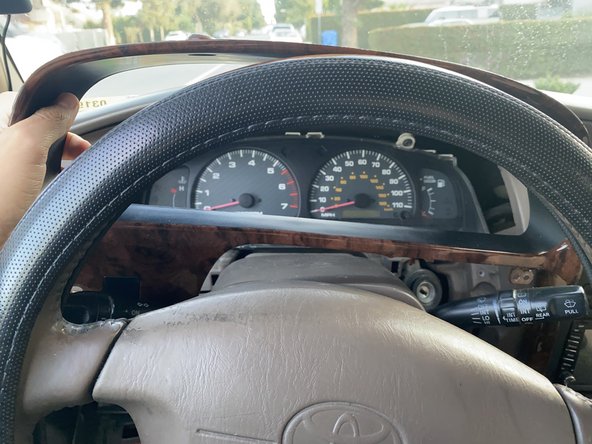
- On the right side of the steering column, grab onto the ignition cover and pull on it gently to take it off.
- The trim piece may break if pulled too forcefully.
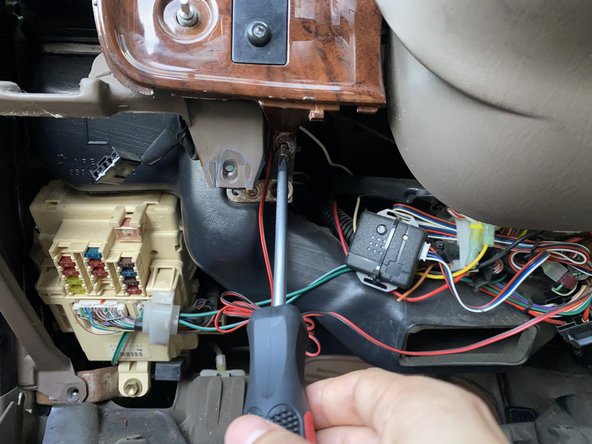
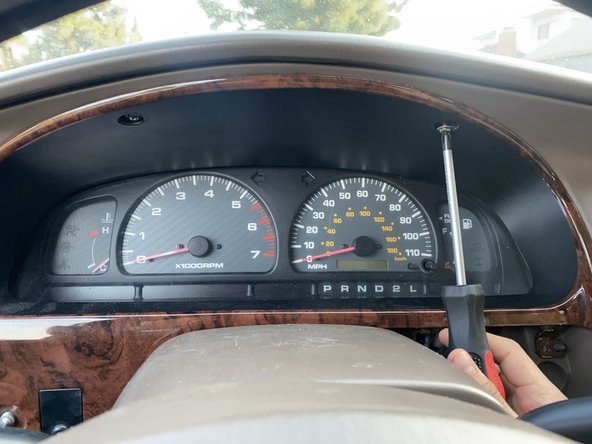
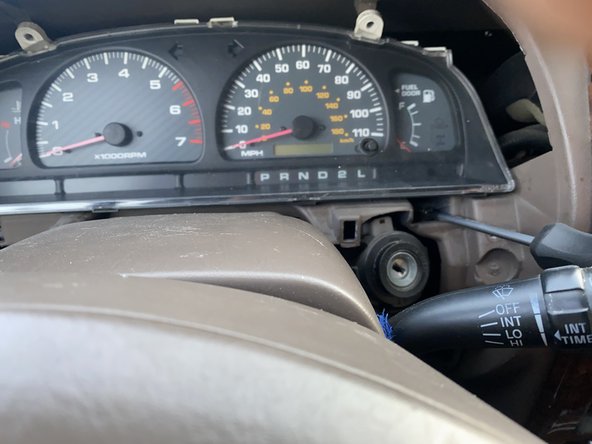
- Use a screwdriver to remove the two 1/2 inch screws from the bottom part of the gauge cluster trim piece.
- Remove the two top 1/2 inch screws of the trim piece.
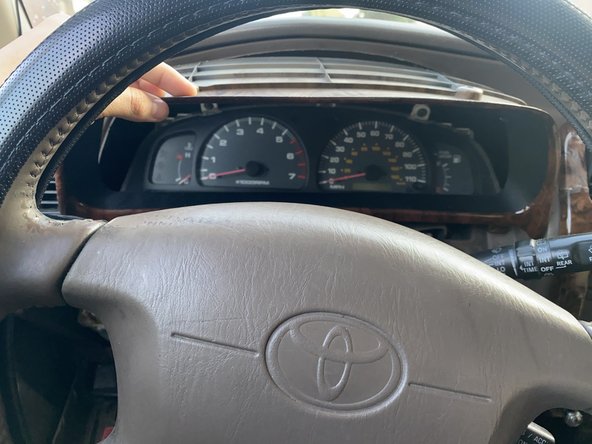
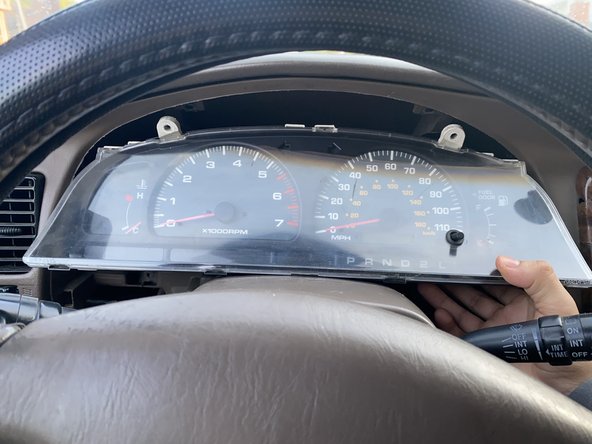
- Grab onto the gauge cluster trim and remove it.
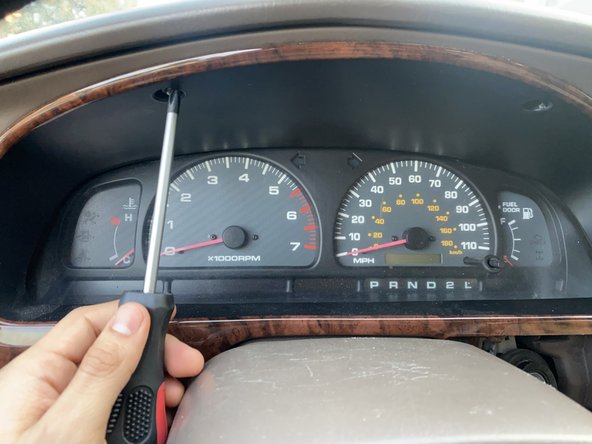
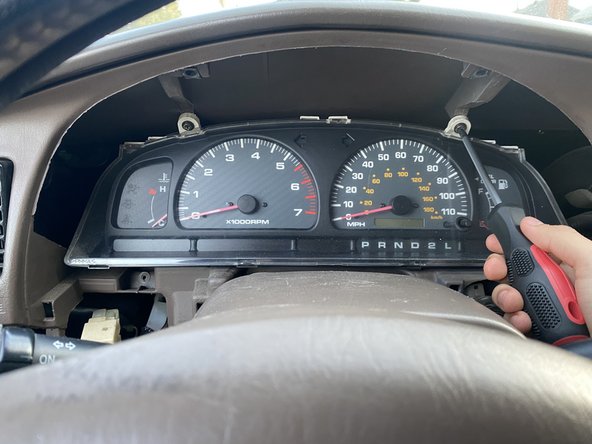
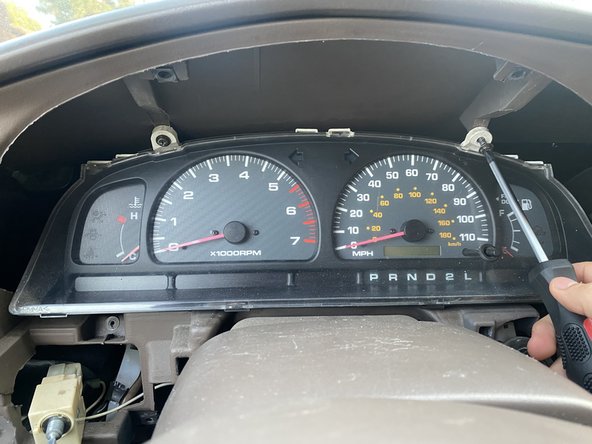
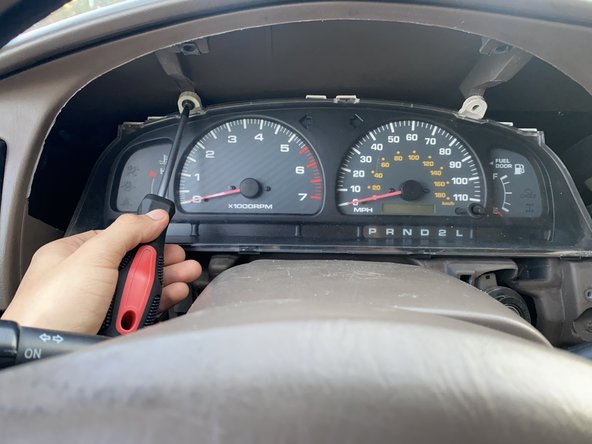
- Use the screwdriver to remove the two top 1/2-inch screws that hold the gauge cluster in place.
- Unscrew the bottom two 1/2 inch screws that hold in the gauge cluster.
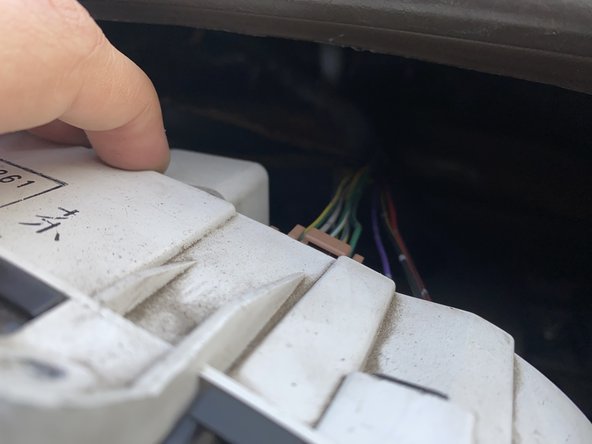
- Grab onto the gauge cluster once all four screws have been removed and pull it forward to be able to reach the connection on the backside.
- Pulling too hard may damage the connection in to the back of gauge cluster.
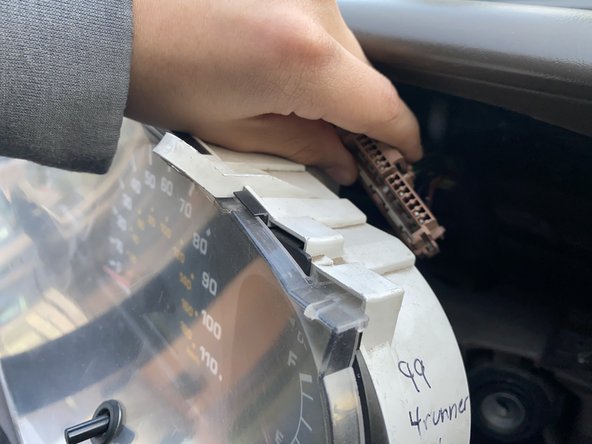
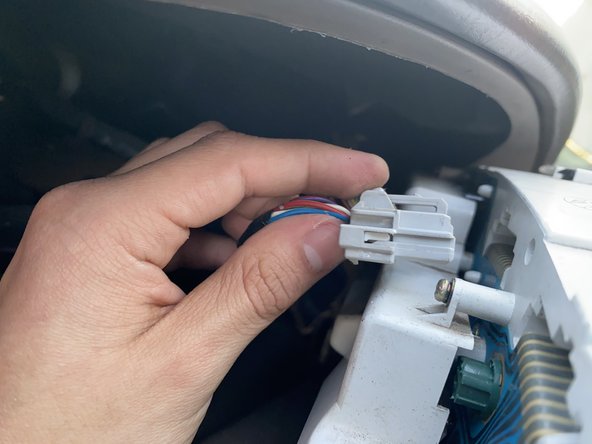
- On the right side of the gauge cluster, there is one brown connection that needs to be disconnected.
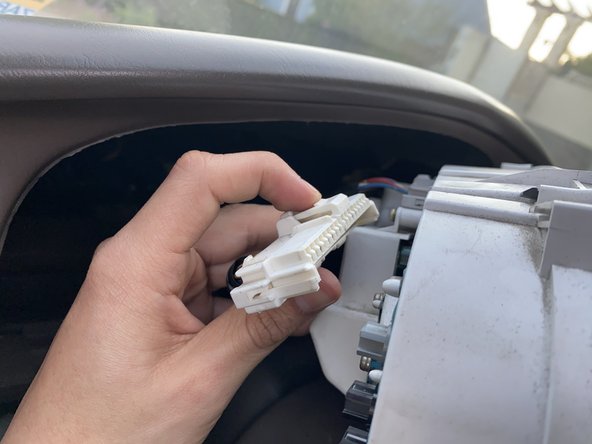
- On the left side of the gauge cluster, there is one white connection that needs to be disconnected.
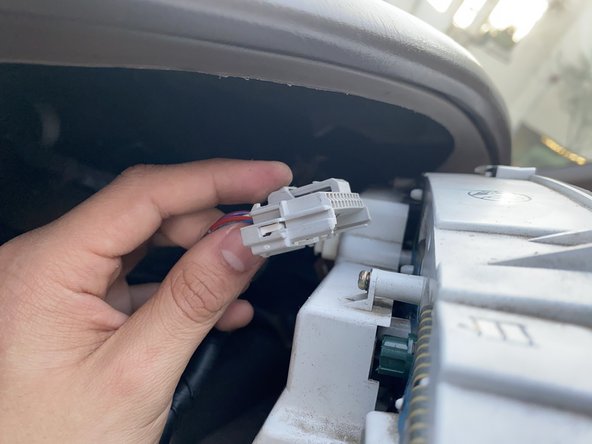
- In the middle of the gauge cluster, there is one white connection that is closer to the left side that needs to be disconnected.
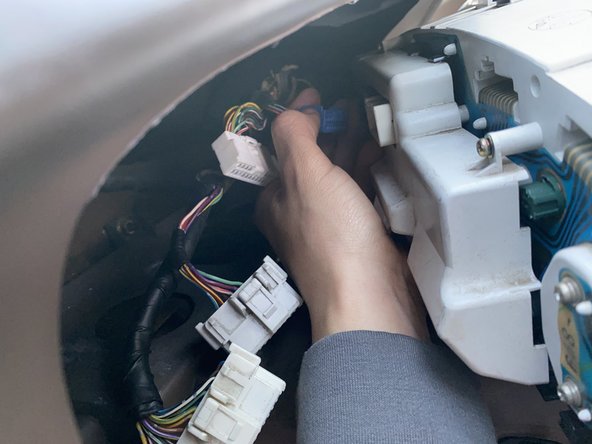
- In the middle of the gauge cluster, there is one blue connection that is closer to the right side that needs to be disconnected.
- Remove the gauge cluster from the dashboard.
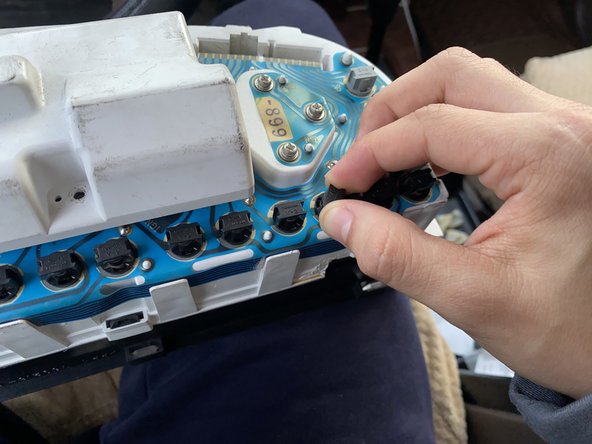
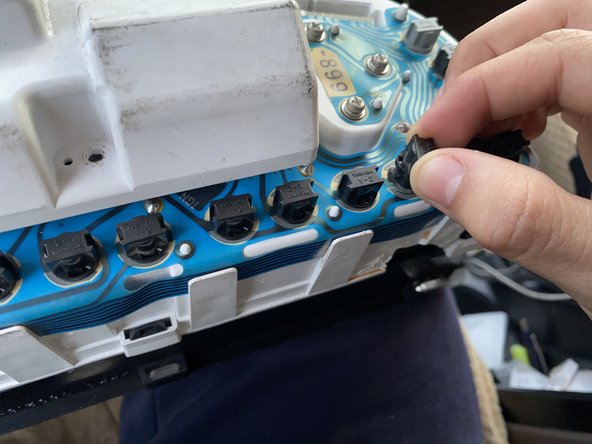
- Grab onto the light bulb housing and turn it counter-clockwise until it clicks out of place.
- Remove from the back of the gauge cluster.
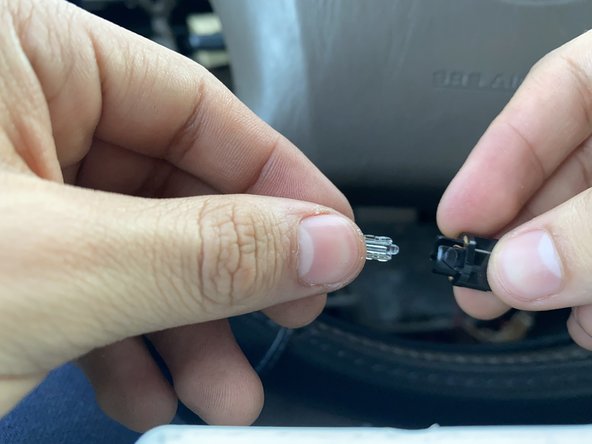
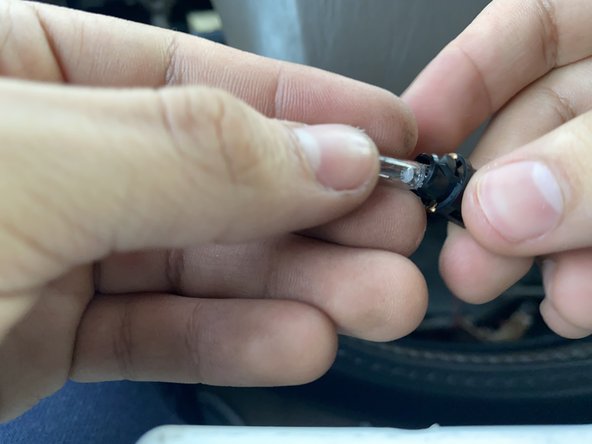
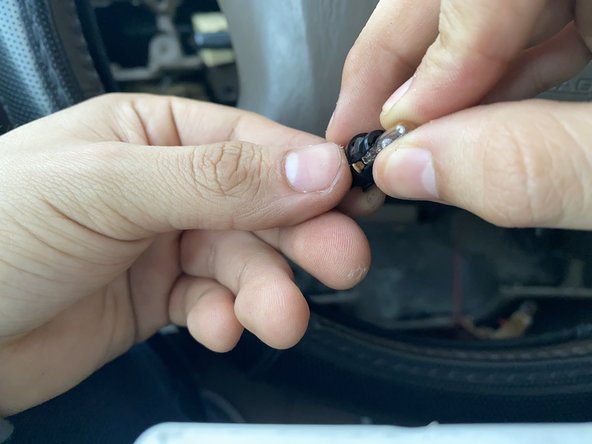
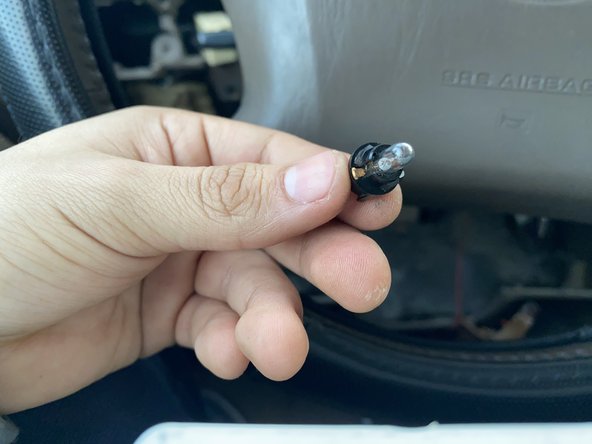
- Grab onto the 74 fluorescent light bulb and pull it out of the housing.
- Grab a new 74 fluorescent light bulb and push back into the housing.
- If you decide to replace the light bulbs with LED bulbs instead of fluorescent then you will have to test the connection by plugging in the connections and turning the key to the run position.
- LED bulbs only function if they are in a certain orientation so just pull out the housing turn 180 degrees and test it again.