PlayStation 5 Slim Fan Replacement
ID: 167652
Description: Follow this guide to replace a broken or faulty...
Steps:
- Before starting your repair:
- Shut down your console and unplug all cables and accessories.
- Remove any stands supporting your device and lay it down.
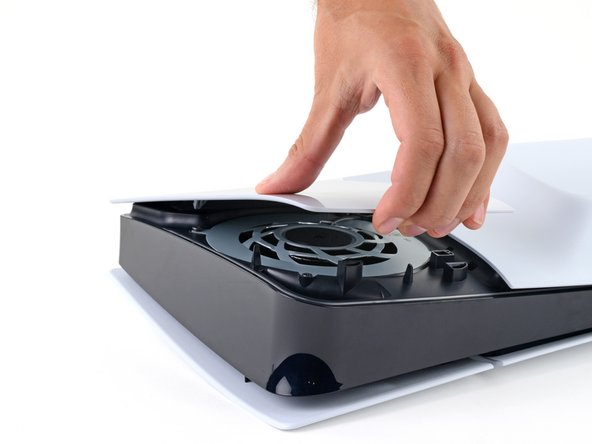
- Lay your PlayStation on its side so the right side covers are facing up.
- The cover is secured with hooks along the back edge and clips along the front edge.
- Firmly pull up the front edge of the smaller, upper cover to release the clips.
- You'll hear distinct "pops" as the clips disengage.
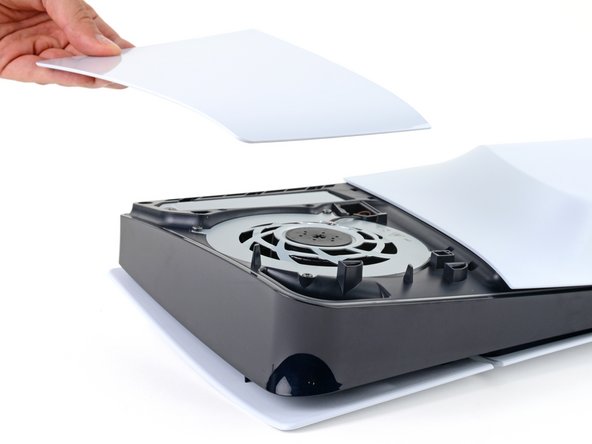
- Remove the cover.
- To reinstall the cover, place the hooks into their cutouts along the rear edge and firmly press the front edge of the cover into place to re‑engage the two clips.
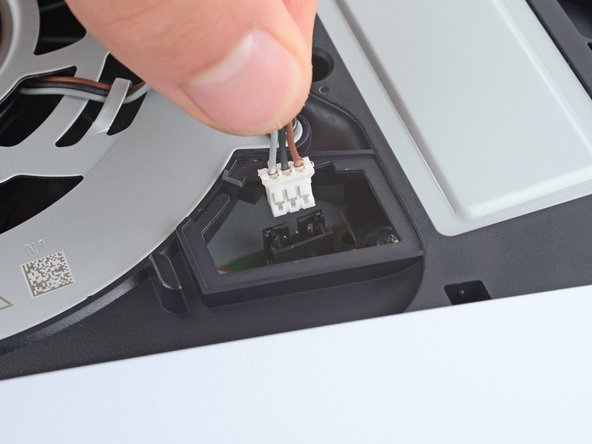
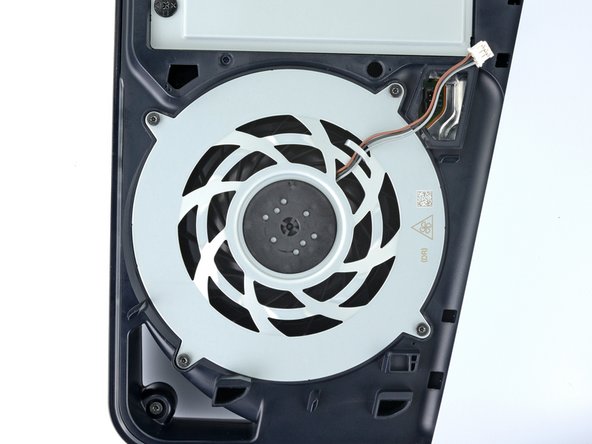
- A piece of plastic covers the fan cables connector.
- Use your fingers to remove the plastic cover.
- During reassembly, press the piece of plastic back into place to secure it with the leftover adhesive. If it isn't sticking, use strips of double-sided tape to secure it.
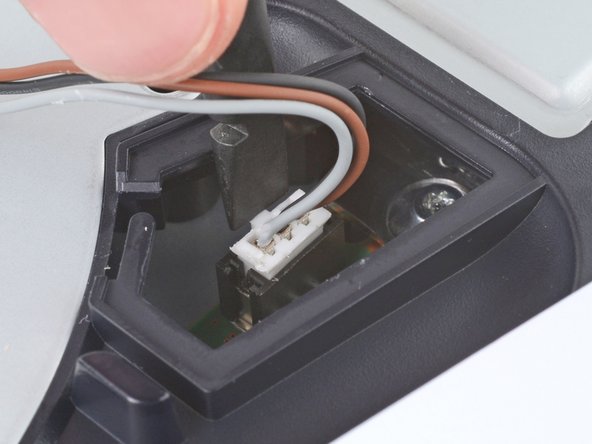
- Gently pull the fan cables out from under their plastic clip on the frame.
- Firmly grip the fan cables' white connector head and pull it straight up and out of its socket.
- If you're having trouble, grip the cables just above the connector head, and gently pull.
- During reassembly, align the connector over its socket and push down on the edges with the flat end of a spudger until it slides fully into its socket.
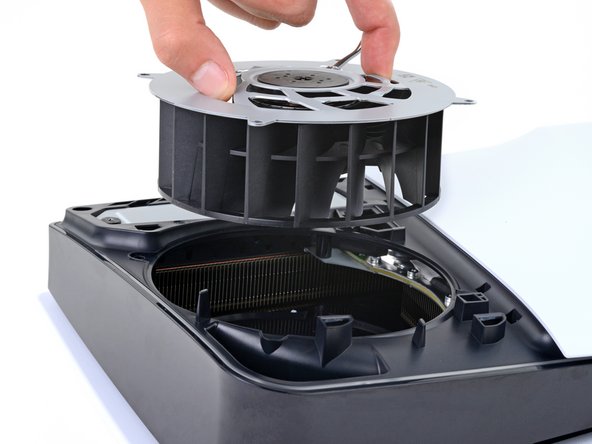
- Throughout this repair, keep track of each screw and make sure it goes back exactly where it came from.
- Use a T8 Torx Security screwdriver to remove the four screws securing the fan:
- One 31.2 mm‑long screw
- Two 21.3 mm‑long screws
- One 11.6 mm‑long screw
- Use your fingers to grab the fan by its vents and lift it straight up to remove it.
- If you're using this guide to clean your fan, use compressed air and a clean cloth to remove any dust or dirt.
- During reassembly, insert the fan so its cables are near their connector.