Razer BlackWidow Elite Volume Knob Replacement
ID: 167664
Description: This guide shows the disassembly of the volume...
Steps:
- Before disassembling, make sure that the keyboard is unplugged.
- Turn the keyboard over so the backside is exposed.
- Remove the top rubber feet to reveal the hidden screws.
- Using a Phillips #0 screwdriver, remove the two crews.
- The two screws differ in size (10 mm & 6 mm), so keep track of which hole they go.
- Turn the keyboard back so that the keys are facing up.
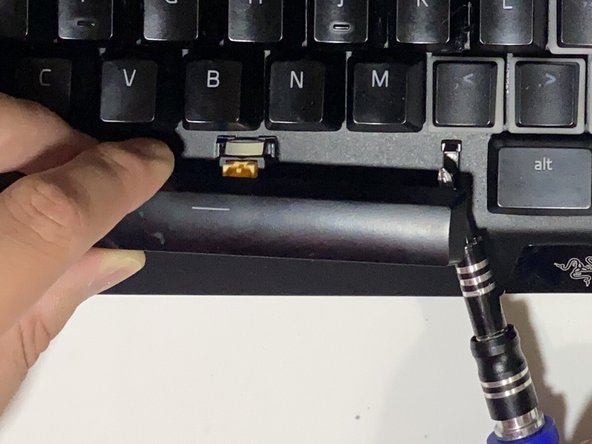
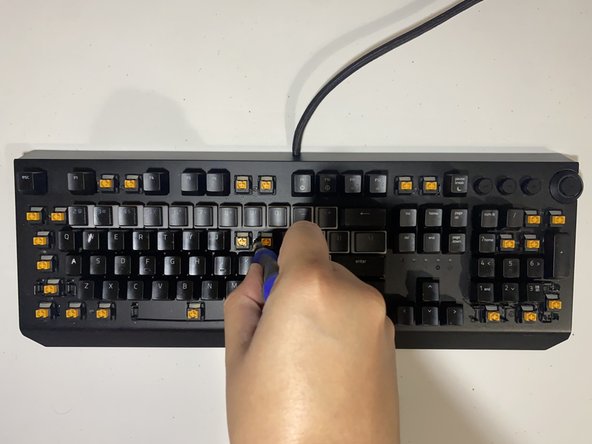
- Using a keycap remover, remove the keys hiding the screws.
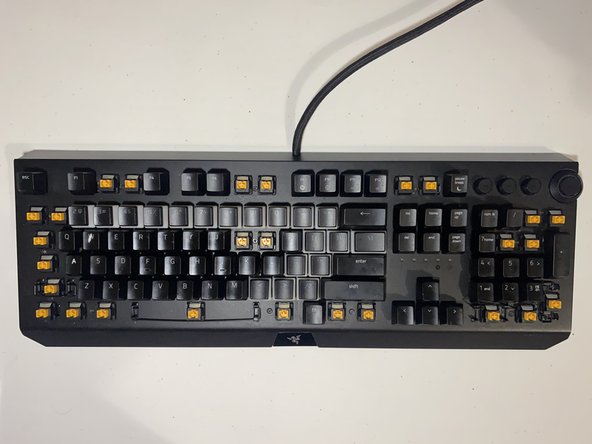
- The keycaps removed are shown in the 3rd picture.
- The bigger keys, such as the spacebar or shift, have stabilizers. To remove them, carefully loosen the stabilizer until the keycap unhooks.
- Using Phillips #0 screwdriver, remove the 14 (8 mm) screws exposed after removing the keycaps.
- After the screws are removed, carefully lift the keyboard to open it up.
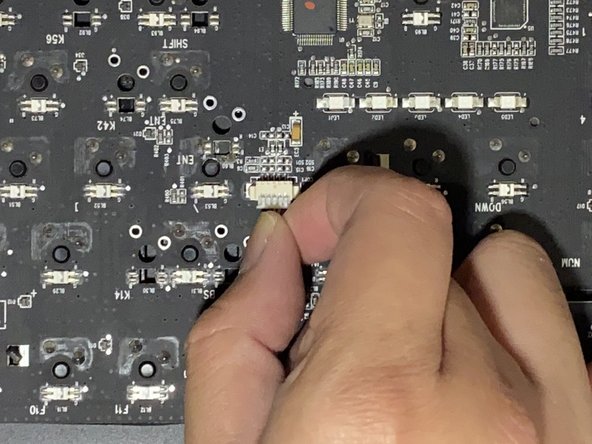
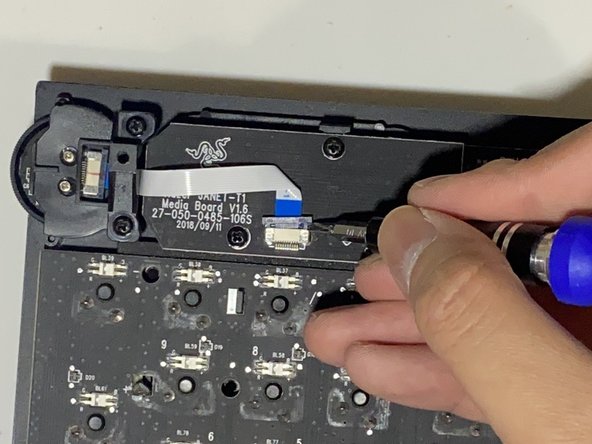
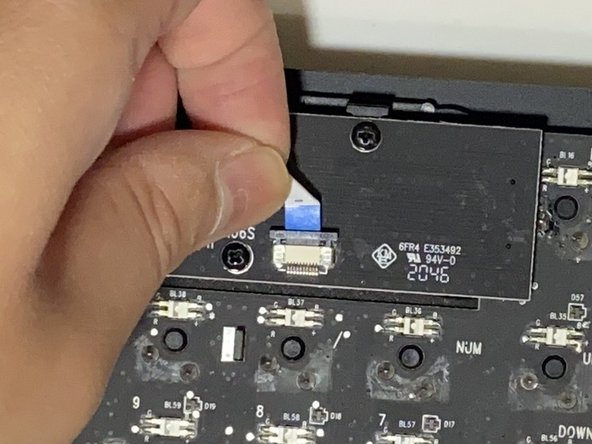
- Detach the cable from the circuit board
- Use a tool to remove the latch from the flex cable and carefully pull out the flex cable.
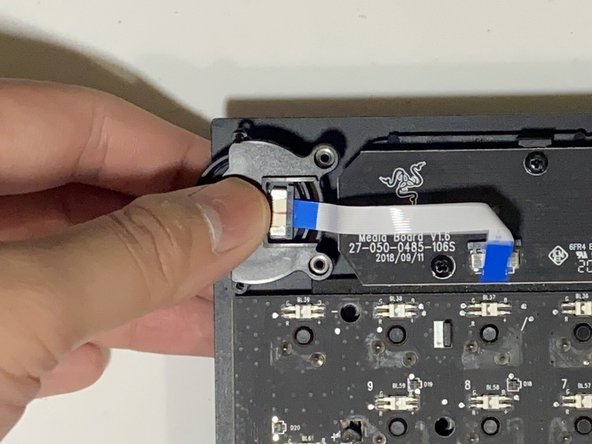
- Use a Phillips #0 screwdriver to remove the two (6 mm) screws securing the volume knob.
- After removing the screws, you can now easily pull out the volume knob.
- Using a Phillips #0 screwdriver, unscrew the 6 mm screws securing the knob to the bracket.
- After unscrewing the bracket, the button of the volume knob should come right off.
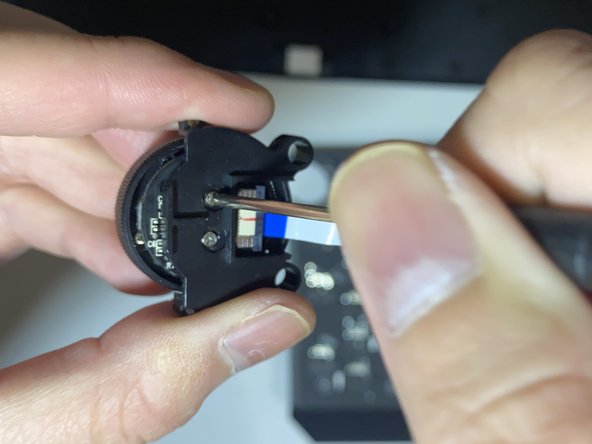
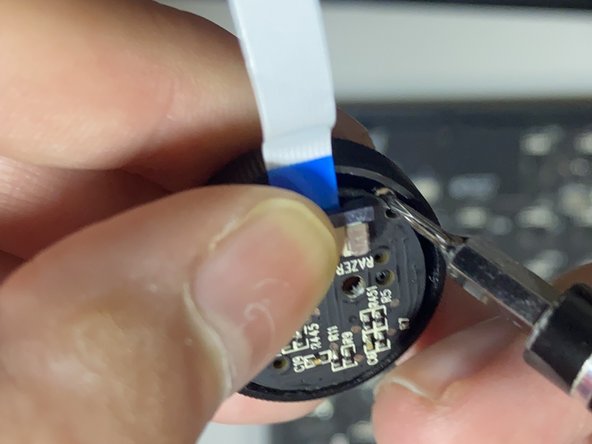
- On the main component of the volume knob, the circuit board should be rotatable. Rotate the circuit board so that the cutout aligns with the hidden screw.
- There should be 2 (3mm) screws. Use a Phillips #000 screwdriver to remove them.
- The circuit board should be attached to a ring component. Using your fingers, carefully separate them.
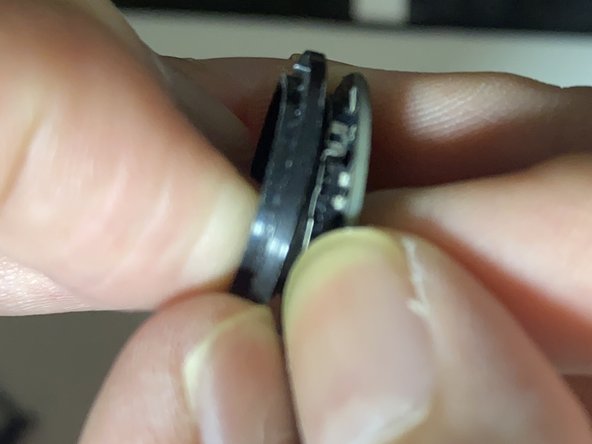
- After detaching the ring from the volume knob's circuit board, you can screw the ring component to the volume knob casing for easier re-assembly.
- Align the screw holes between the two components. Using the 2 (3mm) screws from step 10, screw them together, as shown in the 2nd picture.
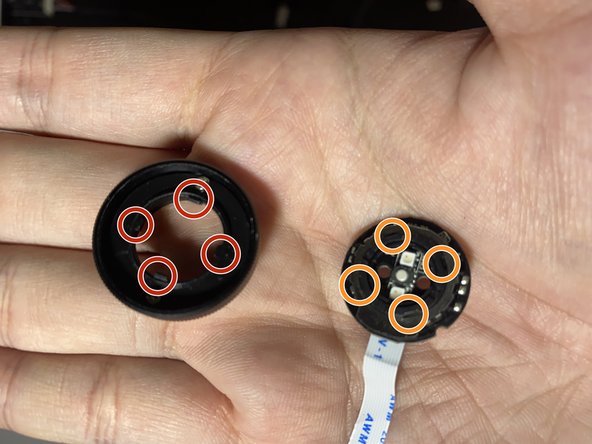
- Simply align the snap-fit joints back together to reassemble the main volume knob component.
- The snap-fit joints are highlighted in the 3rd picture.