LG Refrigerator Ice Maker Blower Assembly Replacement
ID: 167763
Description: Use this guide to replace the ice maker blower...
Steps:
- Unplug your refrigerator before you begin your repair.
- If you are testing or repairing the following items, you may also need to shut off and disconnect the water supply:
- Condenser fan motor
- Compressor motor and thermal overload device
- Water supply valve assembly
- Pull open the freezer door fully.
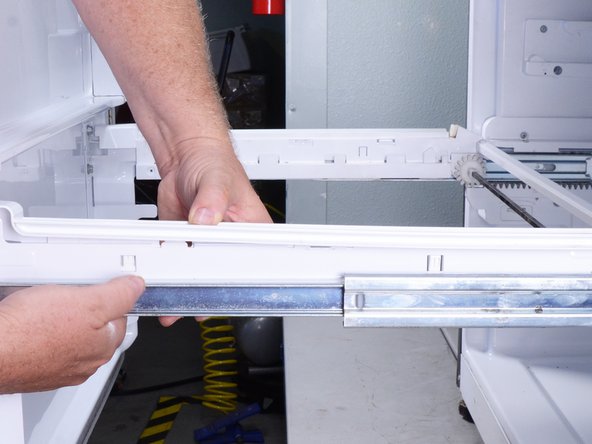
- Lift and remove the upper pull-out drawer.
- Lift and remove the main drawer bin.
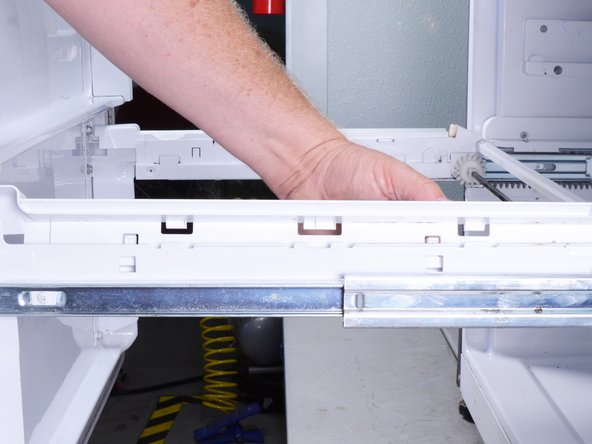
- Use your finger or a flat-blade screwdriver to depress the two locking tabs on the right drawer rail cover.
- Lift the cover off of the rail and remove it.
- Repeat this procedure for the left drawer rail cover.
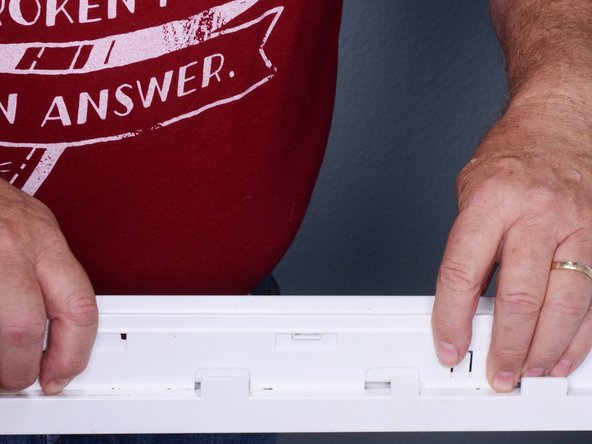
- The drawer rail covers can be tricky to reinstall. Follow these steps to reinstall them:
- Hold the drawer rail cover flush against the side of the drawer rail.
- You should feel the locking tabs protruding.
- Push the rail cover straight downward to install. It should click into place.
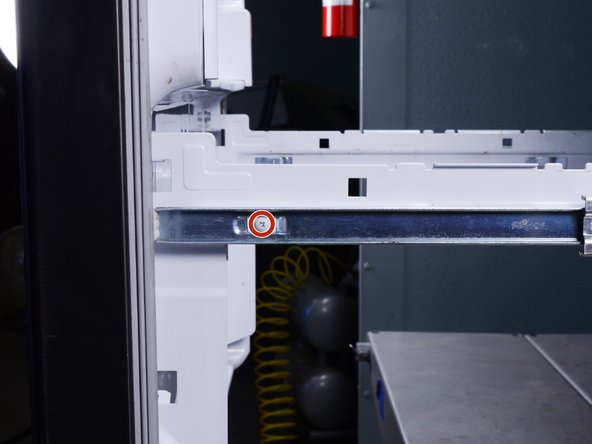
- Use a Phillips screwdriver to remove the screw securing the drawer to each of the drawer slides.
- Lift the front of the drawer up.
- Pull the drawer toward you to release the drawer from the drawer slides.
- Remove the freezer drawer.
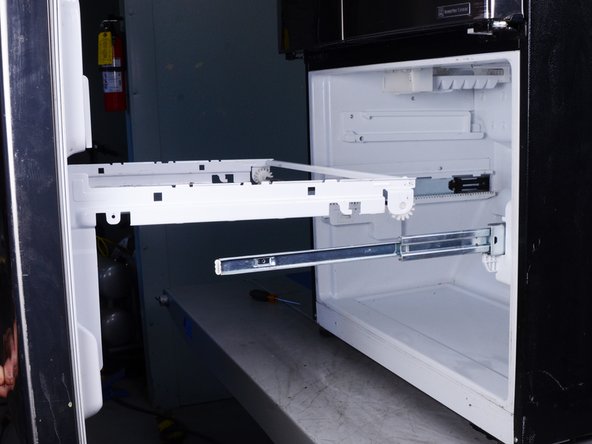
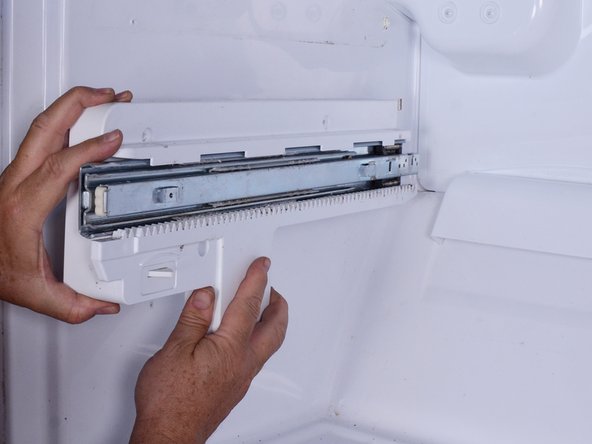
- Use a Phillips screwdriver to remove the screws securing both left drawer slides.
- Pull the upper left drawer slide slightly towards you to release the locking tab at the rear.
- Remove the upper left drawer slide.
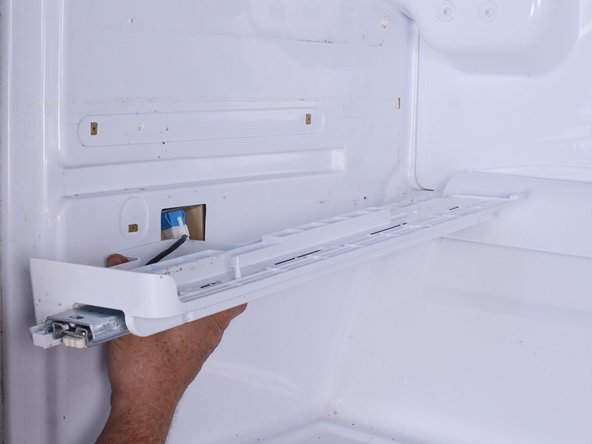
- Pull the lower left drawer slide slightly toward you to release the locking tab at the rear.
- Reposition the lower left drawer slide to gain access to the door switch connector.
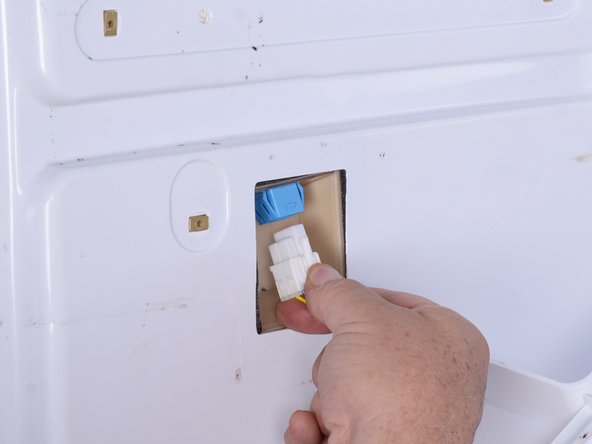
- Squeeze the door switch connector to release it.
- Pull the door switch connector down to disconnect it.
- Remove the lower left drawer slide.
- If you are removing the freezer evaporator cover, likely only the left-hand slides may need to be removed. In some cases you will need to repeat the previous three steps to remove the right slides as well.
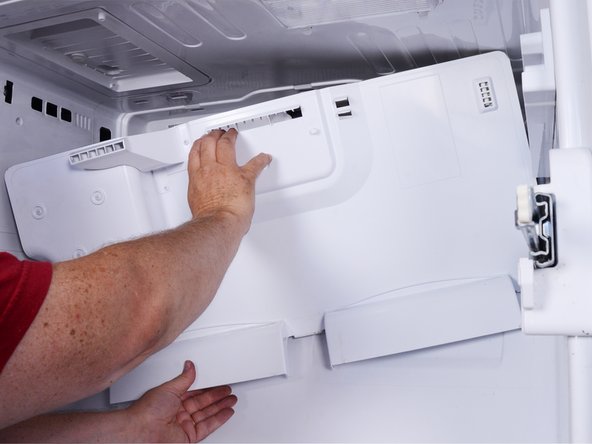
- Use a Phillips screwdriver to remove the screws securing the ice maker to the top of the freezer compartment.
- Insert a flat-blade screwdriver into the slot located on the right edge of the ice maker.
- Pry outward with the screwdriver to release the locking tab securing the ice maker to the fridge.
- When the tab releases, pull the right front corner of the ice maker down.
- Repeat the previous operation on the left side of the ice maker to release it.
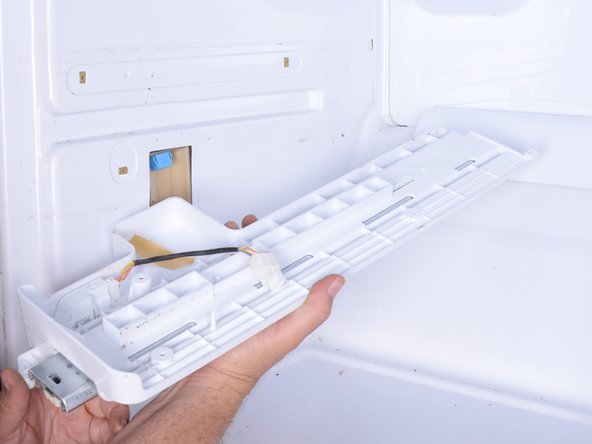
- Grasp the front edge of the ice maker and pull it towards you.
- Lower the ice maker.
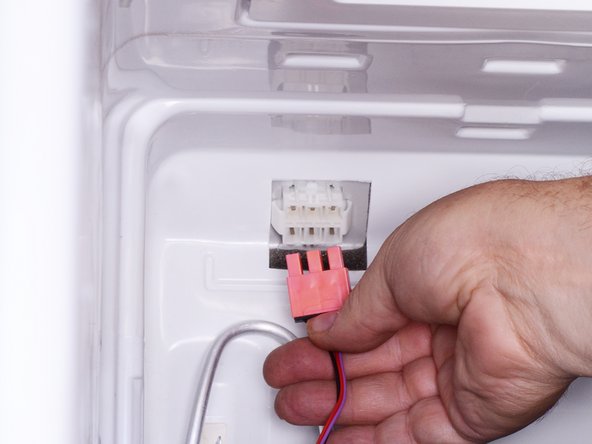
- Squeeze the ice maker connector to release it and pull it straight out to disconnect it.
- Remove the ice maker.
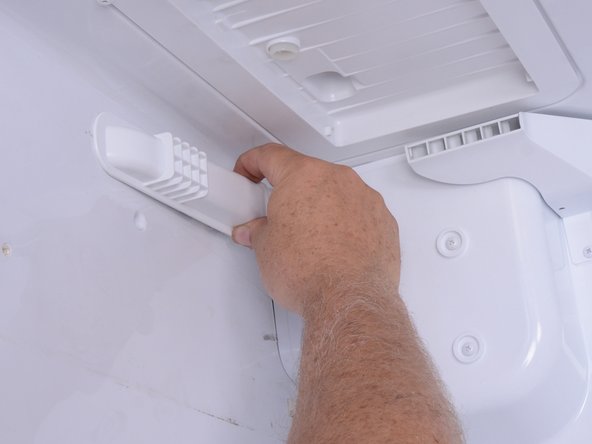
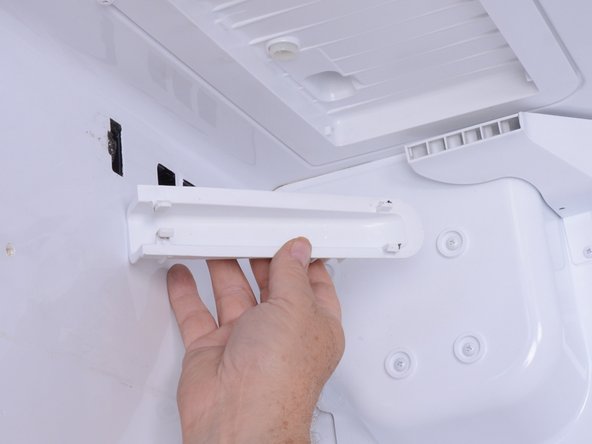
- Pinch the rear portion of the air return cover to release it from the freezer wall.
- Pull the air return cover outward and remove it.
- Use a Philips screwdriver to remove the screw (or screws) securing the evaporator cover.
- Don't try to remove the evaporator cover fully, as It is still connected to the fridge with a number of wires.
- Grasp the evaporator cover by the air vent openings and pull the top edge toward you.
- Lift the evaporator cover slightly to release the tabs at the lower edge.
- Swing the left edge of the evaporator cover toward you and lower it.
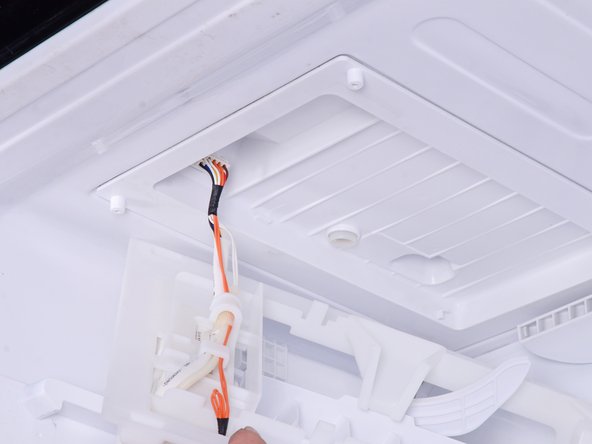
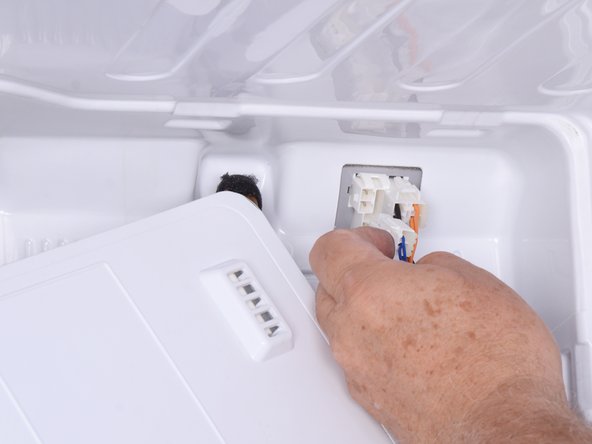
- Disconnect the electrical connections in the upper left corner of the freezer.
- Make a note of the locations of the connections for re-installation.
- Swing the left edge of the evaporator cover further toward you to access the connections in the upper right corner.
- Squeeze and pull the connector to disconnect the thermistor mounted in the evaporator cover.
- Remove the evaporator cover.
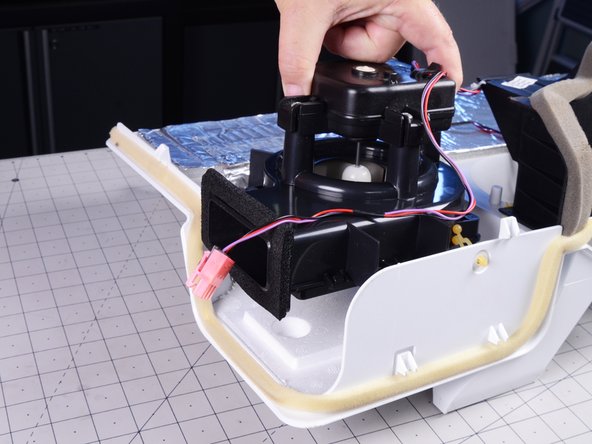
- Use a Phillips screwdriver to remove the screws securing the ice maker blower to the evaporator cover.
- Lift the ice maker blower out of the evaporator cover and remove it.