How to Repair Snapped Eyeglass Arms
ID: 167769
Description: When applied with multiple points of pressure,...
Steps:
- Create an organized and efficient workspace arrangement in a well-ventilated area.
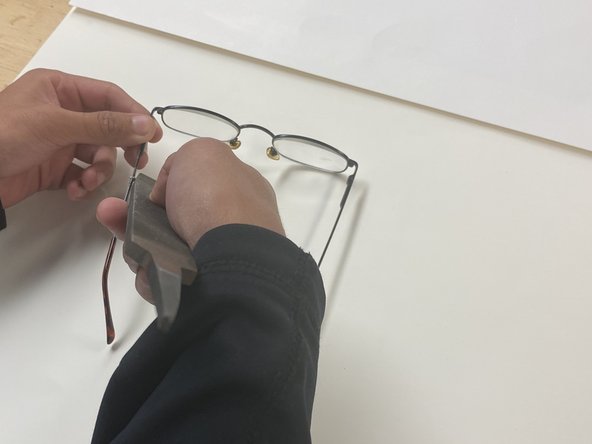
- Examine for grains of material on the damaged area that are loose.
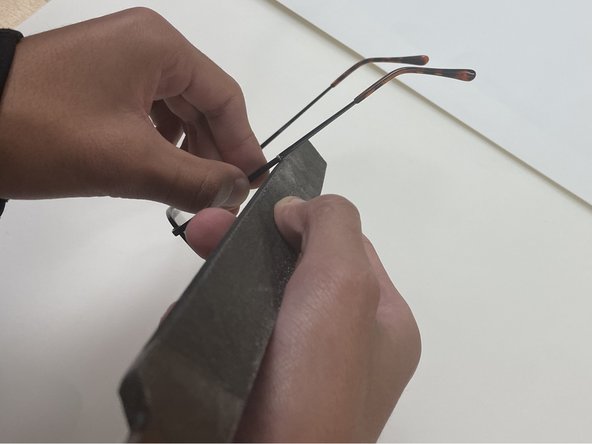
- Use a file to gently remove any material that may cause the connection to be uneven.
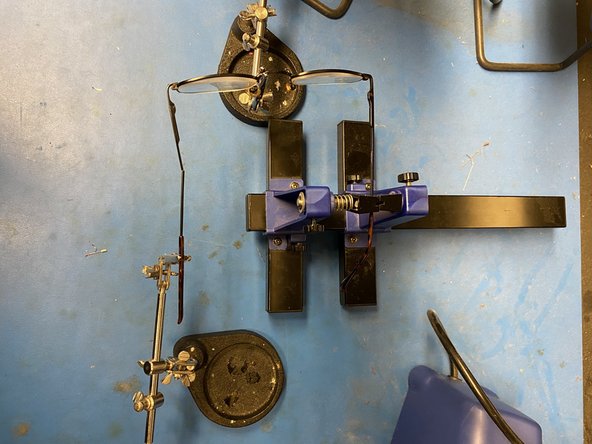
- Arrange the glasses arm firmly in a clamp.
- Use two clamps to secure the rest of the glasses.
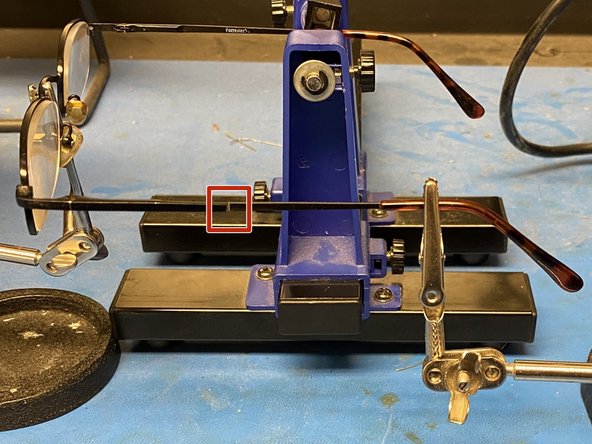
- Align the edges of the two parts of the glasses arm face to face.
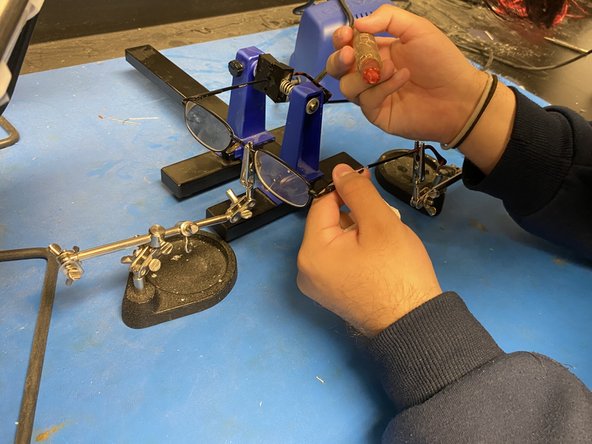
- Squeeze bottle of flux to obtain fluid.
- Use the bottle to apply flux onto the surrounding area around the broken edges.
- The flux increases the efficiency of the solder.
- Caution Hazardous situation which, if not avoided, could result in minor or moderate injury. When you turn on the soldering station do not touch the soldering iron tip because it is extremely hot. Only touch the handle.
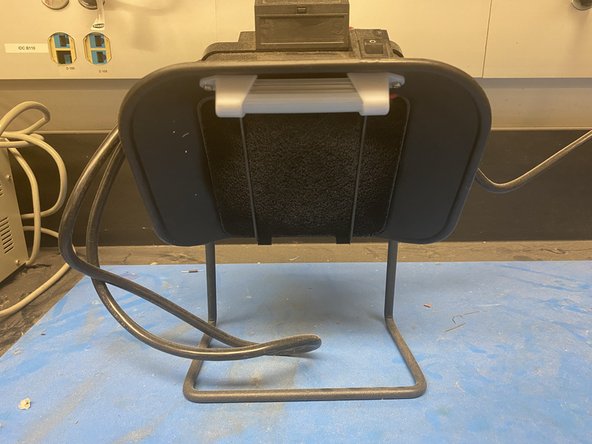
- Plug in and turn on the fume extractor and place it near the soldering area to absorb the fumes.
- Plug in and turn on the soldering station.
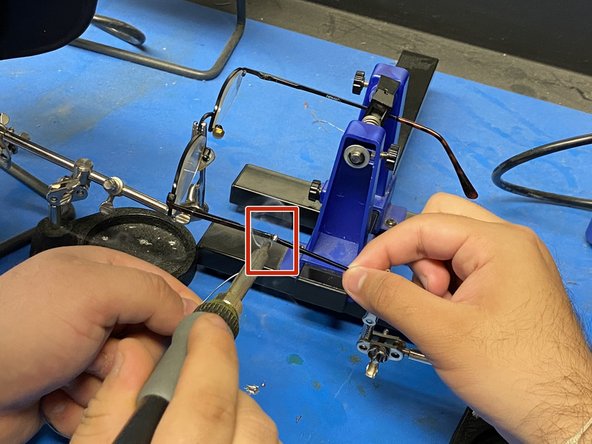
- Place the solder on the broken area and used the hot iron tip to melt the solder onto the surrounding broken area.
- Spread solder around the new connecting area and push the edges of the broken arm together.
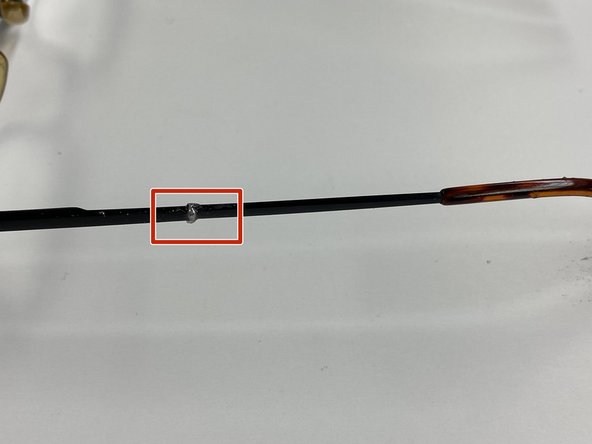
- Once the solder has made a strong connection place the hot iron in the metal wire tip cleaner to remove excess solder.
- Place the hot iron in the iron holder.
- Turn off the soldering station and fume extractor.
- Allow the solder to cool and remove the clamps.
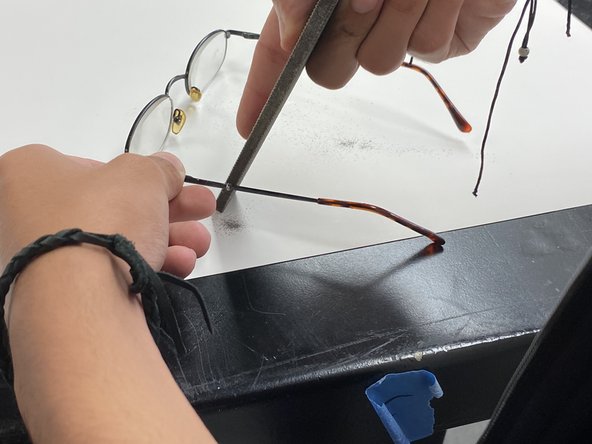
- Press a file or thin blade against the solder in order to remove the excess hardened solder.
- File against the solder for grains of the solder to fall off the glasses.
- Don't remove too much solder as that will compromise the integrity of the connection.
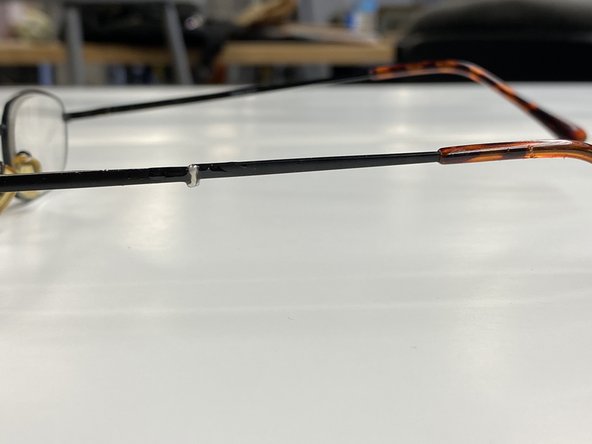
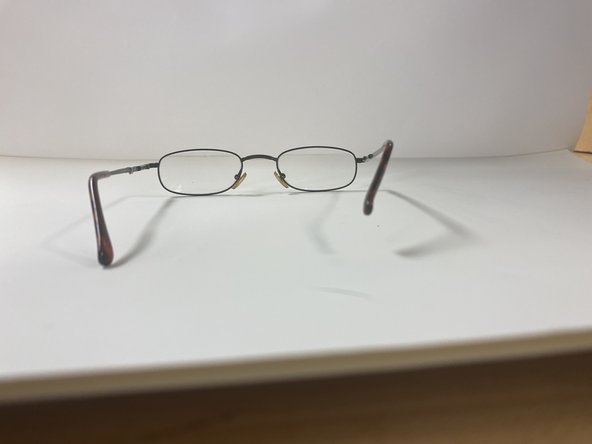
- Thoroughly inspect the repaired area, checking for stability and strength.
- Test your eyeglasses to ensure they can withstand normal usage.