HP 14-dq0051dx Wi-Fi Card Replacement
ID: 167812
Description: Use this guide to replace the Wi-Fi card of...
Steps:
- Turn the laptop upside down so the backside is facing up.
- Use a Phillips #1 screwdriver to remove the eight 2.5mm screws from the back case.
- Turn the laptop over and open the screen.
- Insert the opening tool into the seam between the bottom panel and the keyboard.
- Run the opening tool along the entire seam to separate the bottom panel.
- You may hear clicking as you release the taps that secure the case.
- Once the bottom panel is separated from the laptop, carefully close the laptop and turn it upside down.
- Place both your hands on opposite ends of the bottom panel, and lift up and remove the panel.
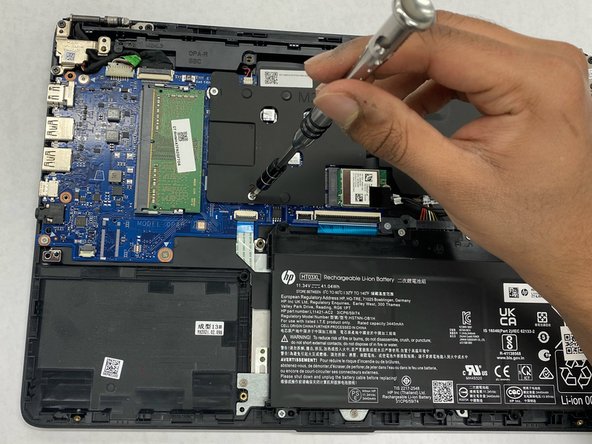
- Use a Phillips #1 screwdriver to remove the five 2.5 mm screws that secure the motherboard cover.
- Remove the motherboard cover from the laptop.
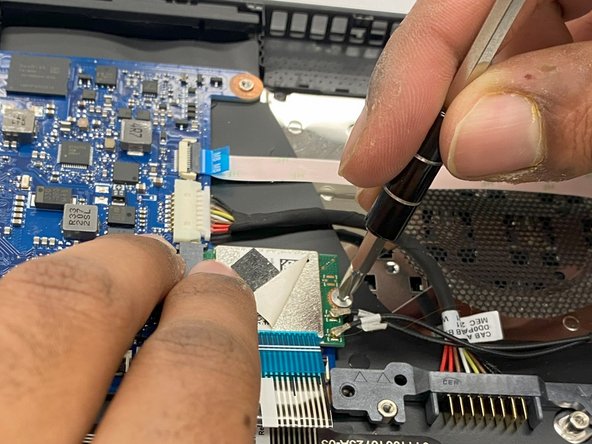
- Use a Phillips #0 screwdriver to remove the single 1mm screw that secures the WiFi card.
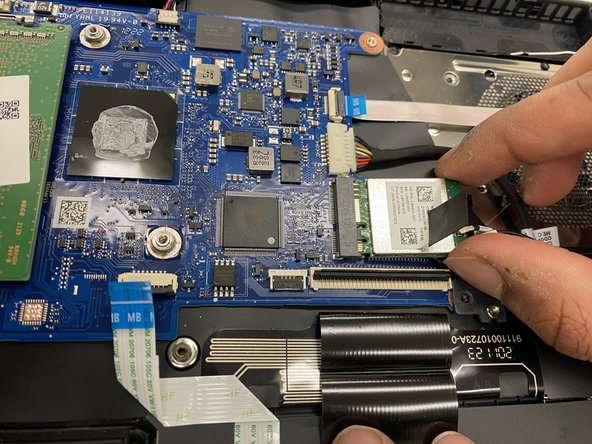
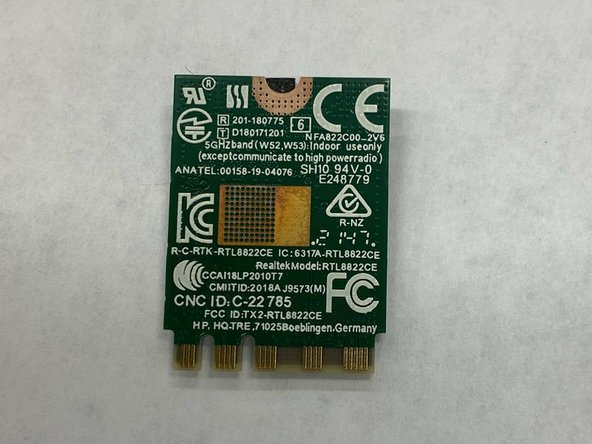
- Pull the WiFi card out of its slot
- Pull the WiFi card out slowly and gently as to not damage the card or the slot
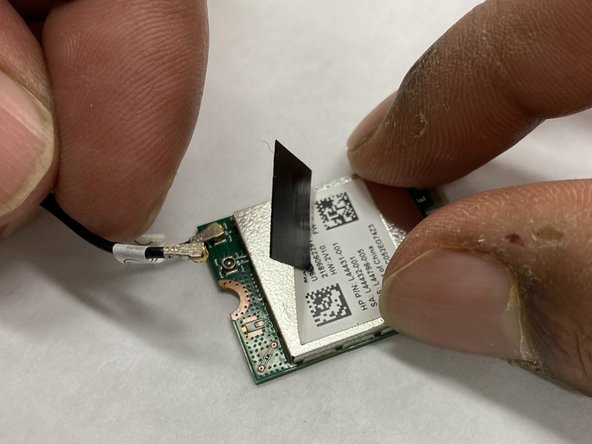
- Pull the tab up, revealing two small wire plugs underneath
- Gently remove the wires from their plugs