ASUS Q536F Fan Replacement
ID: 167826
Description: Laptops may need a fan replacement to address...
Steps:
- Remove ten 2 mm screws using a Phillips #0 screwdriver.
- Remove the screw in the center using a T4 Torx screwdriver.
- Use an iFixit opening tool to pry open the back panel.
- It's normal to hear some cracking, but proceed with caution.
- Use a Phillips #0 screwdriver to remove the six 2 mm fan screws.
- Use a Phillips #0 screwdriver to remove the five 2 mm heatsink screws.
- Warped Screw
- Heatsink shown has warped screw, so unable to remove
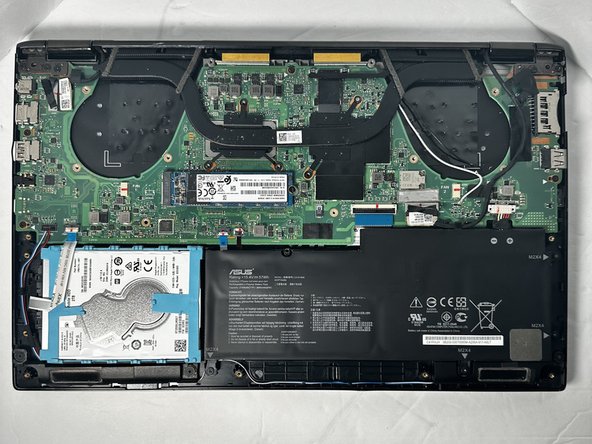
- Disconnect white and black antennae cables.
- Using tweezers for this would be helpful.
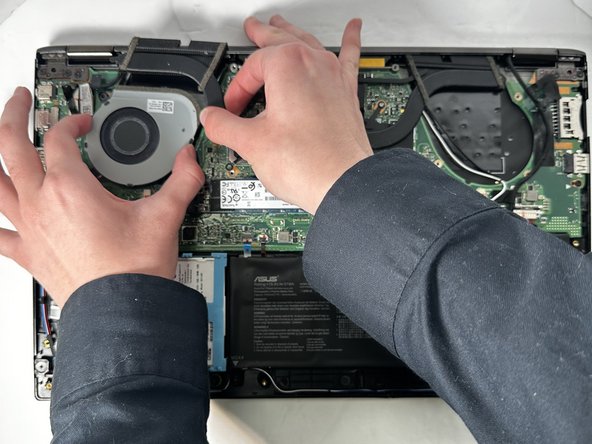
- Disconnect fan cables pulling outwards as shown.
- Carefully lift heatsink upward using a Ifixit opening tool or Fingers pull fan out from under the heat sink.
- The fan can be removed without removing the heatsink, although it may be easier to remove.