Hoover Rogue 970 Wall Brush Motor Replacement
ID: 167940
Description: This guide is for the Hoover Rogue 970 (Model...
Steps:
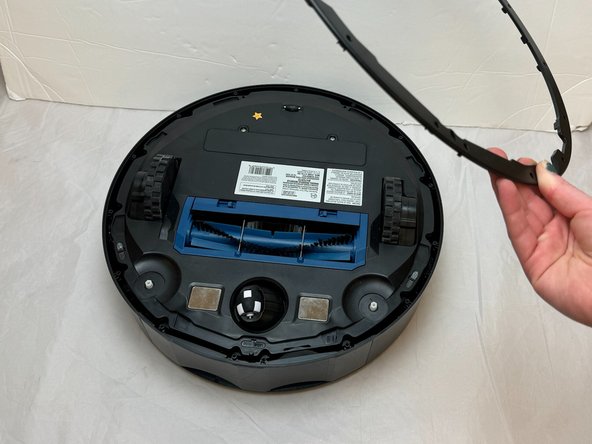
- Flip the vacuum over so the wall brushes are facing up.
- Remove the two 8.2 mm screws using a Phillips #2 screwdriver.
- Gently lift up on the wall brushes to remove them from the vacuum.
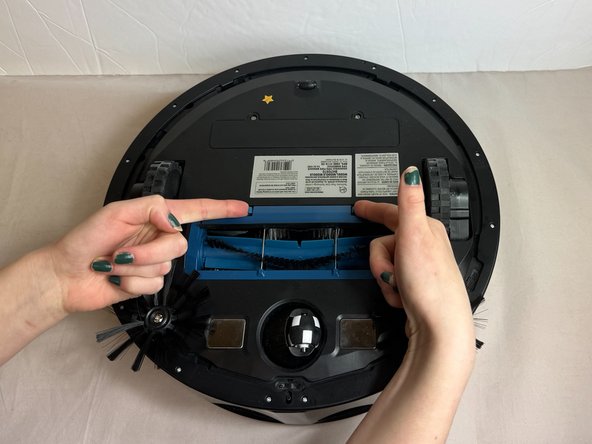
- Press the buttons on the brush roll cover inward.
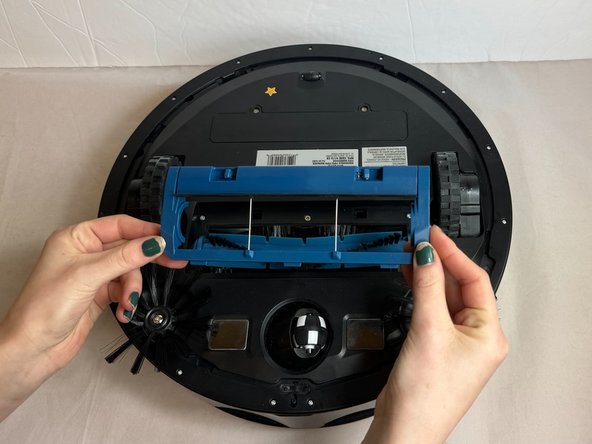
- Gently pull the brush roll cover away from the vacuum.
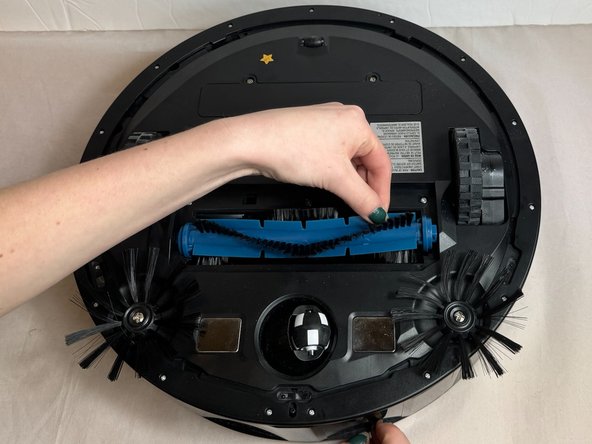
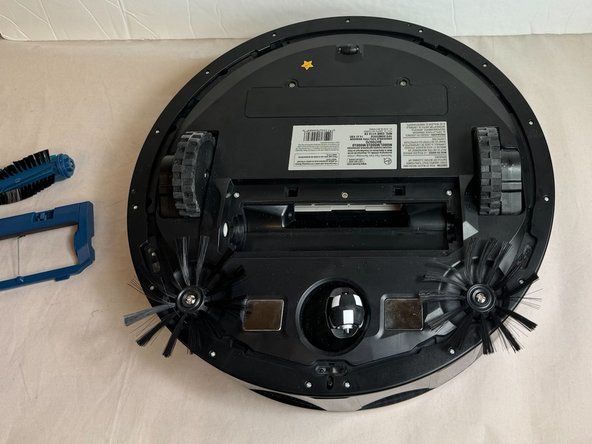
- Pull the brush roll straight out of the vacuum.
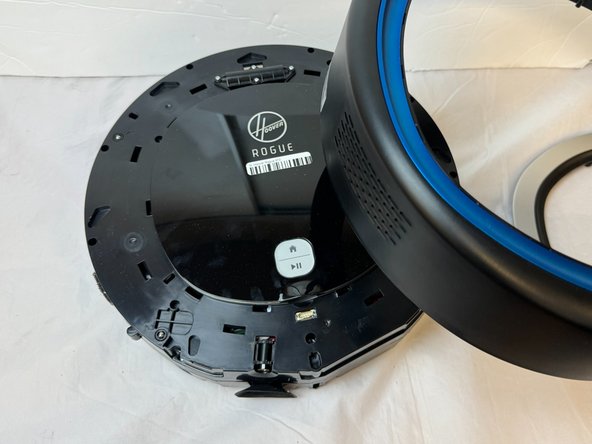
- Flip the vacuum over so that the underside is facing up.
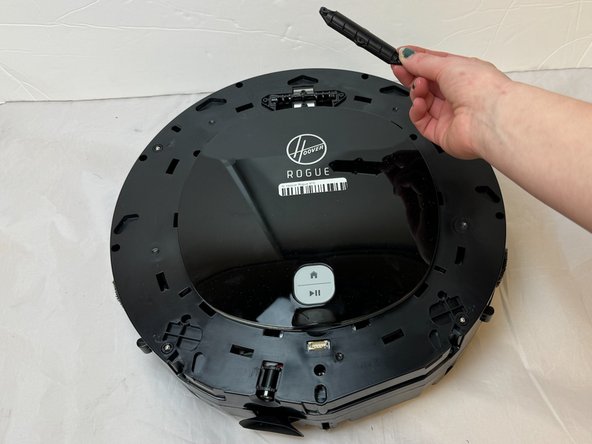
- Remove the fifteen 9.3 mm screws from the bottom frame with a Phillips #0 screwdriver.
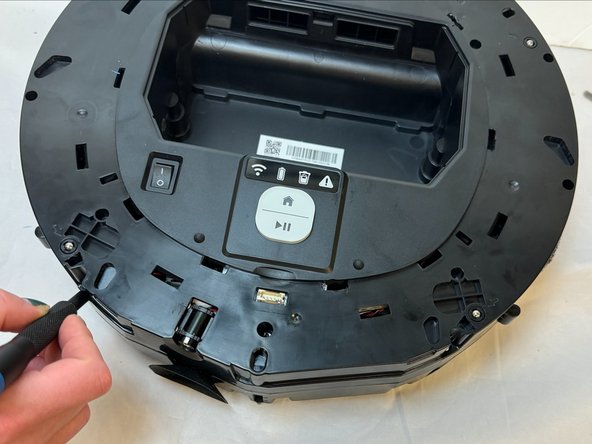
- Lift the bottom frame away from the vacuum.
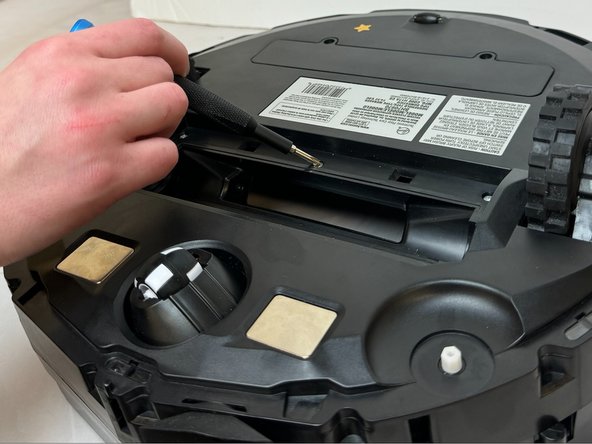
- Remove the two 11.9 mm screws using a Phillips #0 screwdriver.
- Remove the single 5.9 mm screw using a Phillips #0 screwdriver.
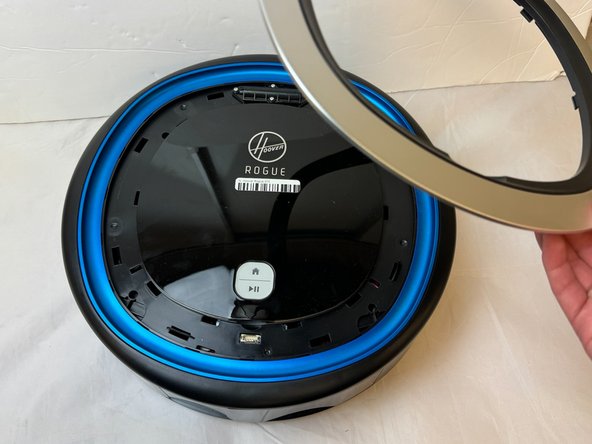
- Flip the device over so that the top side of the vacuum is facing up.
- Firmly pull the silver face-plate away from the vacuum.
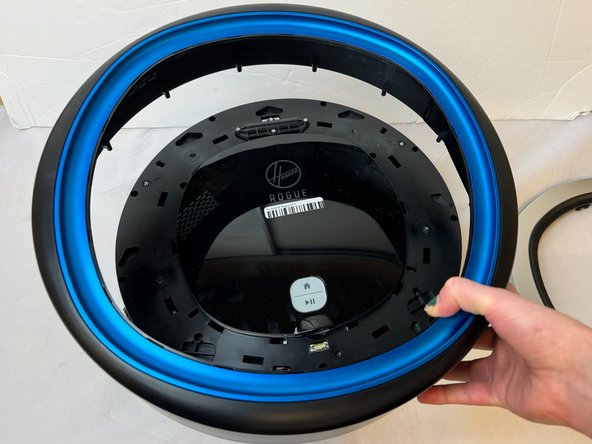
- Firmly pull the surrounding black and blue cover away from the vacuum.
- You may need to clasp the vacuum with both hands on opposite sides of the device. Place both thumbs exerting pressure on the center of the device while firmly wrapping your remaining fingers around the edges of the surrounding cover.
- Remove four 8.7 mm screws using a Phillips #0 screwdriver.
- Pull the top cover with the 'Hoover Rogue' markings away from the vacuum.
- Remove the eight 15.8 mm screws from the vacuum using a Phillips #0 screwdriver.
- Gently pry along seam with an iFixit opening tool in order to break the glue seals.
- Firmly grasp the top and bottom portions of the vacuum with each thumb exerting pressure in opposite directions.
- The device may be glued together making it difficult to pull the vacuum apart. Use of an opening tool may be appropriate to avoid injury to yourself or the vacuum.
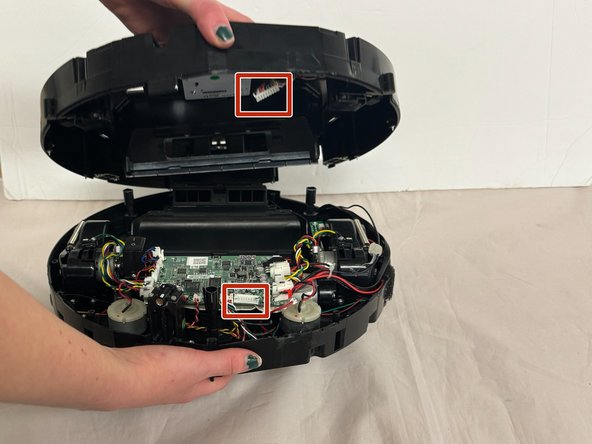
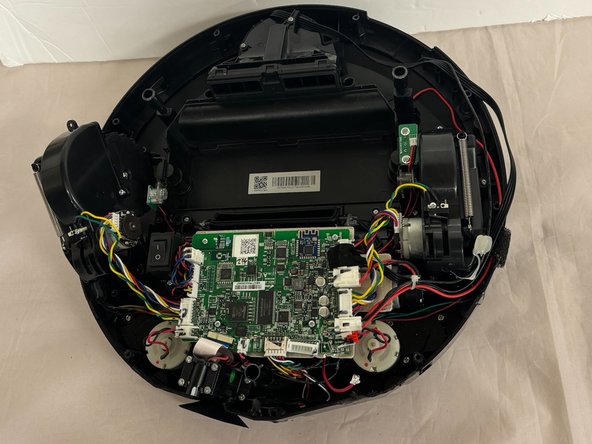
- Disconnect the motherboard from the base assembly.
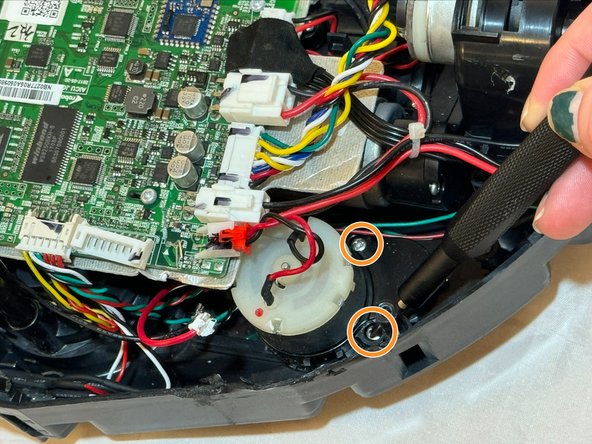
- Locate the wall brush motors.
- Remove the two 9.8 mm screws with a Phillips #0 screwdriver.
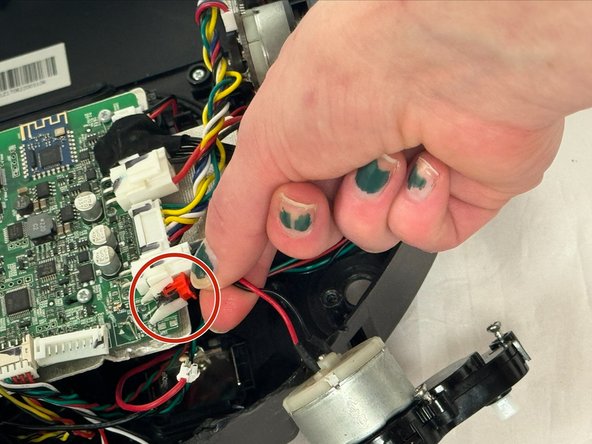
- Lift the wall brush motor out of the vacuum to gain access to the red JST connector and white tab.
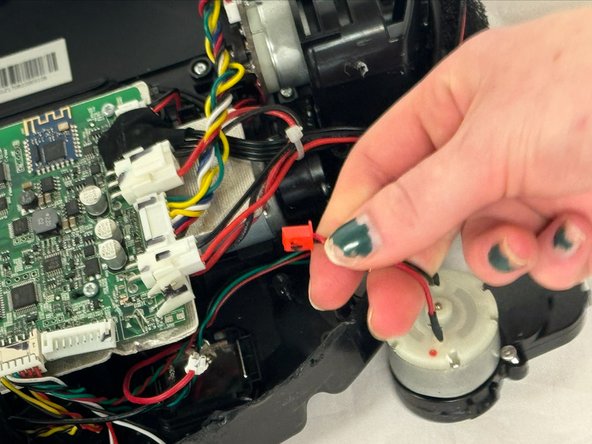
- Disconnect the red JST connector from the white tab by firmly pulling the red connector away from the white tab.
- You may find it helpful to place your other hand's index finger and thumb firmly on the white tab to secure it, avoiding injury or damage to the vacuum.
- Remove the wall brush motor from the vacuum.