ZTE Maven 3 Daughterboard Replacement
ID: 168126
Description: Replacing the daughterboard or charging port in...
Steps:
- Locate the small indent on the back right bottom corner of the phone.
- Put the pry tool or your fingertip inside the small gap on the bottom right of the back of the phone and pop up the cover.
- Continue to go around the phone until the cover is completely off the back of the pull and put it aside.
- Locate the battery in the middle of the back of the phone.
- Push in and up on the battery to remove it from its slot.
- Put the battery aside.
- Use a Phillips #00 screwdriver to remove twelve 2 mm screws along the back outer edges of the phone.
- There’s a 13th 2 mm screw with a lock sticker over it on the bottom right corner. Insert the #00 Phillips screwdriver in the middle, breaking the sticker, and take the screw out.
- Slide the pry tool into the middle of the connection between the screen and the back of the phone.
- Once in, slide the pry tool around the phone, separating the screen and the back of the phone.
- The detached piece is the midframe, and you can place it aside when detached.
- Use the Phillips #00 screwdriver and remove the four 2 mm screws that are located around the edges.
- Please locate the black wire that’s attached to gold plates on the left side of the device.
- Using a pair of tweezers, carefully grab the black wire and detach it, then remove it.
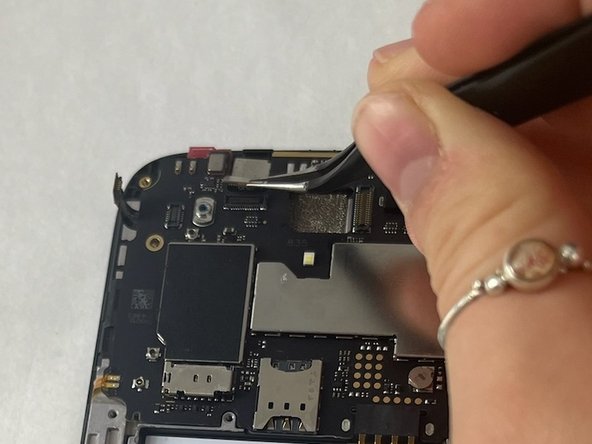
- Using the tweezers, carefully detach the six ribbon cables also located along the edges.
- 2 adhesive ribbon cables (green circles).
- One ribbon cable that slides out (orange circles).
- Three ribbon cables that pop in and out (yellow circles).
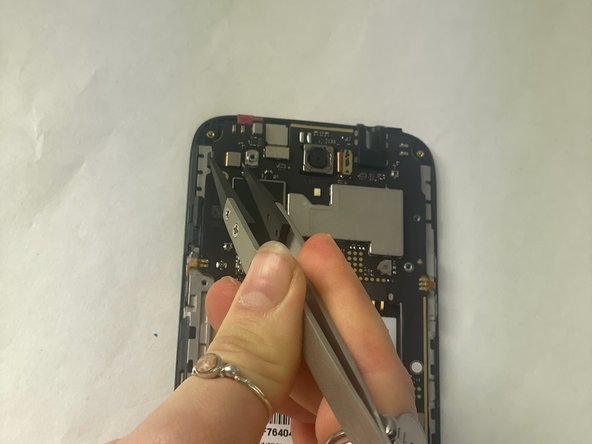
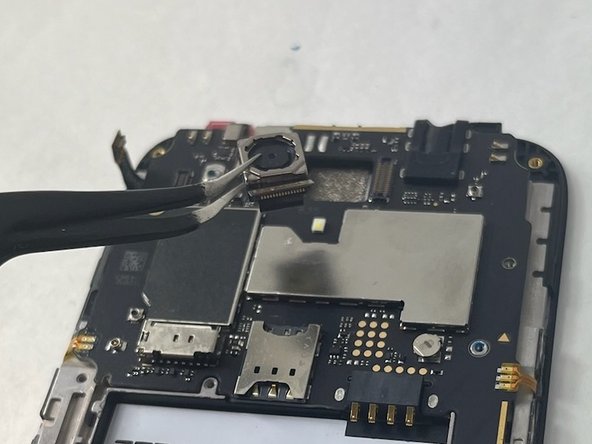
- You will also have to detach the two cameras by detaching the ribbon cable using the tweezers as well. Put those off to the side.
- Grab the opening pick and work it into the edges of the motherboard.
- Make sure you are firmly pushing the pick to loosen the motherboard since it is placed with adhesive.
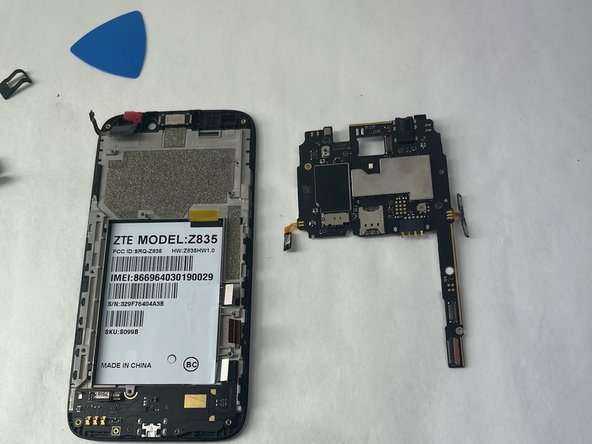
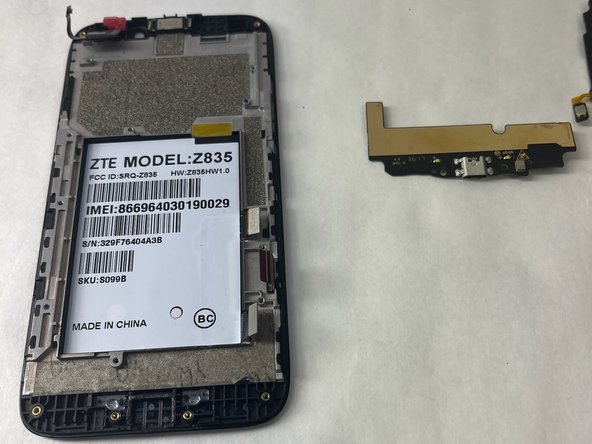
- Remove the motherboard and put it aside.
- Use your fingertips or pry gently with a plastic tool to remove the daughterboard.