How to Replace the Rear Wheel of a Segway Ninebot ES4
ID: 168162
Description: This guide details the process to replace the...
Steps:
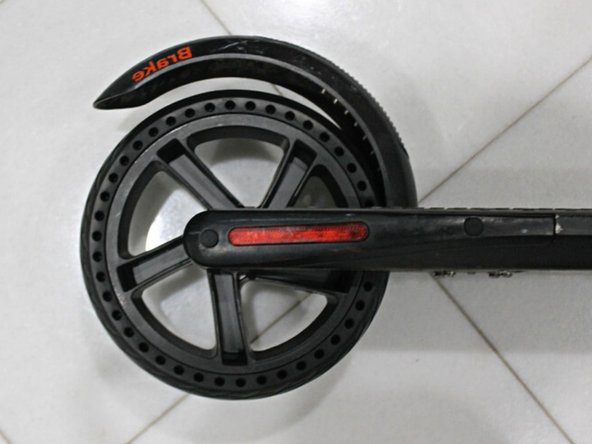
- Place the scooter on its side and locate the two access screw holes.
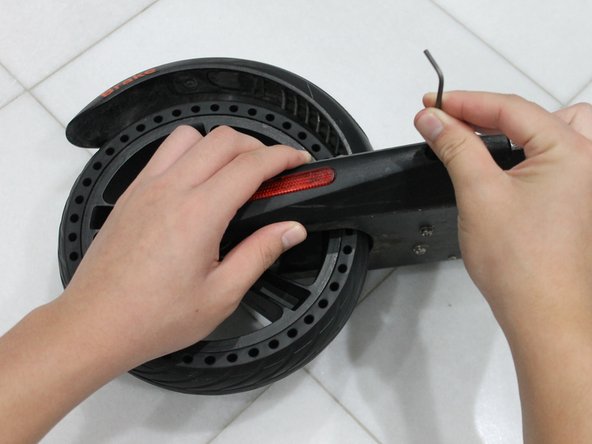
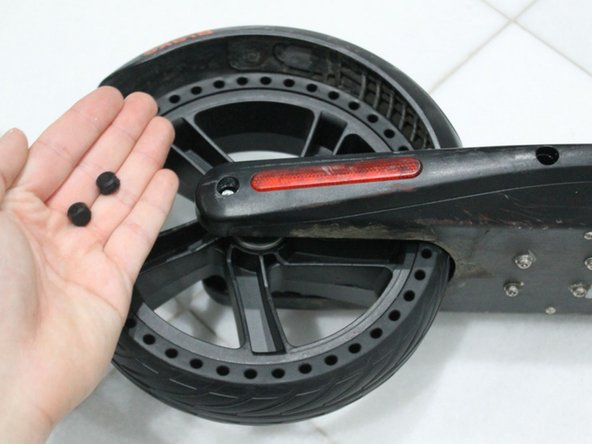
- Use a flathead screwdriver to remove the protective inserts.
- Use a 3/32" hex key wrench to remove the screws that are securing the rear casing.
- Remove the rear casing and disconnect the rear light power cable.
- Reposition the scooter to allow access to the opposite side. Then, repeat steps 1-3 to expose both sides of the rear wheel.
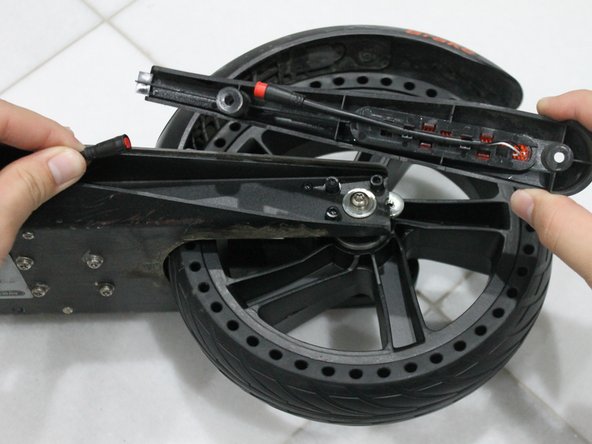
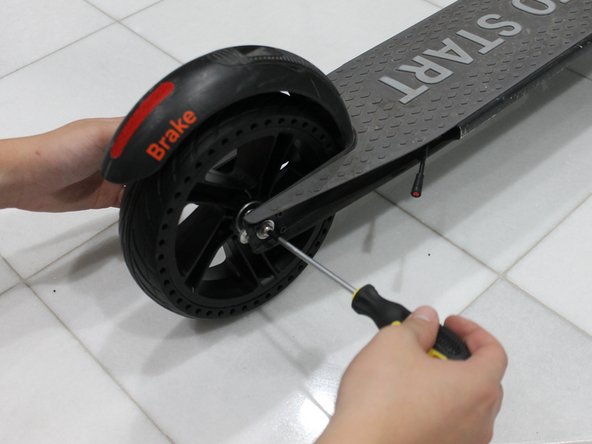
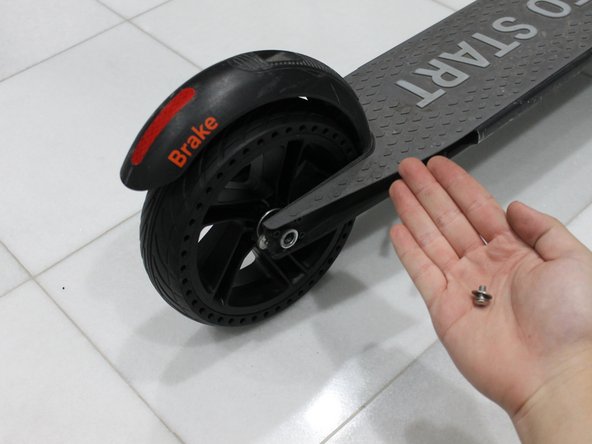
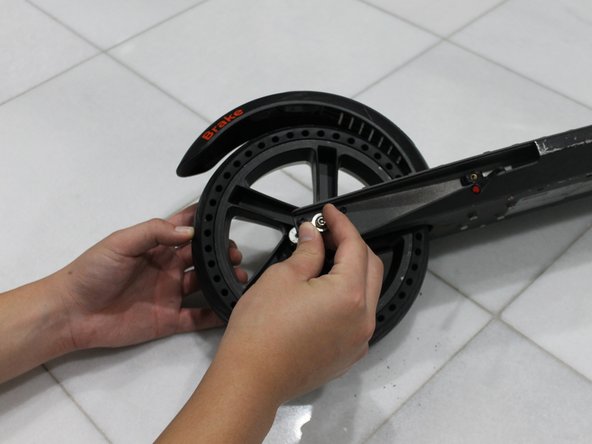
- Use a T25 star screwdriver on each side to remove the screw securing the axle.
- Insert a screwdriver into the hole where the screw was removed.
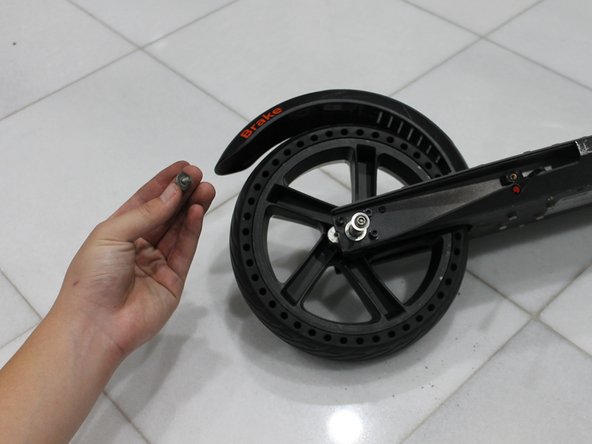
- Use it to push the axle out from the opposite side.
- Locate the rear wheel replacement.
- Insert the axle into the scooter's rear axle housing.
- Once the axle is in place, position the replacement wheel onto the axle while it is inside the scooter.
- Ensure that the arrow-like grip pattern on the wheel points toward the front of the scooter.
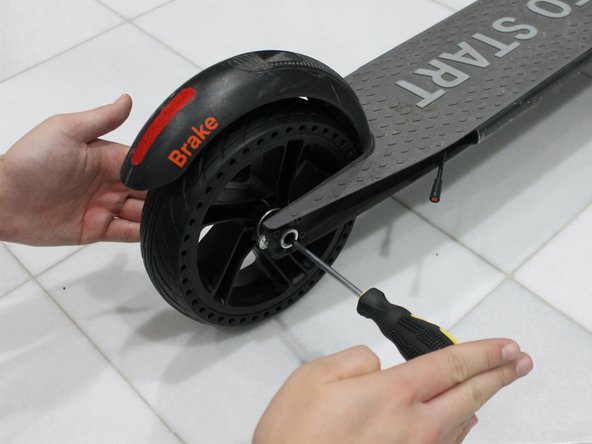
- Place the star screw on the side opposite to where the axle was inserted.
- Use a T25 star screwdriver on each side to tighten and secure the rear axle.
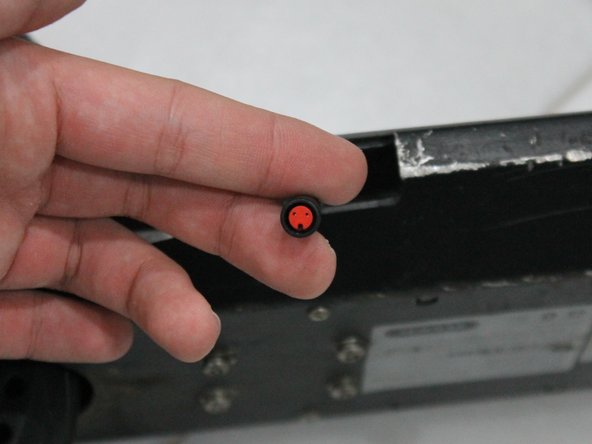
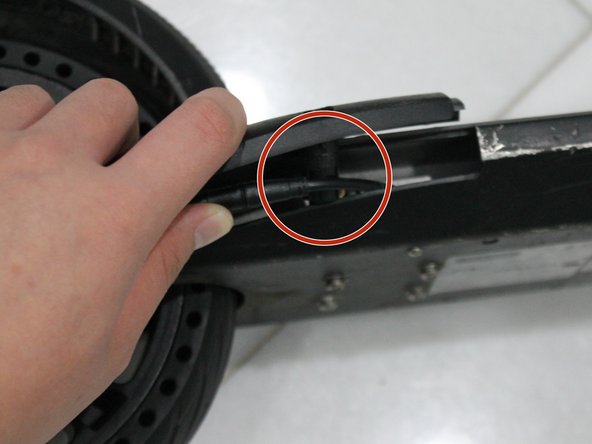
- Before reinstalling the rear casing, connect the rear light power cable.
- Ensure you line up the connection points so the small protrusion pairs with the corresponding hole.
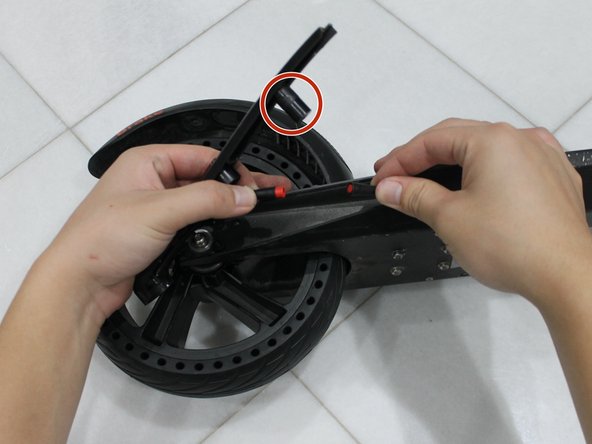
- After connecting the cable, reinstall the rear casing.
- The cable should pass underneath the circled protrusion when installed.
- Use a 3/32" hex key wrench to install the screws that secure the rear casing.
- Place the protective inserts back inside the screw holes.
- Reposition the scooter to allow access to the opposite side. Then, repeat steps 8-11.