DulaShock 4 CUH-ZCT2 Potentiometer(s) Replacement
ID: 168194
Description: When using a joystick, it moves two brackets...
Steps:
- Grab you're DualShock 4 Controller that has joystick problems.
- Using the Phillips #00 Screwdriver, remove the four 6.0 mm screws securing the rear cover to the controller.
- Careful loosening the screws! Using the wrong sized screwdriver or letting the screwdriver slip can permanently damage the screw heads, making removal difficult.
- Pinch the handle of the controller to introduce an opening.
- Wedge the opening pick tool into the opening then slide it to any direction.
- Make sure to do this on every side of the controller that you see has a line you can open. Use opening tool if too difficult to open.
- Open the casing.
- Do not open the casing forcefully as there is a white strip connected to the motherboard. Be gentle when opening the casing!
- After carefully opening the casing, notice the white strip connected to the motherboard.
- Grab the white strip by the blue end and carefully remove it.
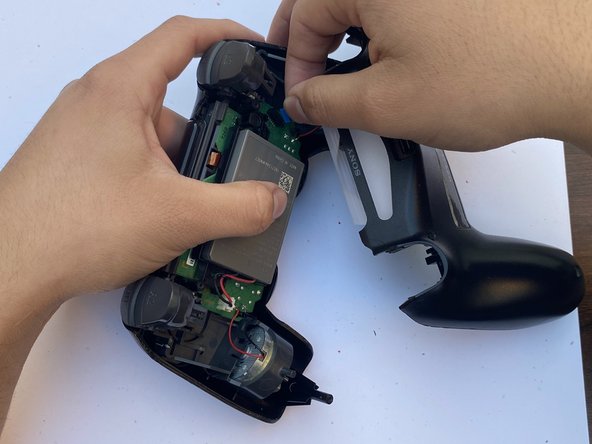
- After removing the first half of the casing, you will be able to see the battery.
- Disconnect the battery from the motherboard via the white connector.
- Remove the battery.
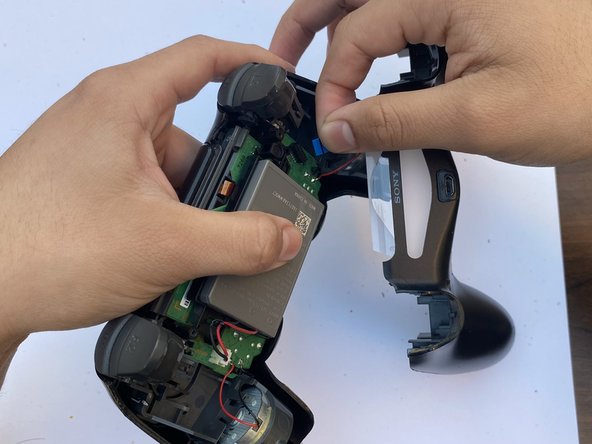
- Remove the battery case by simply pulling it out.
- In other models, the screwdriver will be holding down the battery case.
- Do not pull out the battery case if it is being held down by a screw. First remove the screw then pull out the battery case.
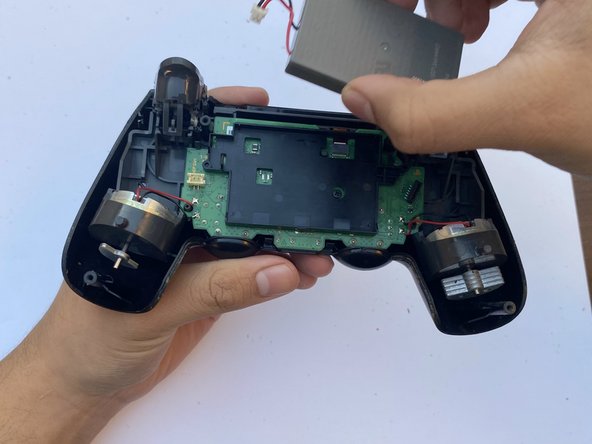
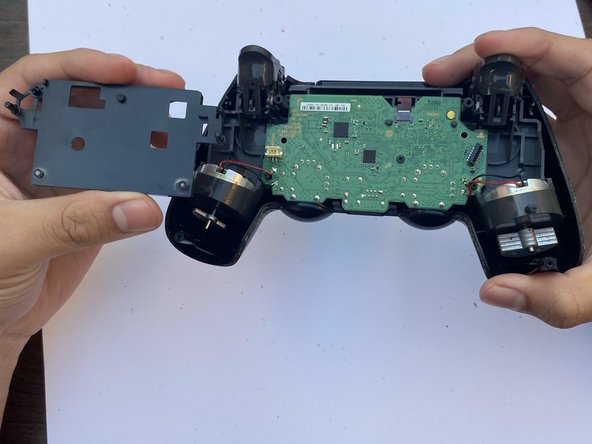
- Using the same Phillips #00 Screwdriver, remove the 6.0 mm screw securing the motherboard and the other half of the controller case.
- After this step, do not try to remove the motherboard yet. I will cover this in the next step.
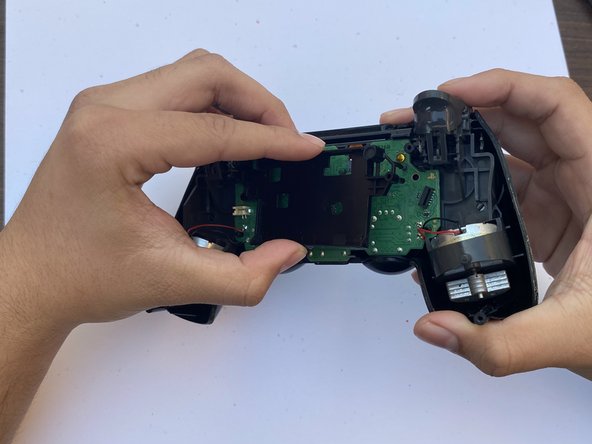
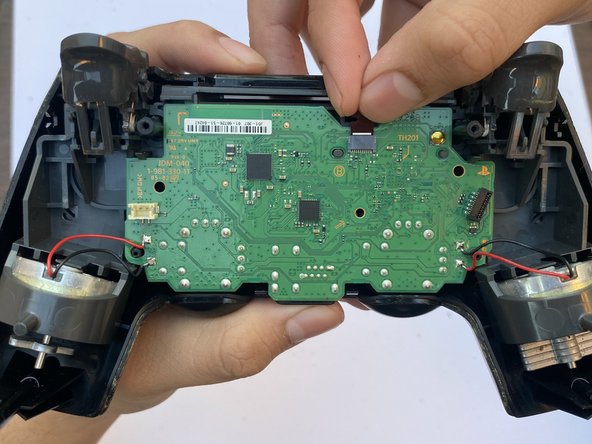
- Notice the strip connected to the top of the motherboard. Disconnect it using your own fingers.
- Separate the other half of the controller casing from the motherboard.
- Before separating the casing from the motherboard, make sure the same strip that was connected to the top of the motherboard comes out through the hole it comes from.
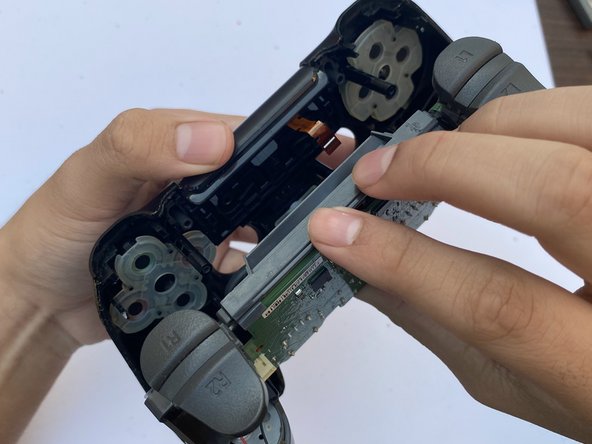
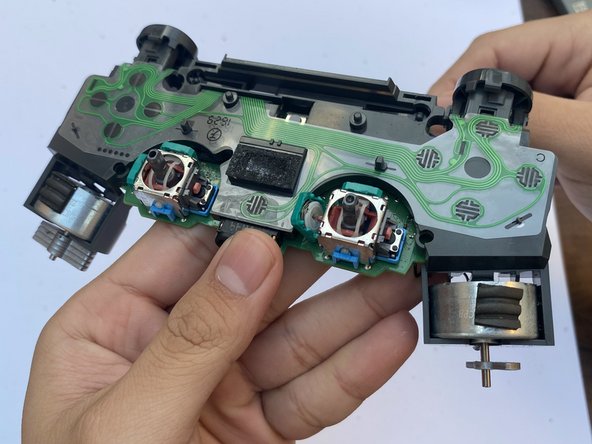
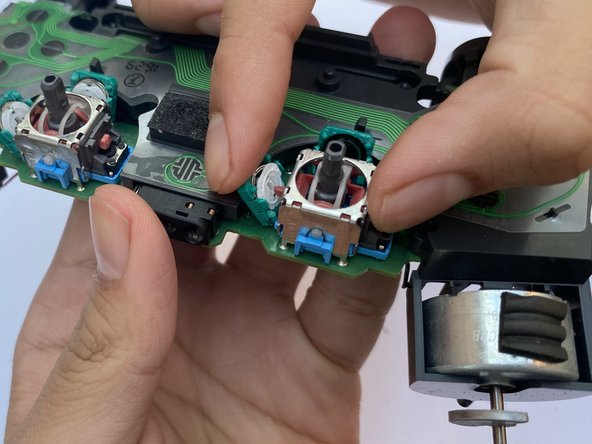
- You will be focusing on the part with the motherboard.
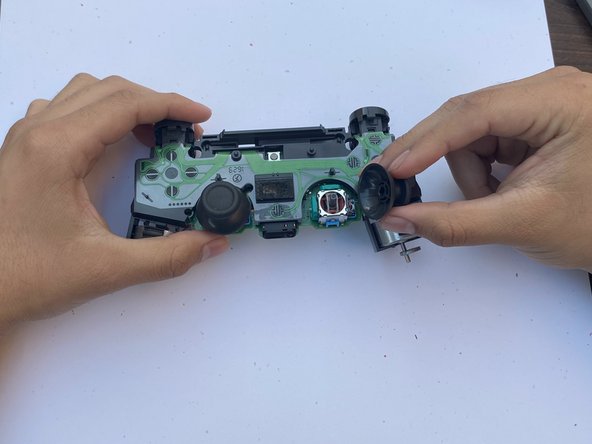
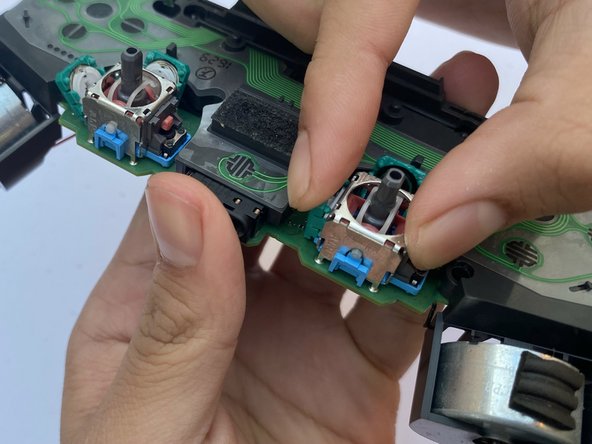
- Remove the thumbstick from the joystick that is malfunctioning. If both joysticks are malfunctioning then remove both thumbsticks.
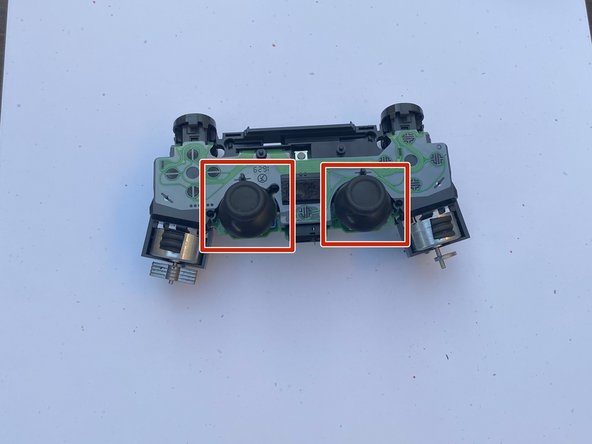
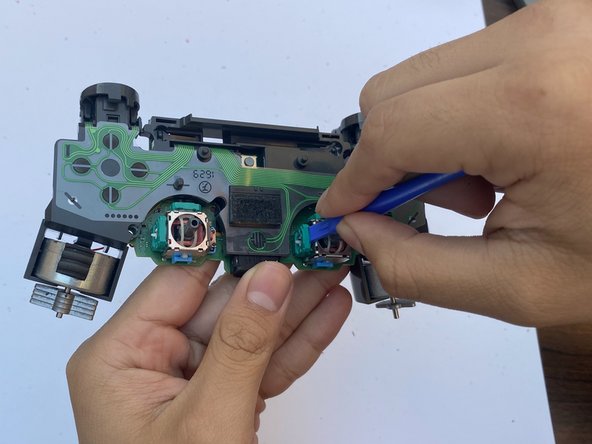
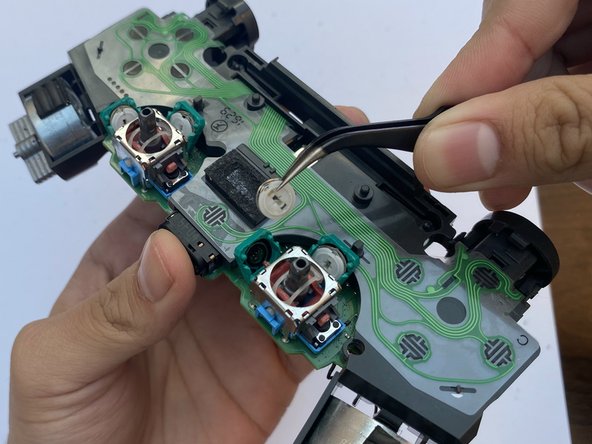
- Using the Opening Tool, pry open the case containing the damaged potentiometer.
- The top case allows the analog stick to move left and right. The left case allows the analog stick to move up and down. I suggest removing all of them to ensure that everything will work.
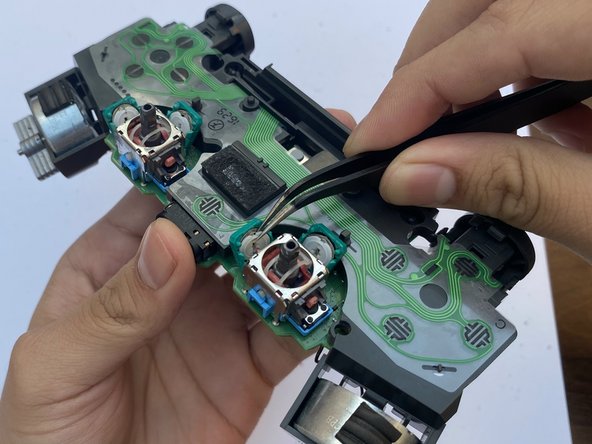
- Using Tweezers, remove the damaged potentiometer(s) located inside the case you opened from the last step.
- Grab your Potentiometer Replacement
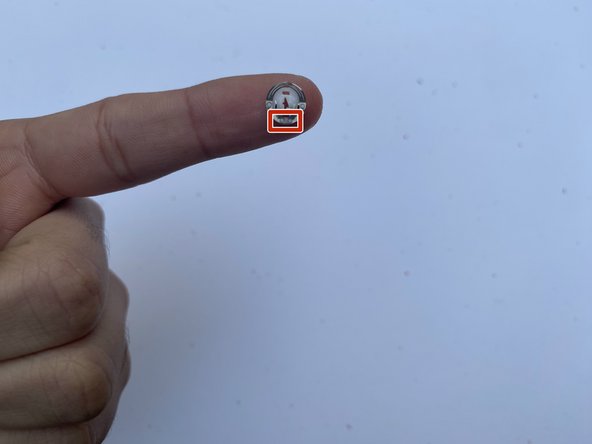
- Using Tweezers, place the potentiometer replacement into the case.
- Place the potentiometer replacement in a position where the two dots at the bottom of it is placed at bottom of the case.
- Make sure the hole of the potentiometer replacement aligns with the follower (in this first image, it is the orange plastic sticking out).
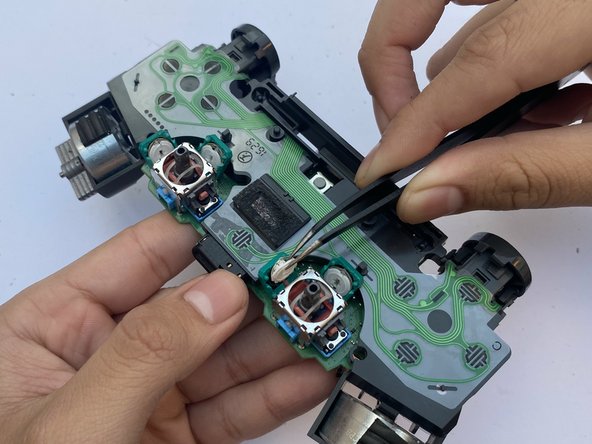
- After everything is secure, close the case containing the potentiometer replacement.
- Make sure you hear a click and that the case does not open after closing it. This is to ensure that the potentiometer does not fall out.