Charge 3 Battery Replacement
ID: 169115
Description: This repair helps fix bad battery life which...
Steps:
- It is recommended to let the battery discharge before starting. It's a precaution to prevent the battery from lighting on fire if punctured.
- Remove both T2 screws
- Slide off the plastic piece by lifting out and then up
- Slide plastic and spring assembly off the rail
- Watch out for the spring on in the band release
- Heat the glass screen with a blowdryer to soften the adhesives
- Start the next step on the opposite side of the Fitbit wording below the glass. This is due to the display cables being located there
- Insert a razor blade between the glass and the body
- Keep going around the rim of the display until loose
- This is how close those cables get to the edge underneath the Fitbit wording so be careful
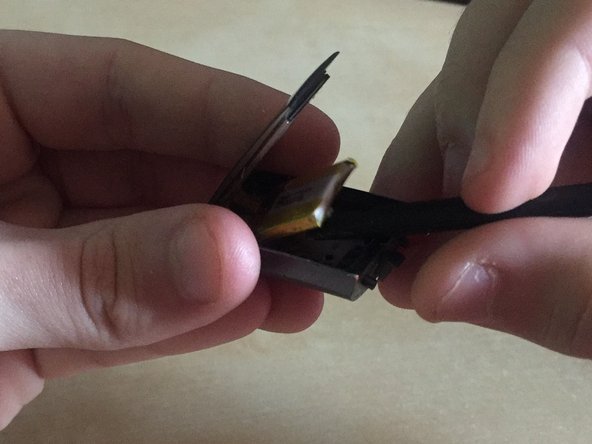
- Lift the display then battery up gently
- The battery is attached with a little bit of adhesive so lift it gently
- Remove battery connector
- Connect new battery connector
- Peel the plastic layer off the adhesive backing
- Put the battery back in place
- Add a thin layer of E-6000 glue around the casing
- Make sure to cover the entire surface that makes contact with the screen to keep the device waterproof
- Flip down the screen and remove any extra glue that squeezes out
- Take a rubber band and wrap it around the device, this will ensure the display stays in place until the glue cures
- With the rubber bands on go to step 1 and reverse the steps to reinstall the band release
- The glue will take between 24 and 72 hours to fully cure
- When the glue is fully cured remove the rubber bands
- After all is done you will need to calibrate the battery to do this charge it to 100% then leave it charging for an extra 2 hours use the device until it dies of low power and finally charge it to 100% and it should be good to go
- And voila - you now have a repaired Fitbit Charge 3