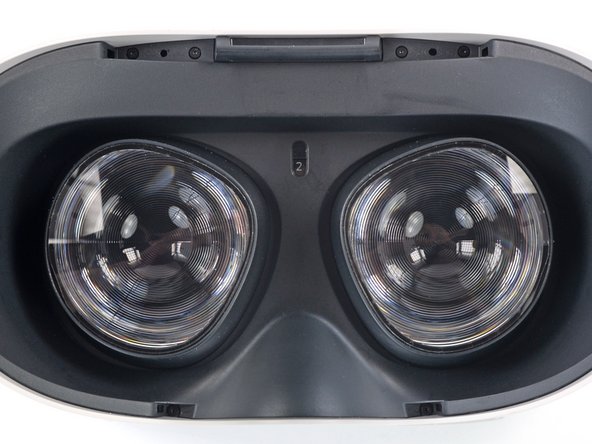
Meta Quest 2 Eyepiece Trim Replacement
ID: 169131
Description: This guide shows how to remove and replace the...
Steps:
- Hold the power button for three seconds to fully turn off your headset.
- You'll hear a power down chime, and the LED next to the power button will turn off.
- Grasp and pull on the nose section of the facial interface to unclip it from the headset.
- Grasp and pull on the top section of the facial interface to unclip it from the headset.
- Remove the facial interface.
- During reassembly, align the facial interface to the headset and use your fingers to press along the perimeter to clip it back in.
- Use your fingers to grasp the right strap near the headset.
- Peel the right strap away from the headset arm to unclip it.
- Repeat the procedure to peel the left strap away from the arm to unclip it.
- Separate the hook and loop strip on the top strap.
- Unthread the top strap from its bracket.
- Remove the head strap.
- Use a Torx T2 driver to remove the six 3.5 mm‑long screws securing the eyepiece trim.
- Insert an opening pick into the seam between the eyepiece trim and white outer shell, near the nose cutout.
- Slide the opening pick to the right along the seam to release the clips securing the eyepiece trim.
- Pry with the opening pick to release the clips securing the right side of the eyepiece trim.
- Leave the opening pick in the seam to prevent the clips from reengaging.
- Repeat the prying procedure along the left edge to release the clips securing the eyepiece trim.
- During reassembly, press your fingers along the perimeter of the eyepiece trim to clip it back in place.
- Don’t try to fully remove the eyepiece trim in this step. It’s still connected to the headset by a short cable.
- Lift the eyepiece trim slightly and tilt it towards the top edge of the headset.
- Set the trim down on your work surface, making sure not to strain the cable.
- Use the point of a spudger to flip open the black lock tab on the ZIF connector securing the face sensor cable.
- Use tweezers to pull the face sensor cable out of the ZIF connector.
- Remove the eyepiece trim.
- During reassembly:
- Make sure the lens spacing matches the spacing indicator. This allows the indicator peg to sit correctly in its notch.
- If the lens spacing doesn't match the indicator, manually adjust the lens with your fingers.
- During reassembly, the face sensor cable can be tricky to connect. Follow these tips to connect the cable:
- Thread your fingers through the eyepiece trim’s eyeholes and grasp the edges of the sensor cable.
- Slide the sensor cable into the socket until the first set of tabs rests in the socket. This should flip the lock tab down partially.
- Use a spudger to press the lock tab down towards the cable to lock it in place.