Disassembling Fifine T683 Microphone Body
ID: 169293
Description:
Steps:
- This is a well built all-metal condenser microphone.
- Remove the gain dial, this slips off easily with a tug.
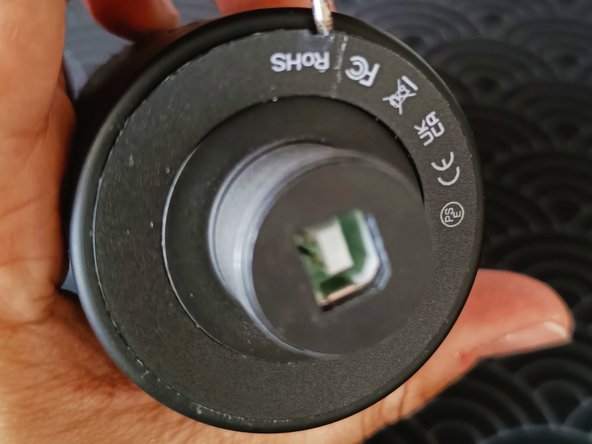
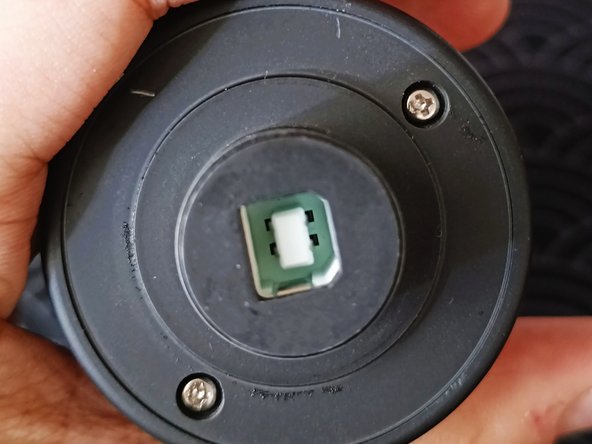
- Remove the hard plastic ring that is covering the 2 phillips screws at the bottom of the unit.
- Removing the 2 screws will release the filter. Note that there should be 2 brass poles that connects the two pieces together. One broke in the picture shown as I pried it before.
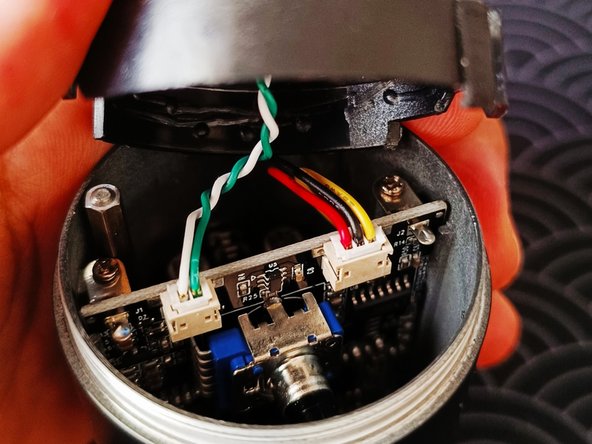
- The condenser is not attached to the casing and is easily removeable. It is connected to the main PCB so do be careful.
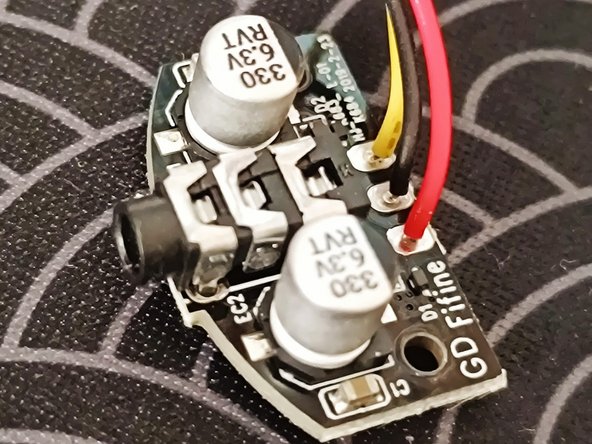
- Inside you will see another smaller PCB that housed the 3.5mm audio jack. This needs to be removed first before the main PCB as the USB connector is slightly too large to slide through.
- There two screws to remove the smaller PCB.
- Two more screws on the sides to be removed.
- Congratulations! now you're free to work on the PCB.